Xcode 9自带单元测试XcTest
0.关于单元测试
关于单元测试你可以阅读这篇文章,你应该知道的单元测试
1.Xcode开发工具
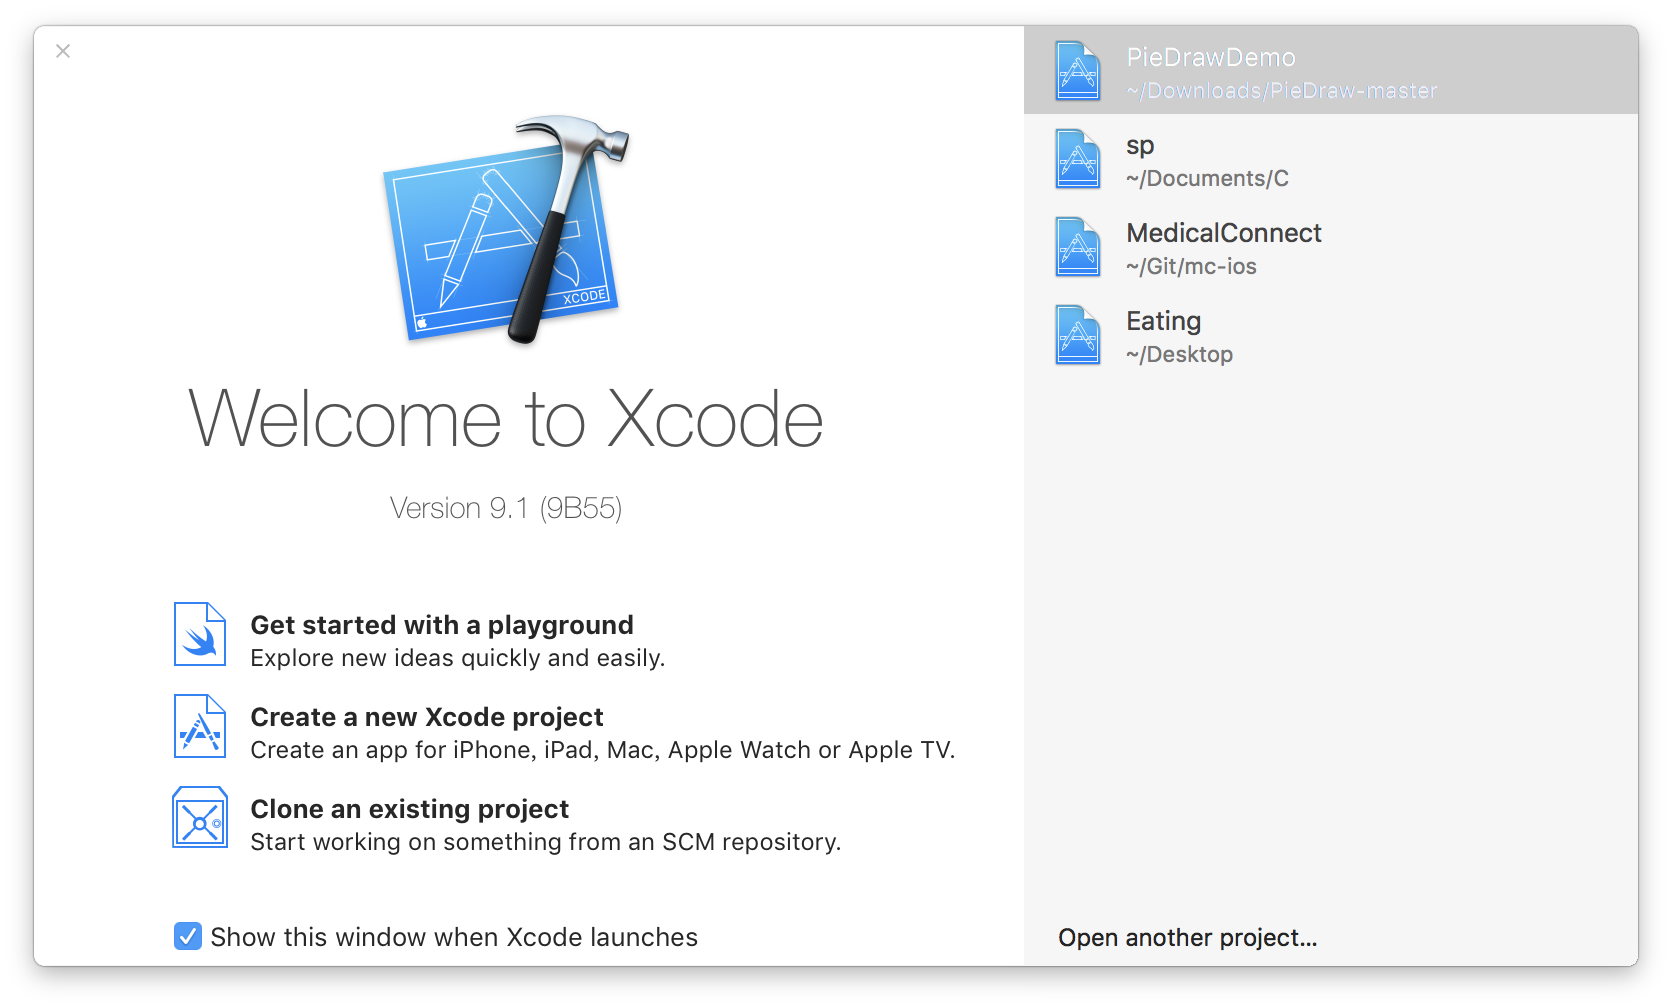
安装Xcode,只需要在应用商店下载即可,这里不再赘述,安装完成后启动页面如下图所示。
2.单元测试
1.创建工程
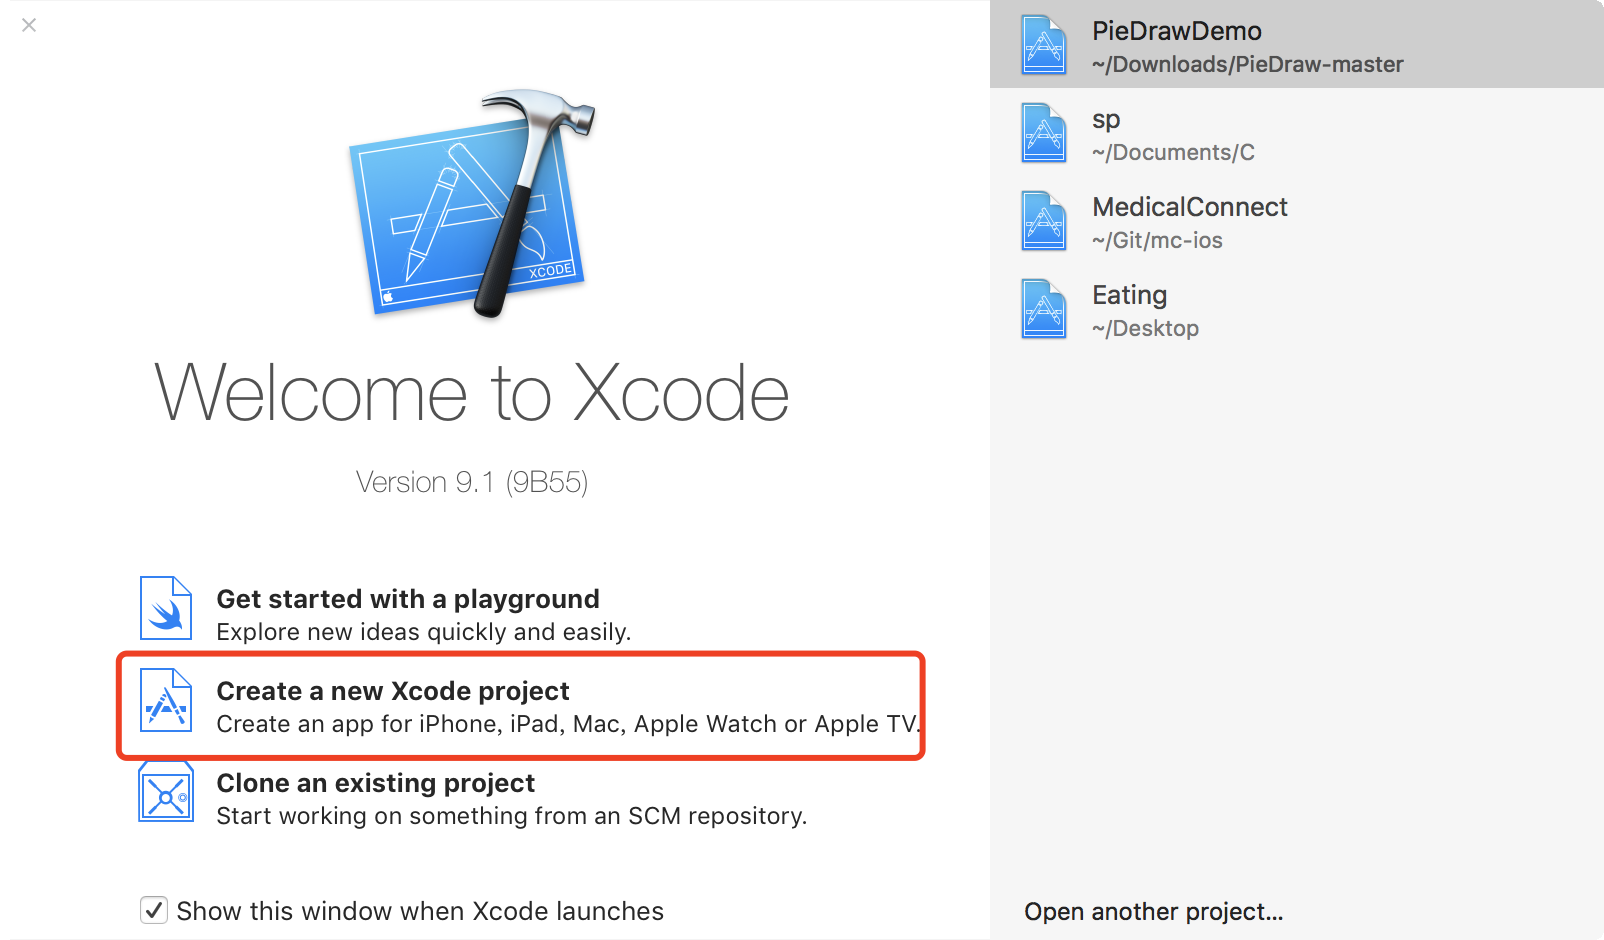
如果是新建一个工程,填完名字后勾选include Unit Tests
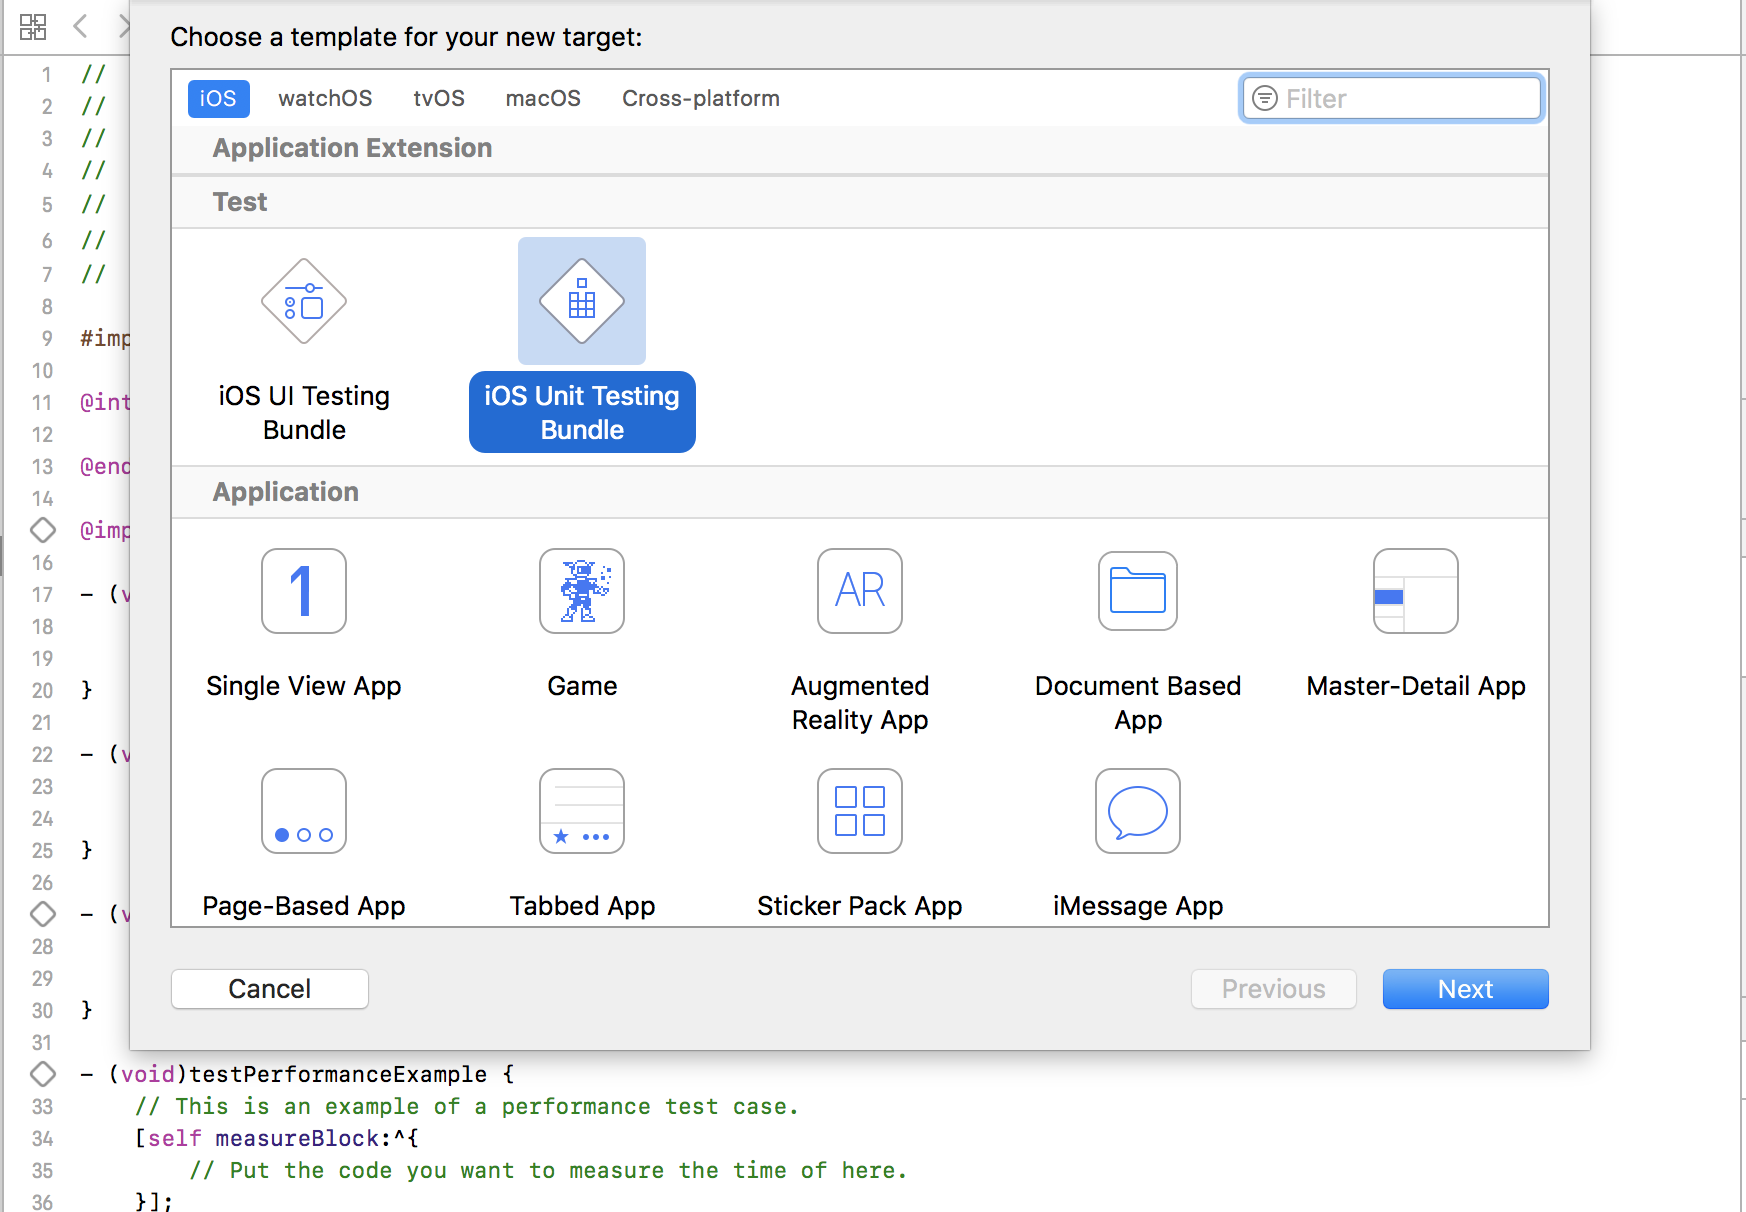
如果是已有工程,打开已有工程,选择File-> New-> Target-> iOS-> iOS Unit Testing Bundle.

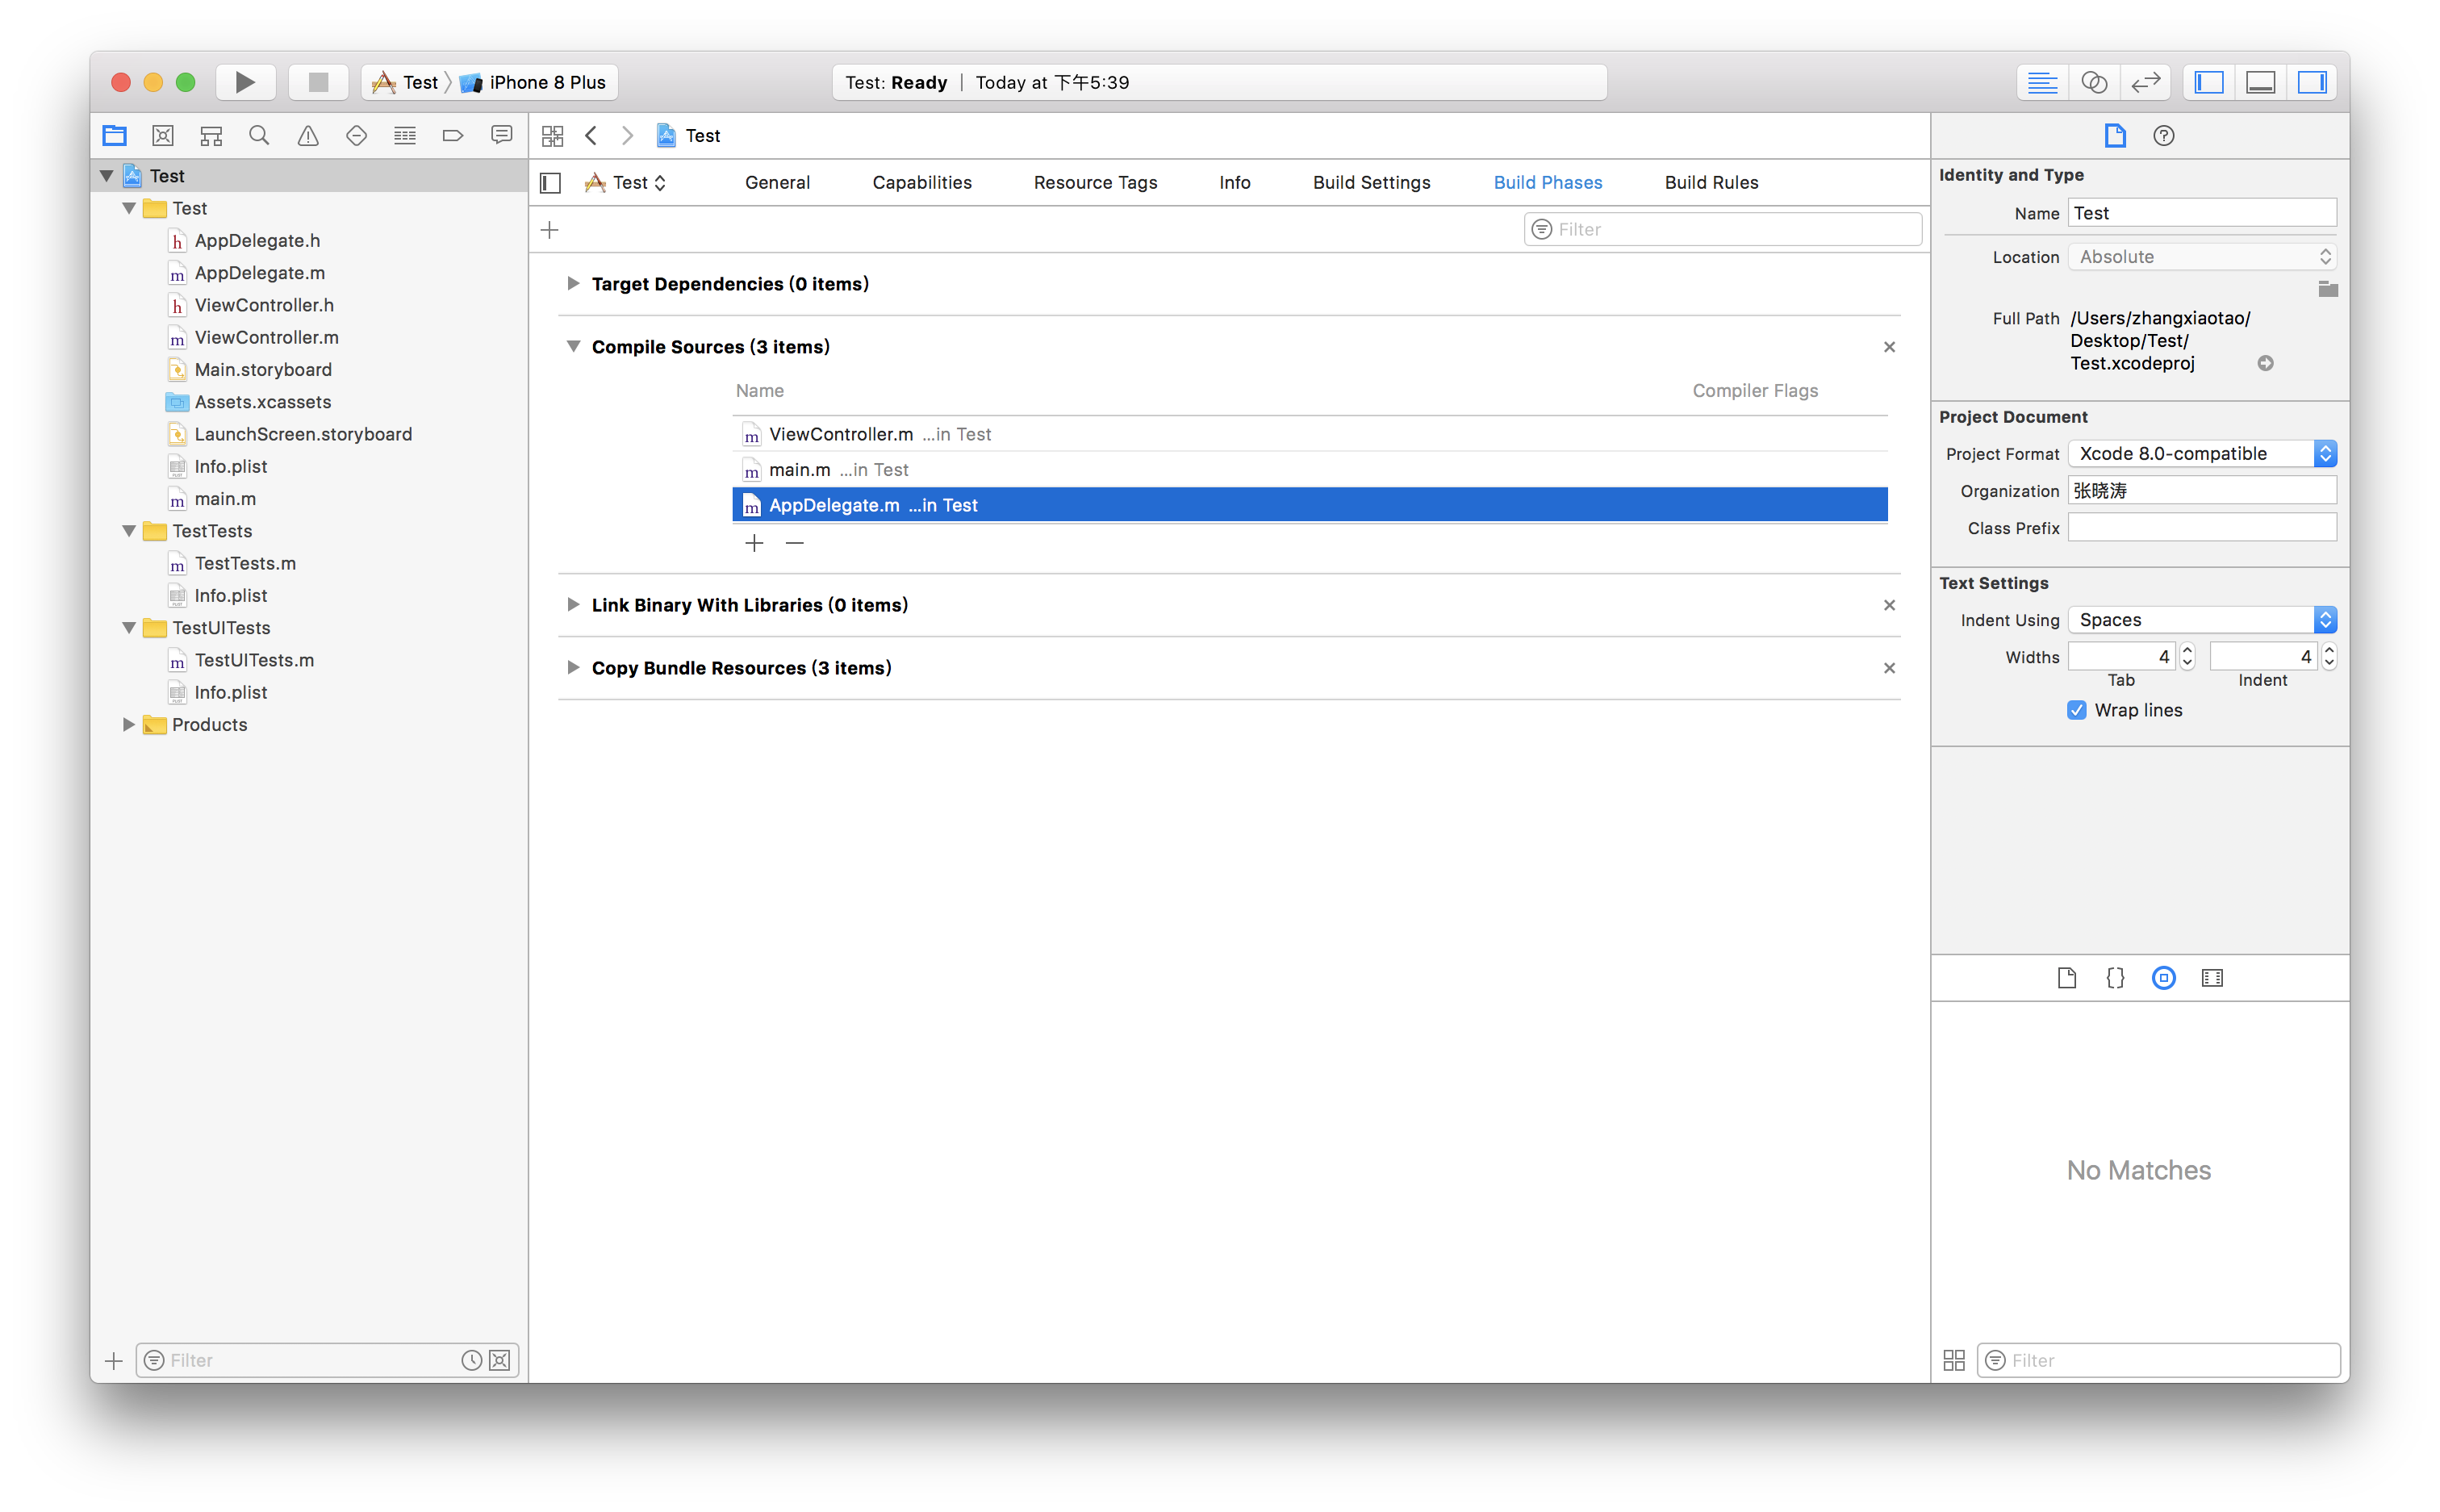
为了防止出现报错,需要在工程的Target下的Build Phases中的Compile Sources中选择你要进行测试的类
2.认识单元测试
工程创建好之后,打开单元测试文件夹的.m文件看到这几个方法,我们来看一次啊这些方法是什么时候调用和他们各自的作用
- (void)setUp {
[super setUp];
// Put setup code here. This method is called before the invocation of each test method in the class.
//初始化的代码,在测试方法调用之前调用
}

- (void)tearDown {
// Put teardown code here. This method is called after the invocation of each test method in the class.
// 释放测试用例的资源代码,这个方法会每个测试用例执行后调用
[super tearDown];
}

- (void)testExample {
// This is an example of a functional test case.
// Use XCTAssert and related functions to verify your tests produce the correct results.
// 测试用例的例子,注意测试用例一定要test开头

}

- (void)testPerformanceExample {
// This is an example of a performance test case.
// 测试性能例子
[self measureBlock:^{
    // Put the code you want to measure the time of here.
// 需要测试性能的代码
}];
}
综上,我们的准备工作就完成了。
3.创建待测试方法
首先在ViewController.h中写一个简单的方法
#import <UIKit/UIKit.h>

@interface ViewController : UIViewController

- (int)sum:(int)a add:(int )b;

@end
在ViewController.m中实现这个方法
#import "ViewController.h"

@interface ViewController ()

@end

@implementation ViewController

- (void)viewDidLoad {
    [super viewDidLoad];
    // Do any additional setup after loading the view, typically from a nib.
}
//待测试方法,计算a与b的和
- (int)sum:(int )a add:(int )b{

    return a + b;
}

- (void)didReceiveMemoryWarning {
    [super didReceiveMemoryWarning];
    // Dispose of any resources that can be recreated.
}


@end


4.测试用例的实现
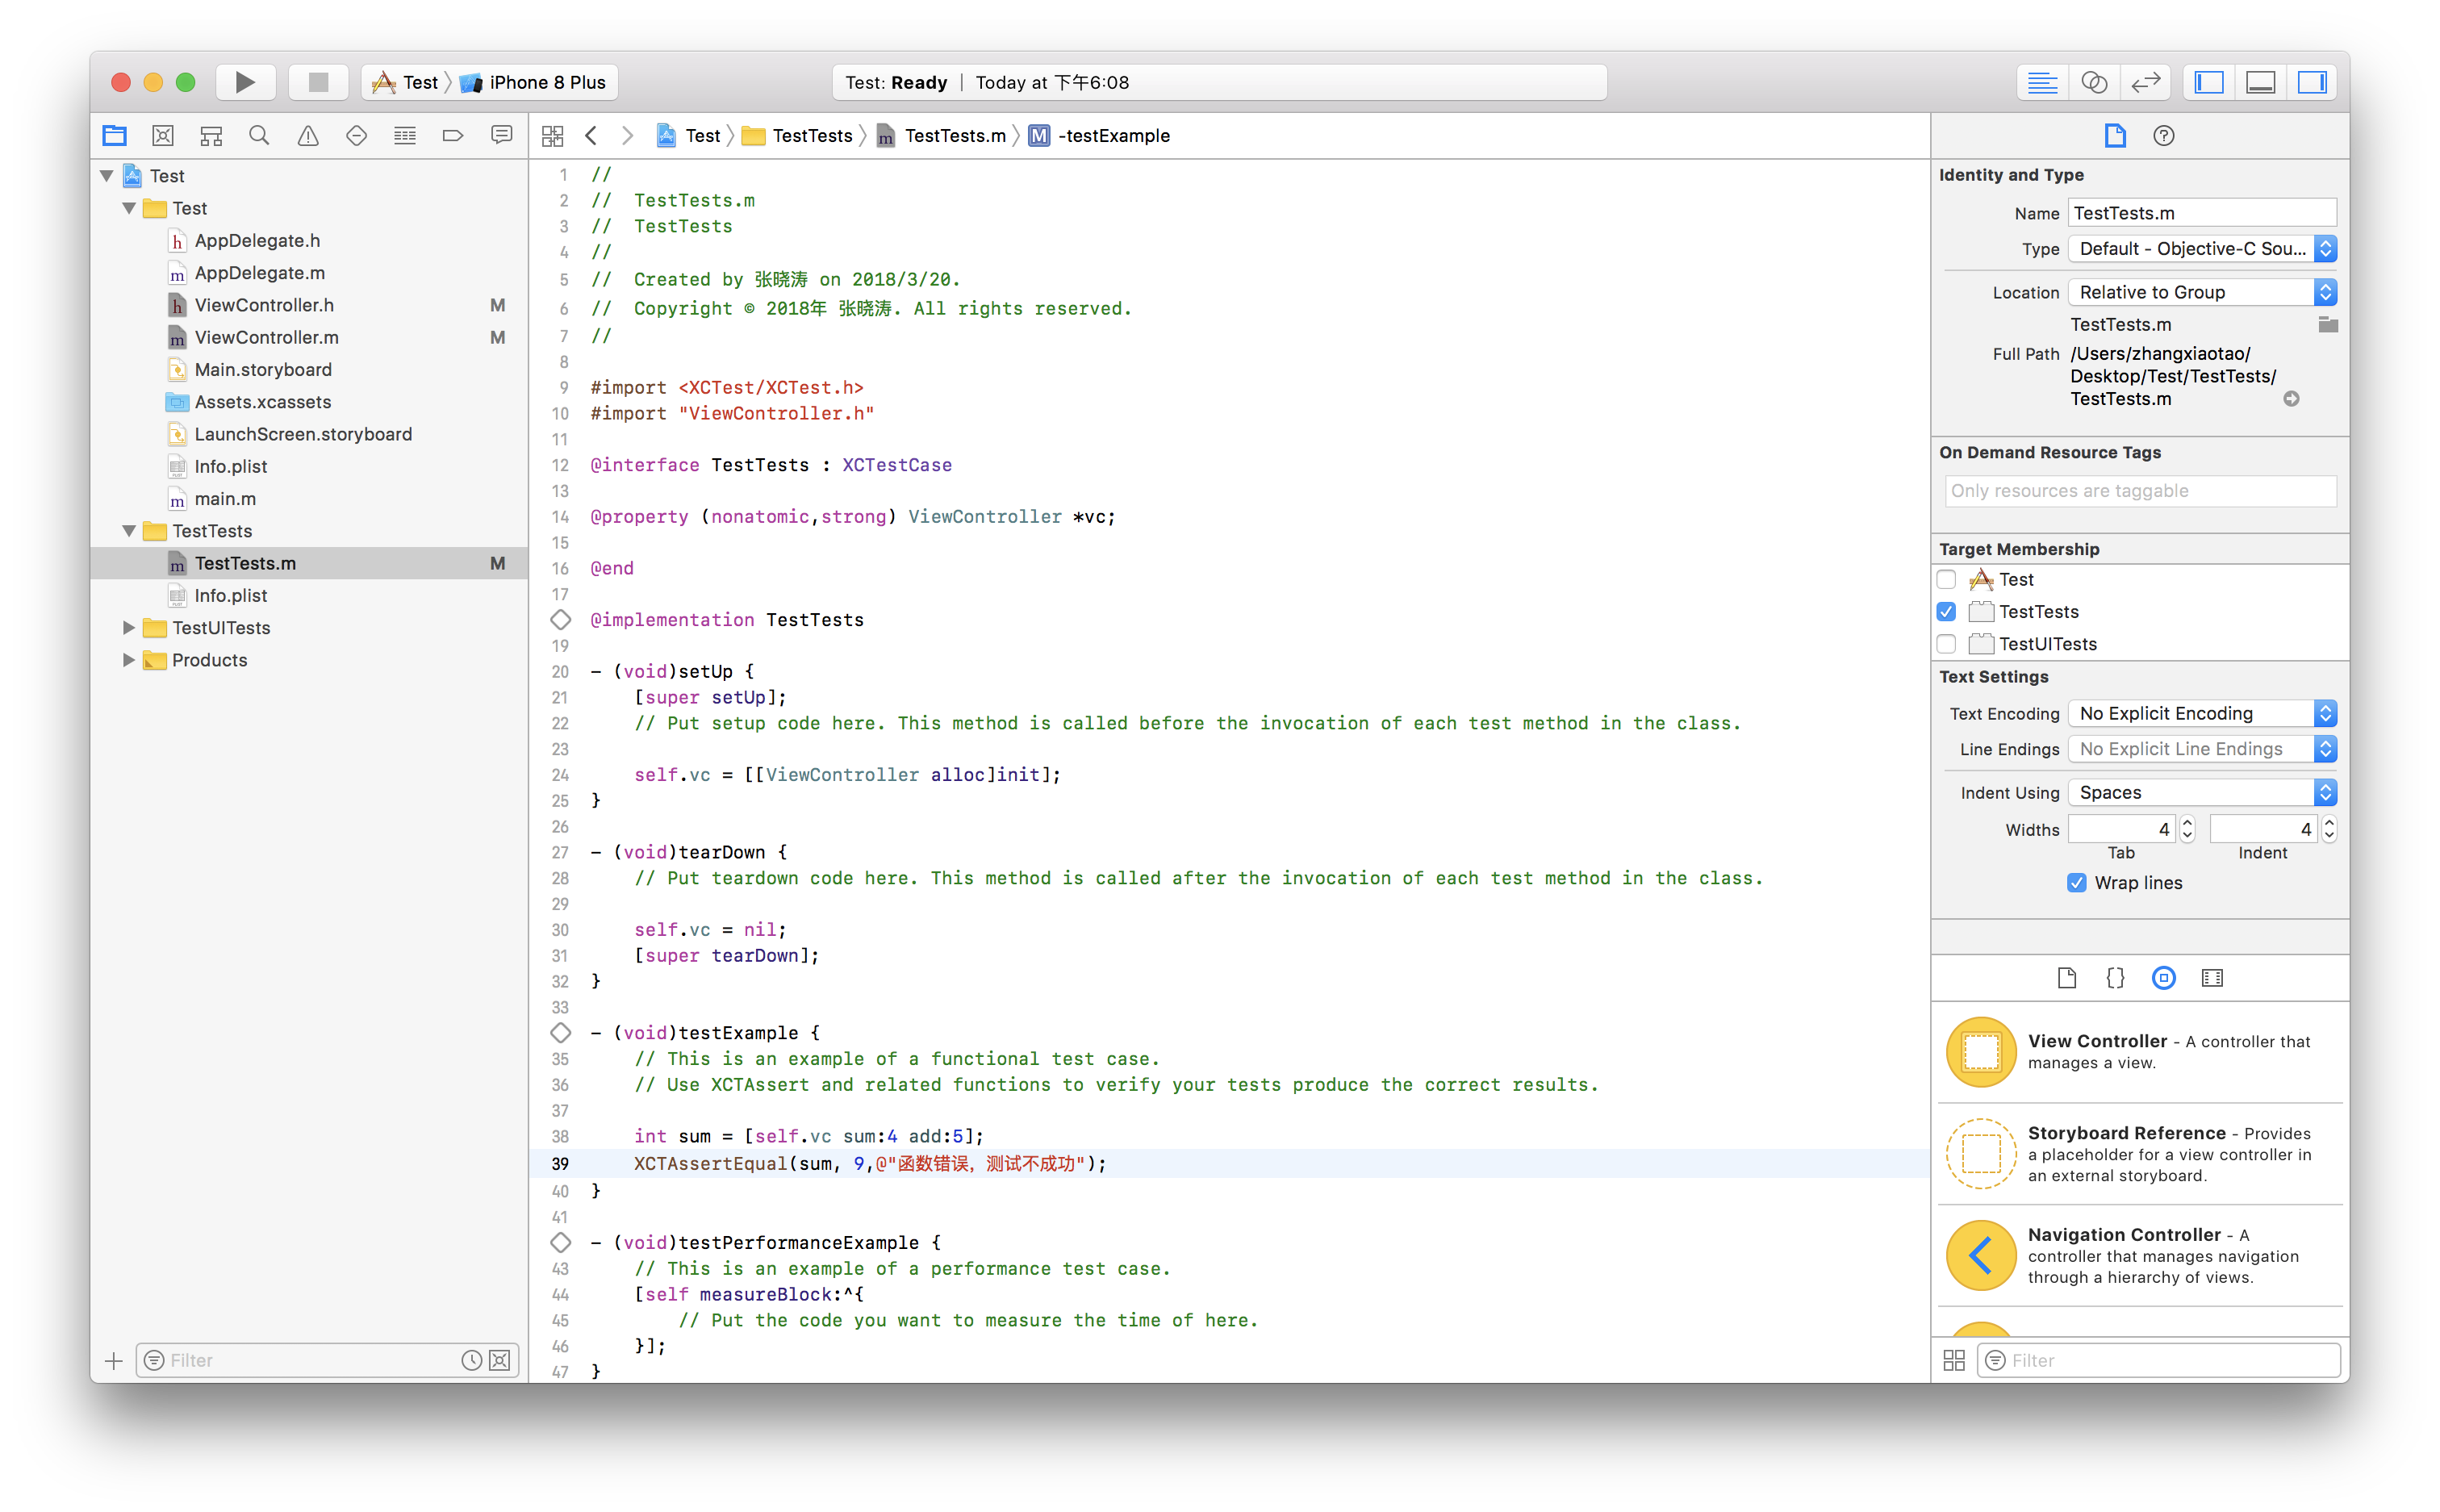
在测试文件中导入ViewController.h,定义一个vc属性
#import <XCTest/XCTest.h>
#import "ViewController.h"

@interface TestTests : XCTestCase

@property (nonatomic,strong) ViewController *vc;

@end
测试用例的实现
@implementation TestTests

- (void)setUp {
    [super setUp];
    // Put setup code here. This method is called before the invocation of each test method in the class.
    //实例化需要测试的类
    self.vc = [[ViewController alloc]init];
}

- (void)tearDown {
    // Put teardown code here. This method is called after the invocation of each test method in the class.
    //将测试用例测试完成后清空
    self.vc = nil;
    [super tearDown];
}

- (void)testExample {
    // This is an example of a functional test case.
    // Use XCTAssert and related functions to verify your tests produce the correct results.
    //调用需要测试的方法
    int sum = [self.vc sum:4 add:5];
    //测试不成功则提示@"函数错误,测试不成功"
    XCTAssertEqual(sum, 9,@"函数错误,测试不成功");
}

- (void)testPerformanceExample {
    // This is an example of a performance test case.
    [self measureBlock:^{
        // Put the code you want to measure the time of here.
    }];
}

@end
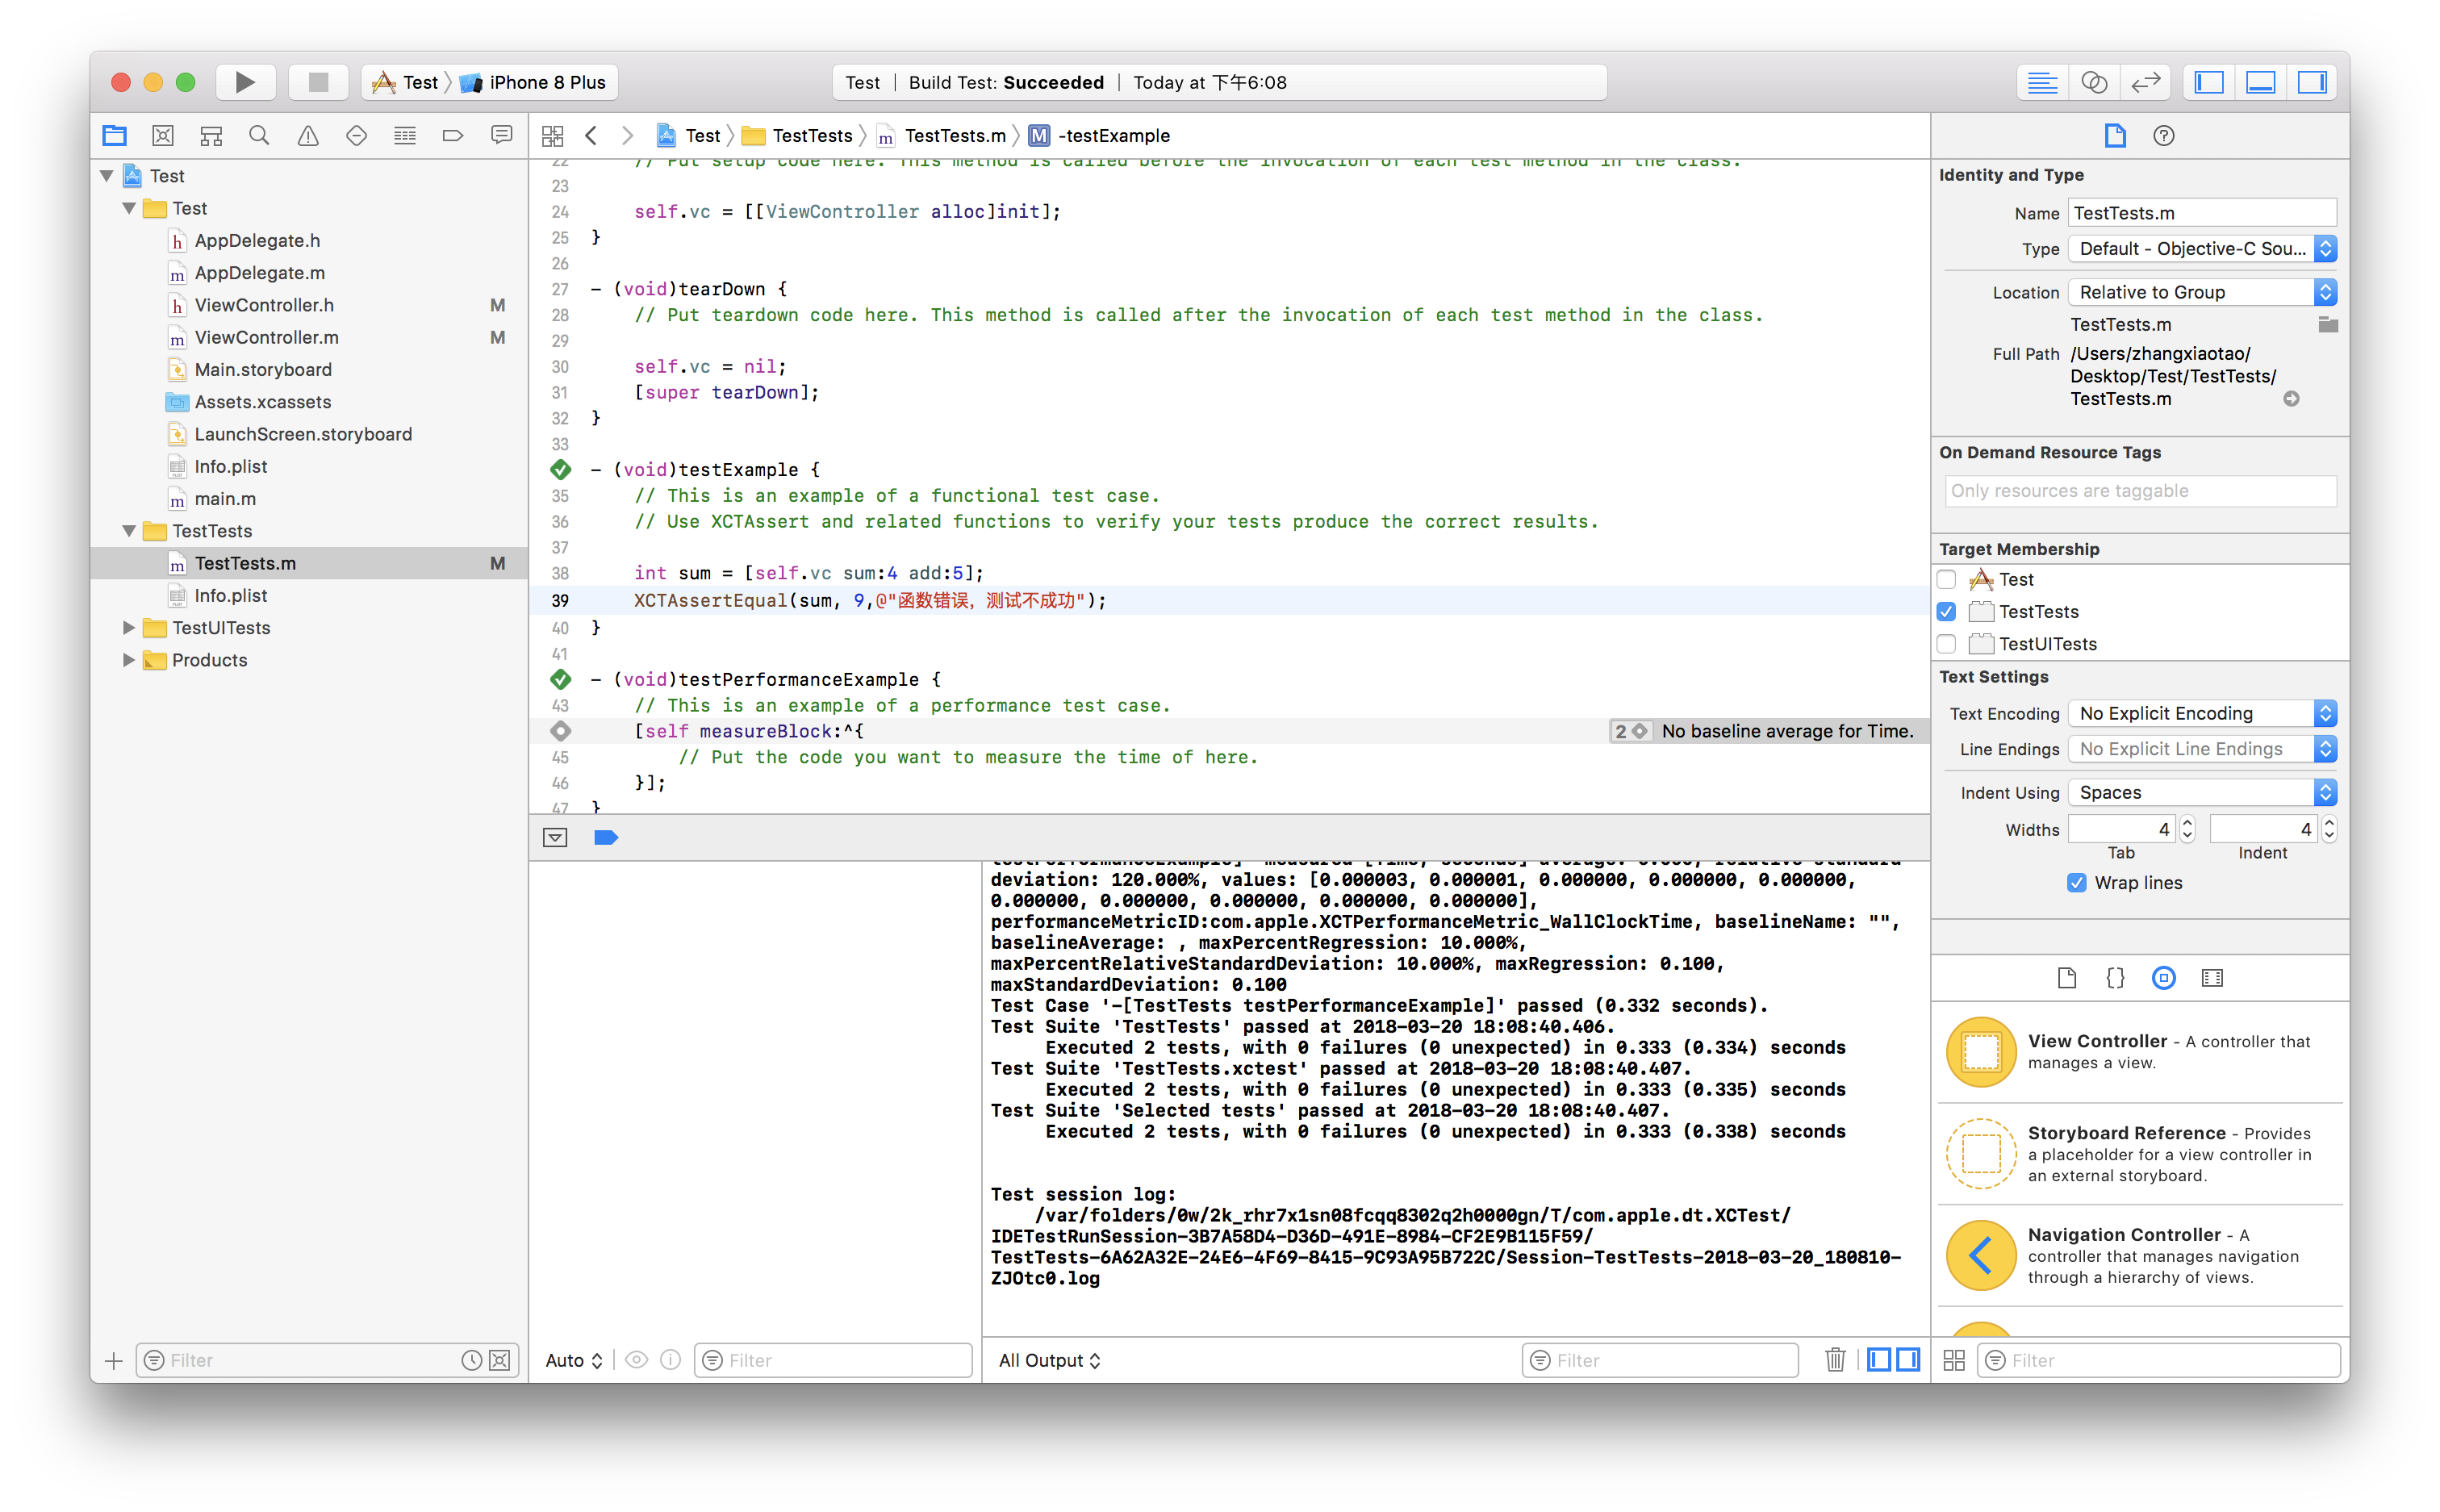
点击菱形框或者command+u快捷方式运行,在控制台就可以看到待测试的方法通过了,菱形框也会有绿色的钩。
此时我们更改断言的判断条件,看不通过时是什么样子

菱形框变成了红色的叉,并且打印了我们的断言结果。
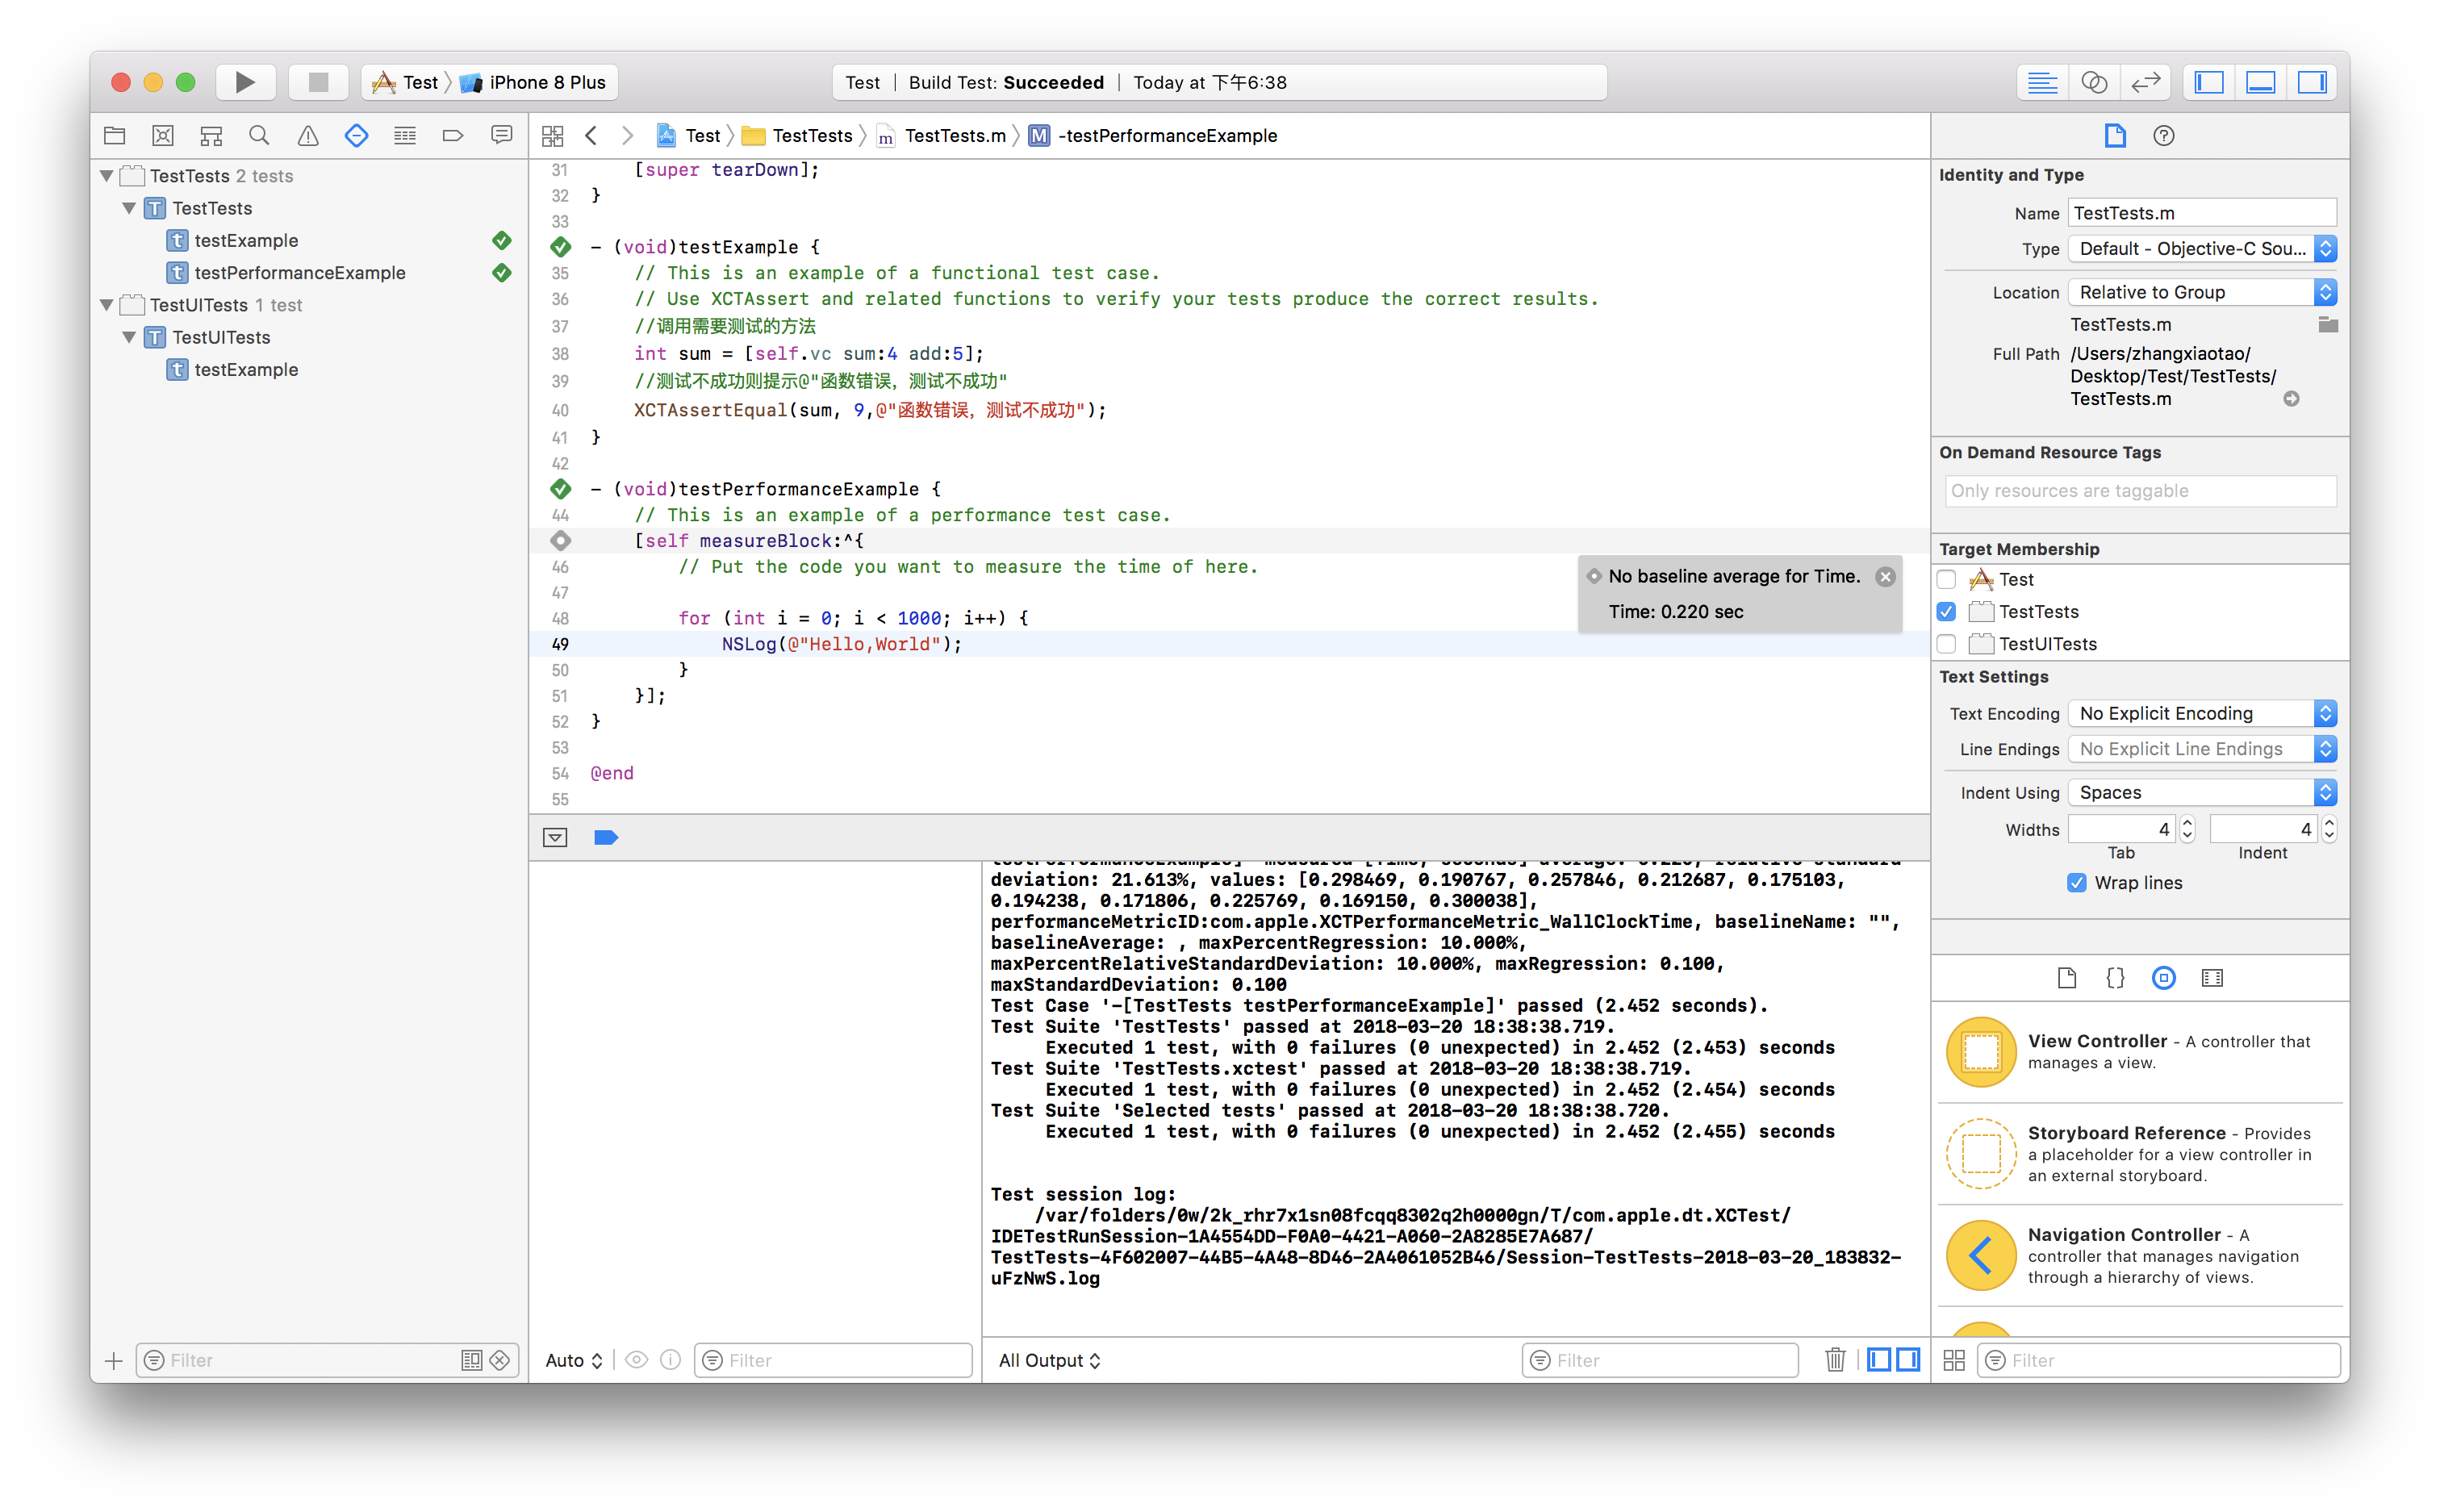
5.性能测试
另外,这个自带的测试框架还能测试方法的性能,在这个方法下添加测试的方法,这里我添加了一个for循环
- (void)testPerformanceExample {
// This is an example of a performance test case.
[self measureBlock:^{
    // Put the code you want to measure the time of here.

    for (int i = 0; i < 1000; i++) {
        NSLog(@"Hello,World");
    }
}];
}
点击菱形框或者command+u快捷方式运行,结果如下图所示,显示了运行的时间,我们可以用来比对性能的优劣。
6.附
当然XCTest还有很多功能,但得熟练掌握好这些基础才能更上一层楼,最后是常用的一些断言和解释
XCTFail(format…) 生成一个失败的测试;
XCTAssertNil(a1, format...)为空判断,a1为空时通过,反之不通过;
XCTAssertNotNil(a1, format…)不为空判断,a1不为空时通过,反之不通过;
XCTAssert(expression, format...)当expression求值为TRUE时通过;
XCTAssertTrue(expression, format...)当expression求值为TRUE时通过;
XCTAssertFalse(expression, format...)当expression求值为False时通过;
XCTAssertEqualObjects(a1, a2, format...)判断相等,[a1 isEqual:a2]值为TRUE时通过,其中一个不为空时,不通过;
XCTAssertNotEqualObjects(a1, a2, format...)判断不等,[a1 isEqual:a2]值为False时通过;
XCTAssertEqual(a1, a2, format...)判断相等(当a1和a2是 C语言标量、结构体或联合体时使用, 判断的是变量的地址,如果地址相同则返回TRUE,否则返回NO);
XCTAssertNotEqual(a1, a2, format...)判断不等(当a1和a2是 C语言标量、结构体或联合体时使用);
XCTAssertEqualWithAccuracy(a1, a2, accuracy, format...)判断相等,(double或float类型)提供一个误差范围,当在误差范围(+/-accuracy)以内相等时通过测试;
XCTAssertNotEqualWithAccuracy(a1, a2, accuracy, format...) 判断不等,(double或float类型)提供一个误差范围,当在误差范围以内不等时通过测试;
XCTAssertThrows(expression, format...)异常测试,当expression发生异常时通过;反之不通过;(很变态) XCTAssertThrowsSpecific(expression, specificException, format...) 异常测试,当expression发生specificException异常时通过;反之发生其他异常或不发生异常均不通过;
XCTAssertThrowsSpecificNamed(expression, specificException, exception_name, format...)异常测试,当expression发生具体异常、具体异常名称的异常时通过测试,反之不通过;
XCTAssertNoThrow(expression, format…)异常测试,当expression没有发生异常时通过测试;
XCTAssertNoThrowSpecific(expression, specificException, format...)异常测试,当expression没有发生具体异常、具体异常名称的异常时通过测试,反之不通过;
XCTAssertNoThrowSpecificNamed(expression, specificException, exception_name, format...)异常测试,当expression没有发生具体异常、具体异常名称的异常时通过测试,反之不通过