构建企业级镜像仓库
Harbor是由VMware公司开源的镜像仓库,harbor是在docker Registry上进行了企业级扩展,从而获得了更广泛的应用,这些新的企业级特性包括:管理用户界面,基于角色的访问控制,AD/LDAP继承以及审计日志的功能,足以满足企业需求.
官方地址: https://vmware.github.io/barbor/cn/
安装harbor
wget https://www.chenleilei.net/soft/k8s/harbor-offline-installer-v1.9.3.tgz
tar xf harbor-offline-installer-v1.9.3.tgz
cd harbor
vi harbor.yml
修改hostname为本机IP地址
#hostname: reg.mydomain.com
hostname: 10.0.0.64
修改完毕后保存.
准备harbor仓库:
[root@master1 harbor]# ./prepare
#注意安装harbor需要依赖两个环境 一个是docker 一个是docker compose
docker已经安装完毕.现在安装docker compose
同时你直接安装也会提醒你 没有安装docke-compose:
Note: docker version: 19.03.7
✖ Need to install docker-compose(1.18.0+) by yourself first and run this script again
1. 安装docker compose:
git clone https://github.com/docker/compose.git 或者上传 compose
https://www.chenleilei.net/soft/docker/docker-compose-Linux-x86_64.tar.gz
课件:第一阶段重新认识Docker课件.zip中也有,上传docker-compose
[root@master1 harbor]# tar xf docker-compose-Linux-x86_64.tar.gz
[root@master1 harbor]# mv docker-compose-Linux-x86_64 /usr/bin/docker-compose
[root@master1 harbor]# chmod +x /usr/bin/docker-compose
2. 安装harbor
wget https://www.chenleilei.net/soft/k8s/harbor-offline-installer-v1.9.3.tgz
tar xf harbor-offline-installer-v1.9.3.tgz
[root@master1 ~]# tar -xf harbor-offline-installer-v1.9.3.tgz -C /usr/local/
[root@master1 ~]# mv /usr/local/
[root@master1 ~]# cd /usr/local/harbor
[root@master1 ~]# vi harbor.yml
修改hostname为本机IP地址
#hostname: reg.mydomain.com 这行注释,下面写:
hostname: 10.0.0.64
修改完毕后保存.
3. 初始化harbor:
[root@master1 harbor]# ./prepare
[root@master1 harbor]# ./install.sh #安装,之后如果要启动则使用: /harbor/start.sh 即可
4. 启动harbor:
[root@master1 harbor]# docker-compose start
Starting log ... done
Starting registry ... done
Starting registryctl ... done
Starting postgresql ... done
Starting portal ... done
Starting redis ... done
Starting core ... done
Starting jobservice ... done
Starting proxy ... done
启动成功后查看状态:
[root@master1 harbor]# docker-compose ps
Name Command State Ports
---------------------------------------------------------------------------------------------
harbor-core /harbor/harbor_core Up (healthy)
harbor-db /docker-entrypoint.sh Up (healthy) 5432/tcp
harbor-jobservice /harbor/harbor_jobservice ... Up (healthy)
harbor-log /bin/sh -c /usr/local/bin/ ... Up (healthy) 127.0.0.1:1514->10514/tcp
harbor-portal nginx -g daemon off; Up (healthy) 8080/tcp
nginx nginx -g daemon off; Up (healthy) 0.0.0.0:80->8080/tcp
redis redis-server /etc/redis.conf Up (healthy) 6379/tcp
registry /entrypoint.sh /etc/regist ... Up (healthy) 5000/tcp
registryctl /harbor/start.sh Up (healthy)
如果你看到的状态事这样:
Can't find a suitable configuration file in this directory or any
parent. Are you in the right directory?
Supported filenames: docker-compose.yml, docker-compose.yaml
那么可能是 你不在harbor目录中或者命令没有配置..需要先进入harbor目录再次查看.
4. 检擦harbor启动状态:
[root@k8s-master2 harbor]# ps -ef|grep harbor
root 101657 101620 0 16:18 ? 00:00:00 /bin/sh /harbor/start.sh
root 101934 101657 0 16:18 ? 00:00:00 sudo -E -u #10000 /harbor/harbor_registryctl -c /etc/registryctl/config.yml
10000 101939 101934 0 16:18 ? 00:00:00 /harbor/harbor_registryctl -c /etc/registryctl/config.yml
10000 101970 101952 0 16:18 ? 00:00:00 /harbor/harbor_core
10000 102052 102035 0 16:18 ? 00:00:00 /harbor/harbor_jobservice -c /etc/jobservice/config.yml
root 102587 45443 0 16:19 pts/1 00:00:00 grep --color=auto harbor
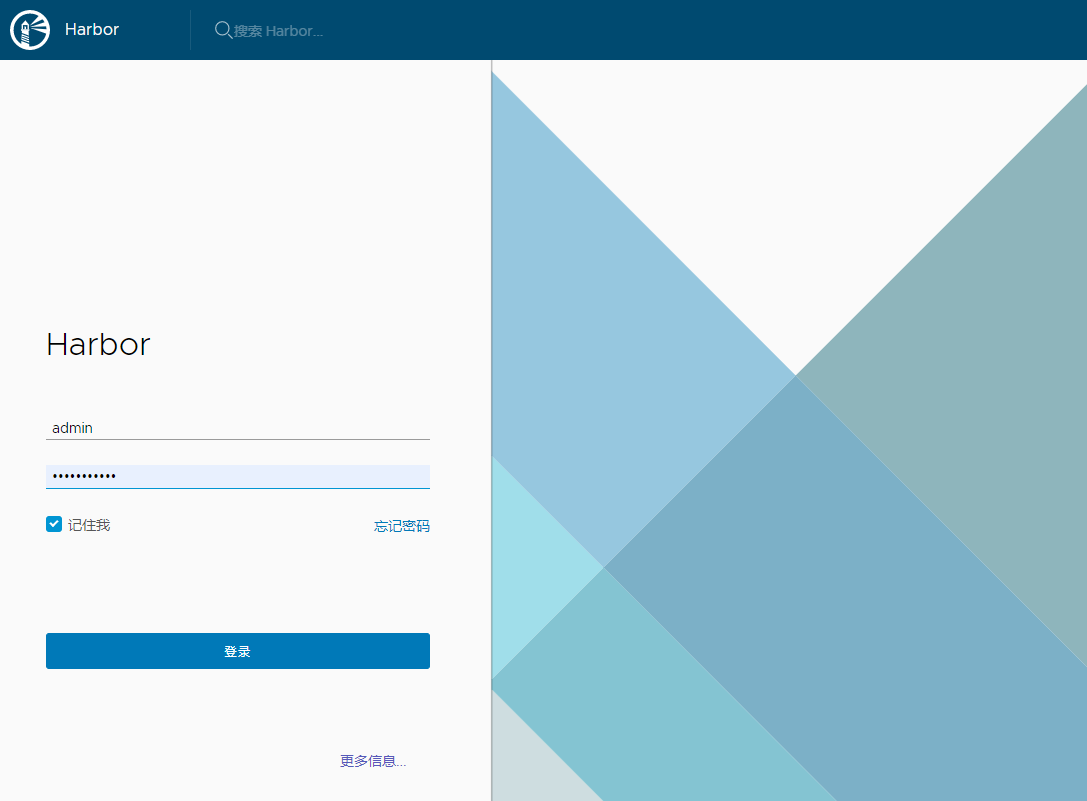
5. 登录harbor
默认账号密码:
admin
Harbor12345
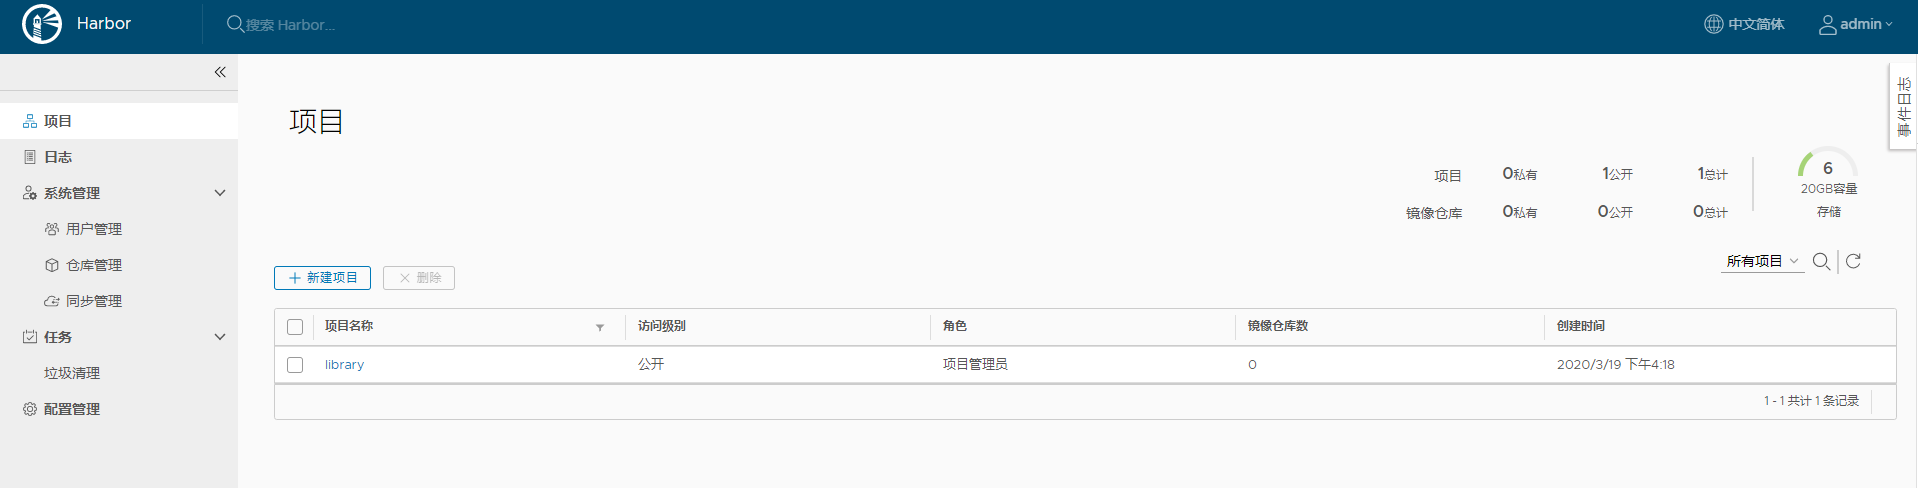
harbor的日常使用
harbor需要创建用户,分配给运维或开发人员使用.
如何推送镜像到harbor中?
本地先dockerfile制作个镜像:
FROM centos:7
LABEL maintainer www.chenleilei.net
RUN useradd www -u 1200 -M -s /sbin/nologin
RUN mkdir -p /var/log/nginx
RUN yum install -y cmake pcre pcre-devel openssl openssl-devel gd-devel
zlib-devel gcc gcc-c++ net-tools iproute telnet wget curl &&
yum clean all &&
rm -rf /var/cache/yum/*
RUN wget https://www.chenleilei.net/soft/nginx-1.16.1.tar.gz
RUN tar xf nginx-1.16.1.tar.gz
WORKDIR nginx-1.16.1
RUN ./configure --prefix=/usr/local/nginx --with-http_image_filter_module --user=www --group=www
--with-http_ssl_module --with-http_v2_module --with-http_stub_status_module
--error-log-path=/var/log/nginx/error.log --http-log-path=/var/log/nginx/access.log
--pid-path=/var/run/nginx/nginx.pid
RUN make -j 4 && make install &&
rm -rf /usr/local/nginx/html/* &&
echo "leilei hello" >/usr/local/nginx/html/index.html &&
rm -rf nginx* &&
ln -sf /usr/share/zoneinfo/Asia/Shanghai /etc/localtime &&
ln -sf /dev/stdout /var/log/nginx/access.log &&
ln -sf /dev/stderr /var/log/nginx/error.log
RUN chown -R www.www /var/log/nginx
ENV LOG_DIR /var/log/nginx
ENV PATH $PATH:/usr/local/nginx/sbin
#COPY nginx.conf /usr/local/nginx/conf/nginx.conf
EXPOSE 80
WORKDIR /usr/local/nginx
CMD ["nginx","-g","daemon off;"]
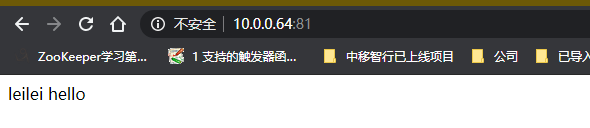
#运行镜像:
docker run --name ngix-test-001 -d -p 81:80 nginx-test-v001
访问测试:
推送镜像到harbor

推送镜像:
1. 给镜像打 tag 标签
docker tag nginx:v1 192.168.31
harbor推送失败:
[root@k8s-master2 ~]# docker push 10.0.0.64/library/nginx-test-v001:v1
The push refers to repository [10.0.0.64/library/nginx-test-v001]
Get https://10.0.0.64/v2/: dial tcp 10.0.0.64:443: connect: connection refused
原因: harbor默认是https访问的,需要添加可信任,而我们通过 docker info查看到的信任IP段只有本地127.0.0.0网段
Insecure Registries:
127.0.0.0/8
为此,我们需要添加可信任的IP网段才行,那么如何添加呢?
解决harbor推送失败:
1. 修改 /etc/docker/daemon.json
添加如下行:
"Insecure-registries" :["10.0.0.64"]
这里的IP是harbor仓库地址.
修改结果:
[root@k8s-master2 ~]# cat /etc/docker/daemon.json
{
"registry-mirrors": ["https://ajvcw8qn.mirror.aliyuncs.com"],
"insecure-registries": ["10.0.0.64"]
}
2. 重启docker
systemctl restart docker
3. 重启docker-compose
[root@k8s-master2 ~]# cd /usr/local/harbor
[root@k8s-master2 harbor]# docker-compose up -d
harbor-log is up-to-date
Starting redis ... done
Starting registryctl ... done
Starting harbor-portal ... done
Starting harbor-db ... done
Starting registry ... done
Starting harbor-core ... done
Starting nginx ... done
Starting harbor-jobservice ... done
4. 访问测试:
[root@k8s-master2 harbor]# docker push 10.0.0.64/library/nginx-test-v001:v1
The push refers to repository [10.0.0.64/library/nginx-test-v001]
16993e70a899: Preparing
0421a59391fa: Preparing
f05ef613e381: Preparing
4ab7410d5afa: Preparing
b27e978348d3: Preparing
d22782d861b3: Waiting
0ce0bd1d9b33: Waiting
cf2a9408f4c6: Waiting
77b174a6a187: Waiting
denied: requested access to the resource is denied ## 访问拒绝,这里需要登录.
5. 登录docker harbor
默认账号密码:
admin
Harbor12345
[root@k8s-master2 harbor]# docker login 10.0.0.64
Username: admin
Password: Harbor12345
WARNING! Your password will be stored unencrypted in /root/.docker/config.json.
Configure a credential helper to remove this warning. See
https://docs.docker.com/engine/reference/commandline/login/#credentials-store
Login Succeeded <---- 登录成功
6. 推送镜像:
[root@k8s-master2 harbor]# docker push 10.0.0.64/library/nginx-test-v001:v1
The push refers to repository [10.0.0.64/library/nginx-test-v001]
16993e70a899: Pushed
0421a59391fa: Pushed
f05ef613e381: Pushed
4ab7410d5afa: Pushed
b27e978348d3: Pushed
d22782d861b3: Pushed
0ce0bd1d9b33: Pushed
cf2a9408f4c6: Pushed
77b174a6a187: Pushed
v1: digest: sha256:6483a2324e2e0653d19df3f8fdc2aa46c77f83cd9f2d0ae7f3d5a6be8c42a74f size: 2206
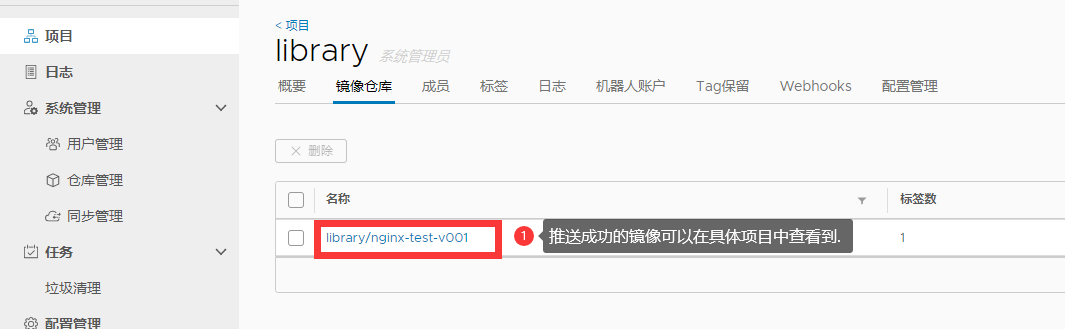
检查镜像:
推送镜像步骤整理:
1. 添加harbor信任
1. 给镜像打tag标签  docker tag nginx:v1 10.0.0.64/library/nginx-test-v001:v1
2. 登录到仓库       docker login 10.0.0.64   默认账号 admin  默认密码 Harbor12345
3. 推送到指定仓库.  docker push 10.0.0.64/library/nginx-test-v001:v1


1. 添加harbor信任:
[root@k8s-master2 ~]# cat /etc/docker/daemon.json
{
  "registry-mirrors": ["https://ajvcw8qn.mirror.aliyuncs.com"],
  "insecure-registries": ["10.0.0.64"]
}

2. 重启docker
systemctl restart docker.service

3. 查看已有镜像:
[root@master1 ~]# docker images
REPOSITORY           TAG             IMAGE ID            CREATED             SIZE
tomcat-test-v001     latest          e4b4d9a3f4c5        29 hours ago        440MB
nginx-test-v001      latest          7bcaac8aad94        47 hours ago        393MB
php-test-v001        latest          c4b98af05f73        2 days ago          1.28GB
php-v001             latest          5171da25ff33        3 days ago          1.25GB

4. 镜像打tag:
docker tag tomcat-test-v001:latest 10.0.0.64/library/tomcat-test-v001:v1
docker tag nginx-test-v001:latest 10.0.0.64/library/nginx-test-v001:v1
docker tag php-test-v001:latest 10.0.0.64/library/php-test-v001:v1
docker tag php-v001:latest 10.0.0.64/library/php-v001:v1

5. 登录到harbor仓库
docker login 10.0.0.64
admin
Harbor12345

6. 推送打了tag的镜像到harbor仓库
docker push 10.0.0.64/library/tomcat-test-v001:v1
docker push 10.0.0.64/library/nginx-test-v001:v1
docker push 10.0.0.64/library/php-test-v001:v1
docker push 10.0.0.64/library/php-v001:v1
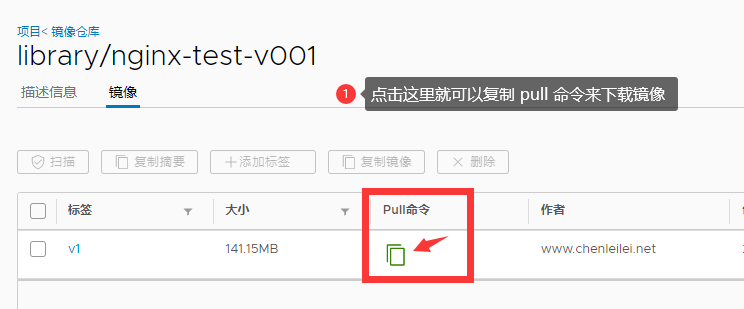
查看镜像仓库:

其他服务器下载镜像:
docker pull 10.0.0.64/library/nginx-test-v001:v1
下载镜像:
1. 添加镜像信任:
[root@k8s-node2 ~]# cat /etc/docker/daemon.json
{
  "registry-mirrors": ["https://ajvcw8qn.mirror.aliyuncs.com"],
  "insecure-registries": ["10.0.0.64"]    #<---------这里添加harbor镜像服务器地址
}

2. 重启docker
[root@k8s-node2 ~]# systemctl restart docker.service

3. 下载镜像:
[root@k8s-node2 ~]# docker pull 10.0.0.64/library/nginx-test-v001:v1
v1: Pulling from library/nginx-test-v001
ab5ef0e58194: Pull complete
b509a6ae8ffc: Pull complete
fefb59570f3b: Pull complete
fd607da77780: Pull complete
ed2847488055: Pull complete
c063aa4d1077: Pull complete
db6ecc614f20: Pull complete
07de16398d4c: Pull complete
e4b6a1a29212: Pull complete
Digest: sha256:7c74ebe5fdddf71fad1303cb89511d0389128c18f6f773575fb52eca1aa35edf
Status: Downloaded newer image for 10.0.0.64/library/nginx-test-v001:v1
10.0.0.64/library/nginx-test-v001:v1

4. 查看列表:
[root@k8s-node2 ~]# docker images
REPOSITORY                              TAG          IMAGE ID            CREATED             SIZE
10.0.0.64/library/nginx-test-v001       v1           7bcaac8aad94        2 days ago          393MB
nginx                                   latest       6678c7c2e56c        2 weeks ago         127MB
registry.aliyuncs.com/google_containers/kube-proxy  v1.17.0  7d54289267dc    3 months ago    116MB
kubernetesui/dashboard                v2.0.0-beta4    6802d83967b9        6 months ago        84MB
lizhenliang/flannel                   v0.11.0-amd64   ff281650a721        13 months ago       52.6MB
registry.aliyuncs.com/google_containers/pause    3.1  da86e6ba6ca1        2 years ago         742kB

 微信赞赏
微信赞赏

 支付宝赞赏
支付宝赞赏