1、配置JDK
见另一篇博客:http://www.cnblogs.com/testlurunxiu/p/5933912.html
2、安装Eclipse以及TestNG
Eclipse下载地址:http://beust.com/eclipse
TestNG安装过程:
在线安装

输入网址:http://beust.com/eclipse


在线安装会比较慢,有的人可能还会链接不上这个地址,所以下面介绍一个离线下载的方法
离线下载:TestNG Eclipse 插件下载地址http://testng.org/doc/download.html
a.下载离线安装包并解压
b.将解压后的文件..eclipse-testng离线包features目录下的文件夹org.testng.eclipse_6.8.6.20130607_0745放到eclipse--》features目录下;
c.将解压后的文件..eclipse-testng离线包org.testng.eclipse_6.8.6.20130607_0745文件夹放到eclipse--》plugins目录下;
d.重启eclipse.
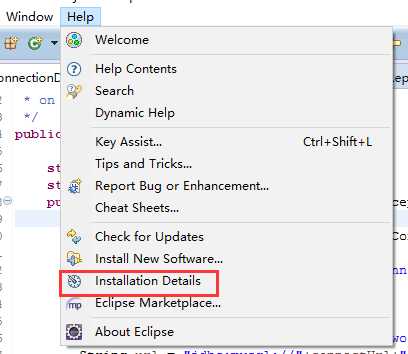
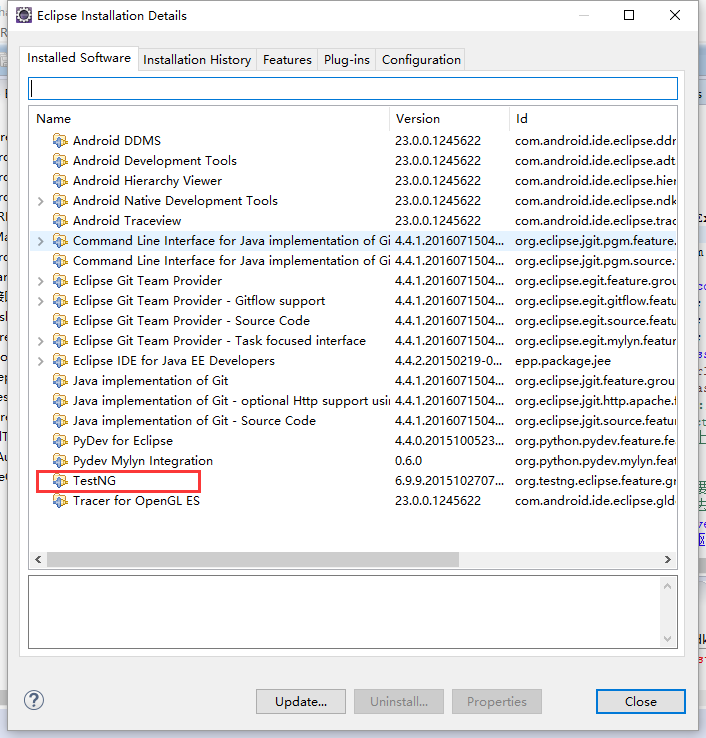
如何查看testng是否安装成功了呢?
3、接口测试框架的搭建
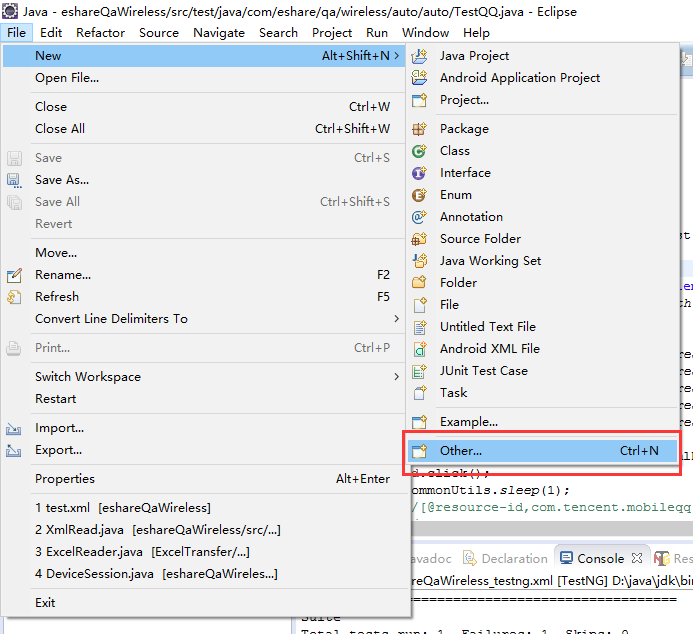
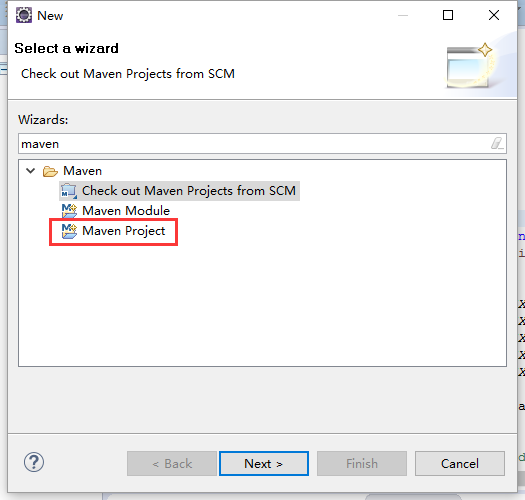
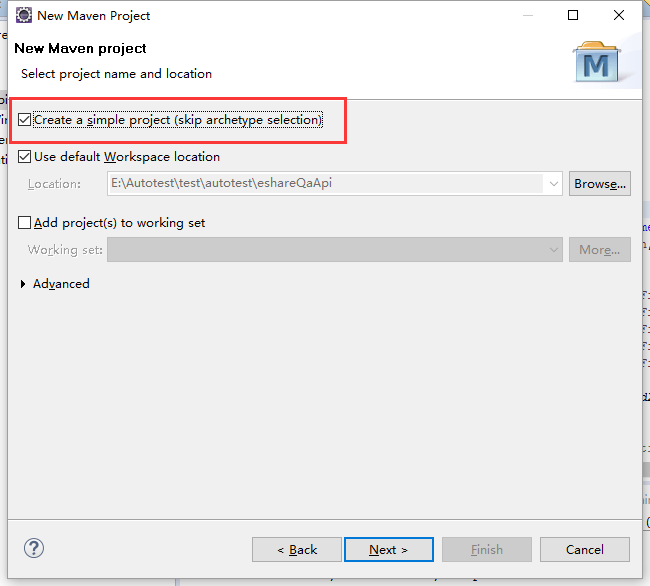
新建一个maven程序

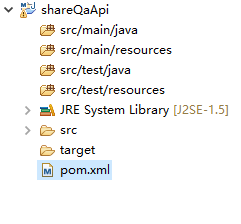
Finish之后,工程以及默认pxm.xml文件内容,如图所示:
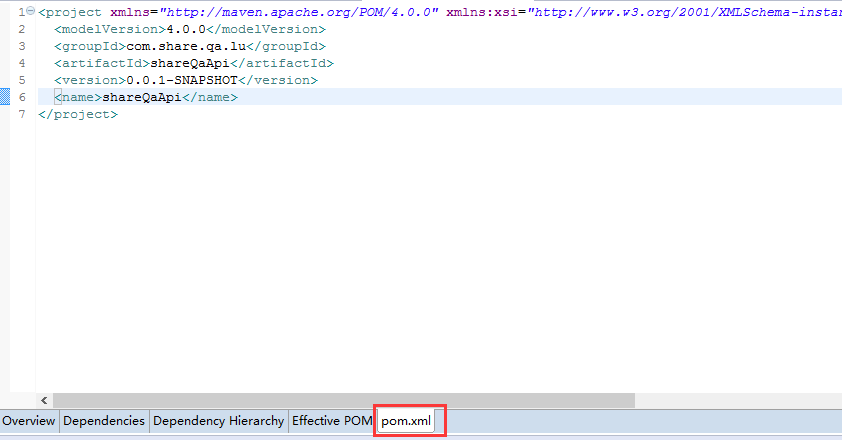
在pom.xml文件里面导入需要的jar包依赖,类似如下代码
<dependencies>
<dependency>
<groupId>log4j</groupId>
<artifactId>log4j</artifactId>
<version>1.2.17</version>
</dependency>
</dependencies>
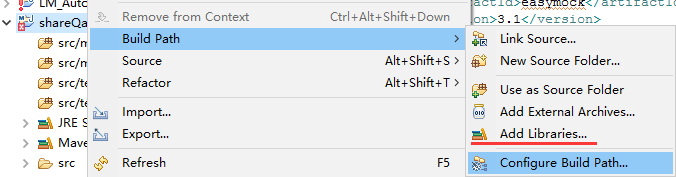
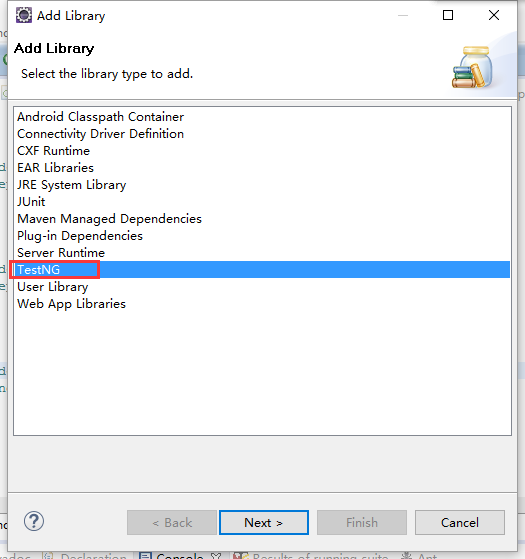
导入TestNG依赖包
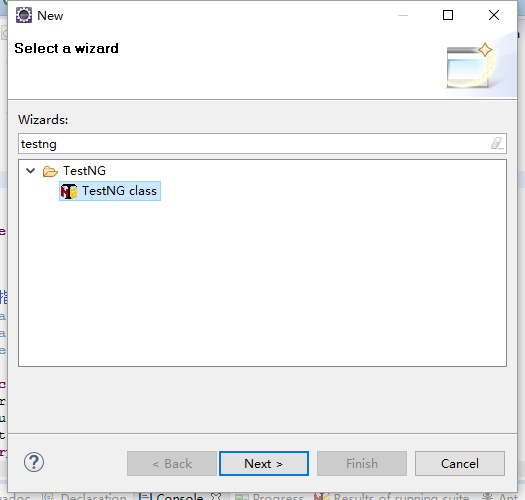
新建testng class文件
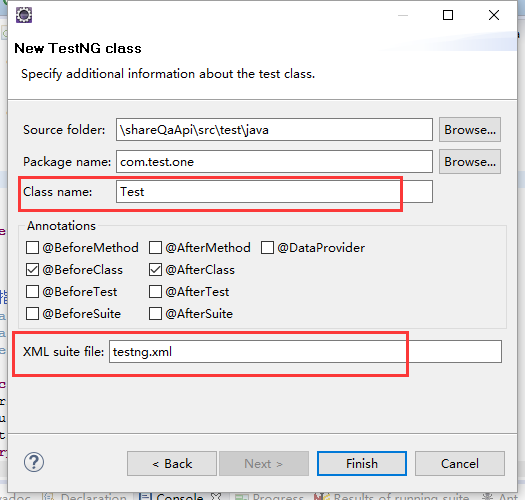
新建的testng自动生成如下,其中<class>节点里面的为运行内容

导入成功之后的项目工程如下:

4、接口测试用例
获取并且执行接口代码如下:
public class HttpUtils {

    static CloseableHttpClient httpclient =null;

    public static void OpenHttpClient()
    {
    //打开浏览器
        httpclient = HttpClients.createDefault();
    }

    public static void CloseHttpClient()
    {
     //关闭浏览器
        try {
            httpclient.close();
        } catch (IOException e) {

            // TODO Auto-generated catch block
            e.printStackTrace();
        }
        httpclient = null;
    }

    public static JSONObject visitUrl(String url)
    {
        //CloseableHttpClient httpclient = HttpClients.createDefault();

        HttpGet httpGet = new HttpGet(url);
//        HttpPost httpPost = new HttpPost(url);
        JSONObject jsonObj=null;
        try {
            CloseableHttpResponse response = httpclient.execute(httpGet);
            HttpEntity entity = response.getEntity();

            StringBuilder jsonStr = new StringBuilder();
            BufferedReader bufferedReader = new BufferedReader(new InputStreamReader(entity.getContent(), "UTF-8"),
                    8 * 1024);
            String line = null;
            while ((line = bufferedReader.readLine()) != null) {
                jsonStr.append(line + "/n");
            }
            EntityUtils.consume(entity);
            //获取JSON对象的值
            jsonObj = new JSONObject(jsonStr.toString());
            response.close();


        } catch (ClientProtocolException e) {
            // TODO Auto-generated catch block
            e.printStackTrace();
        } catch (IOException e) {
            // TODO Auto-generated catch block
            e.printStackTrace();

        }


        return jsonObj;
    }
}
测试用例代码:
public class Test {
  public Assertion assertion;
    @BeforeClass
    public void beforeClass() {
        assertion = new Assertion();
    }

    @BeforeMethod
    public void runBeforeMethod() {
        // 打开httpclient,相当于打开一个浏览器
        HttpUtils.OpenHttpClient();//这边一定要记得在测试用例开始之前打开浏览器,否则会出现空指针的错误
    }
    @AfterMethod
    public void runAfterMethod() {
        // 打开httpclient,相当于打开一个浏览器
        HttpUtils.CloseHttpClient();
    }

  @org.testng.annotations.Test
  public void f() throws ClientProtocolException, IOException {

        String loginUrl = "http://xx.xxx.cn/Org/PCUserLogin.do?u=11111&p=1111&groupId=1";
        JSONObject json = HttpUtils.visitUrl(loginUrl);
        boolean success = json.getBoolean("success");
        String enterTrainningUrl = "http://xx.xxx.cn/Training/enterTrainingCamp.do?roomid=1111";
        System.out.println(enterTrainningUrl);
        JSONObject enterObj = HttpUtils.visitUrl(enterTrainningUrl);
        System.out.println(enterObj.toString());
        boolean success2 = enterObj.getBoolean("success");
        assertion.assertTrue(success);
  }
}
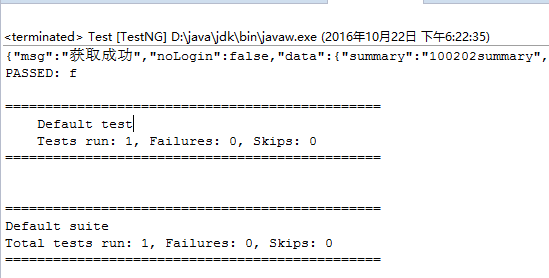
右键单击testng.xml运行

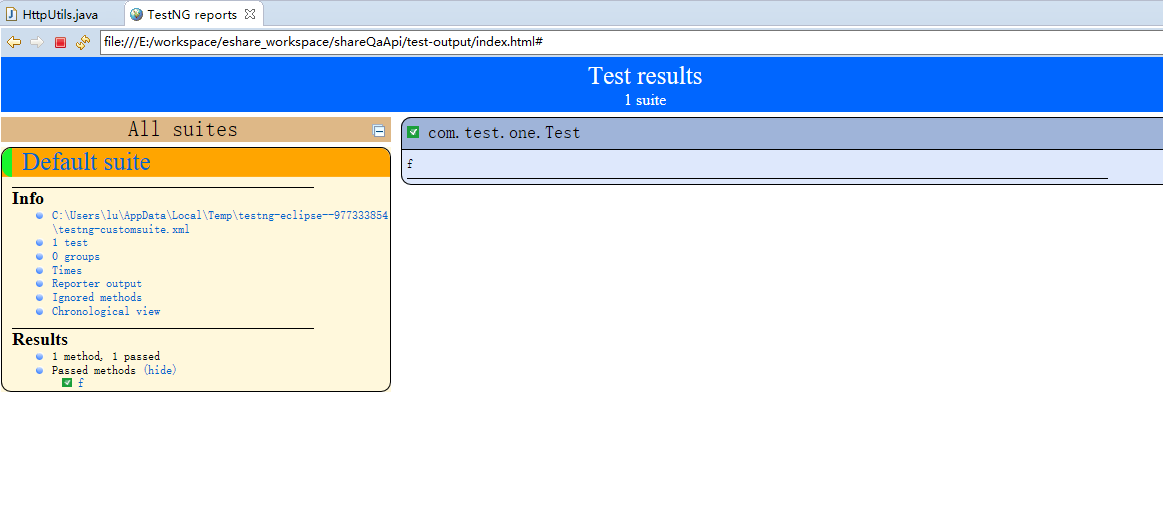
结果如下,passed
运行完成之后,刷新工程,在根目录下会生成一个test_output文件夹,打开index.html,可以看见测试报告