OTSU法(最大类间方差法,有时也称之为大津算法)使用的是聚类的思想。
所以可以在二值化的时候 采用otsu算法来自动选取阈值进行二值化。otsu算法被认为是图像分割中阈值选取的最佳算法,计算简单,不受图像亮度和对比度的影响。因此,使类间方差最大的分割意味着错分概率最小。
从L个灰度级遍历t,使得t为某个值的时候,前景和背景的方差最大, 则 这个 t 值便是我们要求得的阈值。
其中,方差的计算公式如下:
g=wo * (uo - u) * (uo - u) + w1 * (u1 - u) * (u1 - u)
[ 此公式计算量较大,可以采用: g = wo * w1 * (uo - u1) * (uo - u1) ]

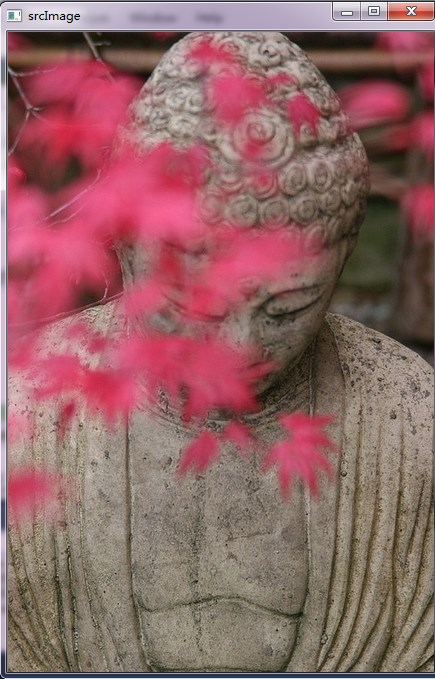
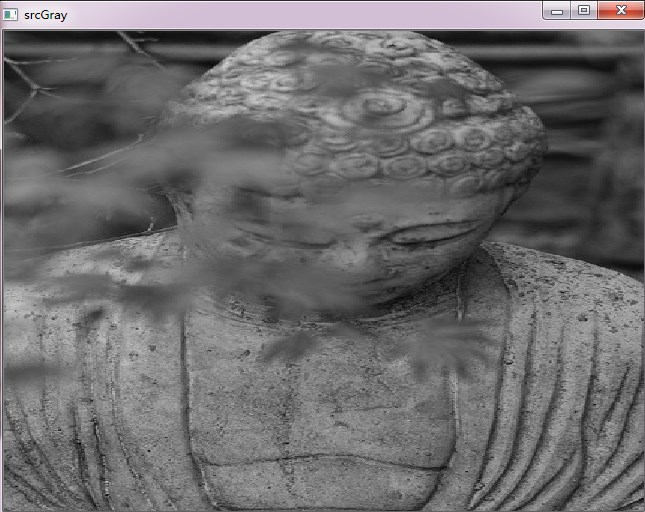
//实现方法1:
////Source Code: https://blog.csdn.net/silent_gods/article/details/81046919
//将OTSU算法实现了一遍

#include "opencv2/opencv.hpp"
#include "opencv2/highgui/highgui.hpp"

#include <string>
#include <stdio.h>

using namespace std;
using namespace cv;

//#define Gamma 3

//OTSU 函数实现
int OTSU(Mat srcImage)
{
    int nCols = srcImage.cols;
    int nRows = srcImage.rows;
    int threshold = 0;
    //init the parameters
    int nSumPix[256];
    float nProDis[256];
    for (int i = 0; i < 256; i++)
    {
        nSumPix[i] = 0;
        nProDis[i] = 0;
    }

    //统计灰度集中每个像素在整幅图像中的个数
    for (int i = 0; i < nRows; i++)
    {
        for (int j = 0; j < nCols; j++)
        {
            nSumPix[(int)srcImage.at<uchar>(i, j)]++;
        }
    }

    //计算每个灰度级占图像中的概率分布
    for (int i = 0; i < 256; i++)
    {
        nProDis[i] = (float)nSumPix[i] / (nCols*nRows);
    }

    //遍历灰度级【0,255】,计算出最大类间方差下的阈值

    float w0, w1, u0_temp, u1_temp, u0, u1, delta_temp;
    double delta_max = 0.0;
    for (int i = 0; i < 256; i++)
    {
        //初始化相关参数
        w0 = w1 = u0 = u1 = u0_temp = u1_temp = delta_temp = 0;
        for (int j = 0; j < 256; j++)
        {
            //背景部分
            if (j <= i)
            {
                w0 += nProDis[j];
                u0_temp += j*nProDis[j];
            }
            //前景部分
            else
            {
                w1 += nProDis[j];
                u1_temp += j*nProDis[j];
            }
        }
        //计算两个分类的平均灰度
        u0 = u0_temp / w0;
        u1 = u1_temp / w1;
        //依次找到最大类间方差下的阈值
        delta_temp = (float)(w0*w1*pow((u0 - u1), 2)); //前景与背景之间的方差(类间方差)
        if (delta_temp > delta_max)
        {
            delta_max = delta_temp;
            threshold = i;
        }
    }
    return threshold;
}


int  main()
{

    namedWindow("srcGray", 0);
    cvResizeWindow("srcGray", 640, 480);
    namedWindow("otsuResultImage", 0);
    cvResizeWindow("otsuResultImage", 640, 480);
    namedWindow("dst", 0);
    cvResizeWindow("dst", 640, 480);
    //图像读取及判断
    Mat srcImage;
    srcImage = imread("D:\0604.png");
    if (!srcImage.data)
    {
        return -1;
    }
    imshow("srcImage", srcImage);
    Mat srcGray;
    cvtColor(srcImage, srcGray, CV_RGB2GRAY);
    imshow("srcGray", srcGray);

    //调用otsu算法得到图像
    int otsuThreshold = OTSU(srcGray);
    cout << otsuThreshold << endl;
    //定义输出结果图像
    Mat otsuResultImage = Mat::zeros(srcGray.rows, srcGray.cols, CV_8UC1);

    //利用得到的阈值进行二值化操作
    for (int i = 0; i < srcGray.rows; i++)
    {
        for (int j = 0; j < srcGray.cols; j++)
        {
            //cout << (int)srcGray.at<uchar>(i, j) << endl;
            //高像素阈值判断
            if (srcGray.at<uchar>(i, j) > otsuThreshold)
            {
                otsuResultImage.at<uchar>(i, j) = 255;
            }
            else
            {
                otsuResultImage.at<uchar>(i, j) = 0;
            }
            //cout <<(int)otsuResultImage.at<uchar>(i, j) << endl;
        }
    }
    imshow("otsuResultImage", otsuResultImage);
    waitKey(0);
    return 0;
}
运行效果:

 1 ////实现方法2:https://blog.csdn.net/u012005313/article/details/51945075
 2 ////相对于实现方法1,方法2直接调用threshold(gray, dst, 0, 255, CV_THRESH_OTSU);
 3 #include <iostream>
 4 #include <opencv2/opencv.hpp>
 5 using namespace std;
 6 using namespace cv;
 7
 8 int main(int argc, char* argv[])
 9 {
10     //Mat img = imread(argv[1], -1);
11     Mat img = imread("D:\0604.png");
12     if (img.empty())
13     {
14         cout << "Error: Could not load image" << endl;
15         return 0;
16     }
17
18     Mat gray;
19     cvtColor(img, gray, CV_BGR2GRAY);
20
21     Mat dst;
22     threshold(gray, dst, 0, 255, CV_THRESH_OTSU);
23
24     imshow("src", img);
25     imshow("gray", gray);
26     imshow("dst", dst);
27     waitKey(0);
28
29     return 0;
30 }
参考:
代码:
https://blog.csdn.net/silent_gods/article/details/81046919
https://blog.csdn.net/u012005313/article/details/51945075
原理:
https://blog.csdn.net/liuzhuomei0911/article/details/51440305
https://blog.csdn.net/xiachong27/article/details/80572469
https://blog.csdn.net/u011574296/article/details/72829925
https://baike.baidu.com/item/otsu/16252828?fr=aladdin
https://www.cnblogs.com/uestc-mm/p/5366908.html
https://blog.csdn.net/baimafujinji/article/details/50629103