一、简单查询案例
1、创建studentdb实体类
package cn.student.entity;

public class Studentdb {
    private Integer sid; //编号
    private String sname;   //姓名
    private String saddress;    //地址

    public Integer getSid() {
        return sid;
    }

    public void setSid(Integer sid) {
        this.sid = sid;
    }

    public String getSname() {
        return sname;
    }

    public void setSname(String sname) {
        this.sname = sname;
    }

    public String getSaddress() {
        return saddress;
    }

    public void setSaddress(String saddress) {
        this.saddress = saddress;
    }
}
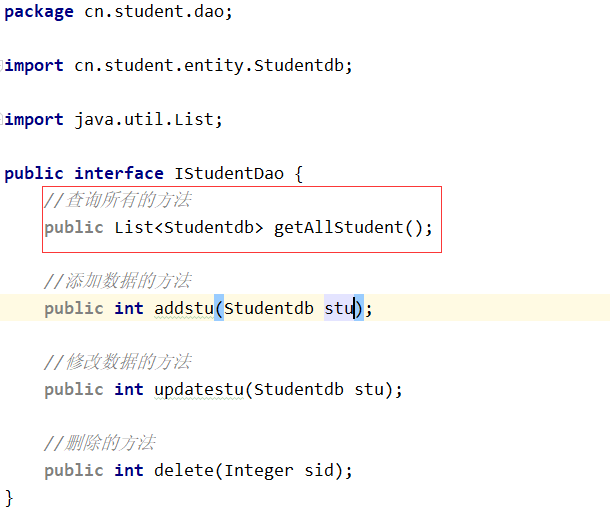
2、创建Dao层接口
3、创建Dao层实现类IStudentDaoImpl并实现查询方法
  @Override
    public List<Studentdb> getAllStudent() {
        //获取JDBC模板对象
        JdbcTemplate jdbcTemplate=getJdbcTemplate();
        String sql="select * from studentinfo";
        //执行查询操作
        List<Studentdb> stuList=jdbcTemplate.query(sql, new RowMapper<Studentdb>() {
            /**
             *
             * @param rs 结果集
             * @param i  当前的记录行
             * @return  方法的返回值,返回泛型
             * @throws SQLException
             */
            @Override
            public Studentdb mapRow(ResultSet rs, int i) throws SQLException {
                Studentdb stu=new Studentdb();
                stu.setSid(rs.getInt("sid"));
                stu.setSname(rs.getString("sname"));
                stu.setSaddress(rs.getString("saddress"));
                return stu;
            }
        });
       /* RowMapper<Studentdb> rowMapper=new BeanPropertyRowMapper<>(Studentdb.class);
        List<Studentdb> stuList=jdbcTemplate.query(sql,rowMapper);*/
        //最后返回list集合
        return stuList;
    }
4、创建Service层

5、创建Service实现层IStudentServiceImpl
package cn.student.service.impl;

import cn.student.dao.IStudentDao;
import cn.student.entity.Studentdb;
import cn.student.service.IStudentSerice;

import java.util.List;

public class IStudentServiceImpl implements IStudentSerice {
    //植入Dao层对象
    private IStudentDao iStudentDao;

    //查询的方法
    @Override
    public List<Studentdb> getAllStudent() {
        return iStudentDao.getAllStudent();
    }

  public IStudentDao getiStudentDao(){
        return iStudentDao;
    }

    public void setiStudentDao(IStudentDao iStudentDao){
        this.iStudentDao=iStudentDao;
    }
}
6、配置jdbc.properties数据源
jdbc.driver=com.mysql.jdbc.Driver
jdbc.url=jdbc:mysql://localhost:3306/studentdb?useUniCode=true&characterEncoding=utf-8
jdbc.username=root
jdbc.password=123
7、配置applicationContext.xml文件
<?xml version="1.0" encoding="UTF-8"?>
<beans xmlns="http://www.springframework.org/schema/beans"
       xmlns:xsi="http://www.w3.org/2001/XMLSchema-instance"
       xmlns:context="http://www.springframework.org/schema/context"
       xsi:schemaLocation="http://www.springframework.org/schema/beans http://www.springframework.org/schema/beans/spring-beans.xsd http://www.springframework.org/schema/context http://www.springframework.org/schema/context/spring-context.xsd">

    <context:component-scan base-package="cn.student"/>
    <!--加载配置文件-->
    <context:property-placeholder location="classpath:database.properties"/>
    <!--
        DataSource供模板调用
        DriverManagerDataSource:spring提供管理数据源的
        c3p0数据源   dbcp数据源
    -->
    <bean id="dataSource" class="org.springframework.jdbc.datasource.DriverManagerDataSource">
        <property value="${jdbc.driver}" name="driverClassName"/>
        <property value="${jdbc.url}" name="url"/>
        <property value="${jdbc.username}" name="username"/>
        <property value="${jdbc.password}" name="password"/>
    </bean>

    <!--植入JDBCTemplate-->
    <bean id="jdbcTemplate" class="org.springframework.jdbc.core.JdbcTemplate">
        <property name="dataSource" ref="dataSource"></property>
    </bean>

    <!--注入Dao层对象-->
    <bean id="iStudentDao" class="cn.student.dao.impl.IStudentDaoImpl">
        <property name="jdbcTemplate" ref="jdbcTemplate"></property>
    </bean>

    <!--值入Service-->
    <bean id="iStudentService" class="cn.student.service.impl.IStudentServiceImpl">
        <property name="iStudentDao" ref="iStudentDao"></property>
    </bean>
</beans>
8、Test测试
public class StudentTest {
    //查询的方法
    @Test
    public void stuTest(){
        ApplicationContext cxt=new ClassPathXmlApplicationContext("applicationContext.xml");
        IStudentSerice iStudentService = (IStudentSerice)cxt.getBean("iStudentService");
        List<Studentdb> stuList=iStudentService.getAllStudent();
        for (Studentdb a:stuList){
            System.out.println(a.getSname());
        }
    }
}
9、测试结果如下

二、实现数据添加(applicationContext.xml文件和jdbc数据源在简单查询中已配置完毕)
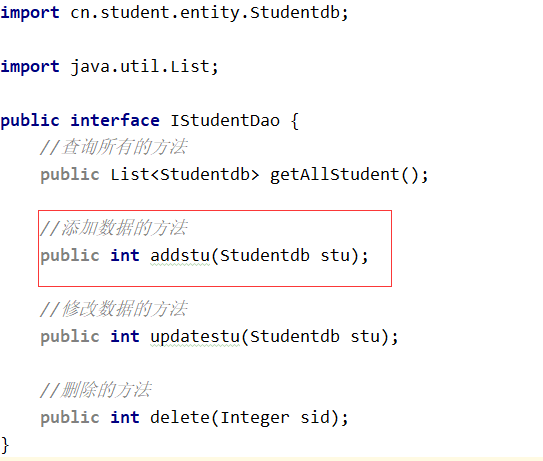
1、在Dao层中添加实现数据添加的方法
2、DaoImpl实现方法
 @Override
    public int addstu(Studentdb stu) {
        String sql="INSERT INTO studentinfo (sname,saddress) VALUES(?,?)";
        Object[] obj={stu.getSname(),stu.getSaddress()};
        int count = this.getJdbcTemplate().update(sql, obj);
        return count;
    }
3、Service层定义相同该方法,
ServiceImpl实现该方法
 //添加的方法
    @Override
    public int addstu(Studentdb stu) {
        return iStudentDao.addstu(stu);
    }
4、Test测试
 //添加的方法
    @Test
    public void addstu(){
        ApplicationContext cxt=new ClassPathXmlApplicationContext("applicationContext.xml");
        IStudentSerice iStudentService = (IStudentSerice)cxt.getBean("iStudentService");
        Studentdb stus=new Studentdb();
        stus.setSname("赵六");
        stus.setSaddress("北京");
        int addstu = iStudentService.addstu(stus);
        System.out.println(addstu);
    }
执行结果大于一表示添加成功
修改案例和添加案例几乎相同不做详细截图
三、实现数据删除
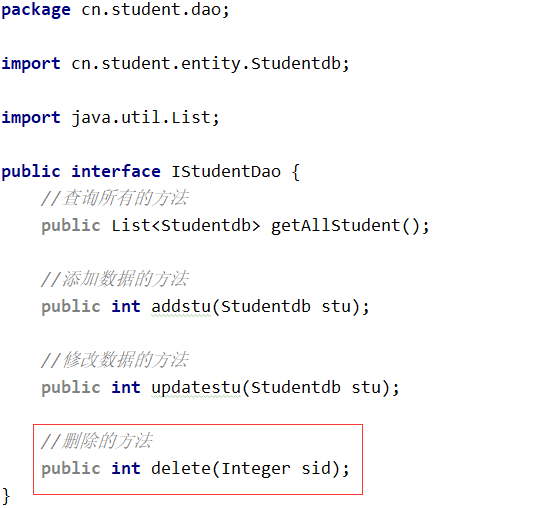
1、在Dao层中添加实现数据删除的方法
2、DaoImpl实现方法
  @Override
    public int delete(Integer sid) {
        String sql="delete from studentinfo where sid=?";
        int count = this.getJdbcTemplate().update(sql, sid);
        return count;
    }
3、Service层定义相同该方法,
ServiceImpl实现该方法
//删除的方法
    @Override
    public int delete(Integer sid) {
        return iStudentDao.delete(sid);
    }
4、Test测试
//删除的方法
    @Test
    public void deletestu(){
        ApplicationContext cxt=new ClassPathXmlApplicationContext("applicationContext.xml");
        IStudentSerice iStudentService = (IStudentSerice)cxt.getBean("iStudentService");
        int delete = iStudentService.delete(7);
        System.out.println(delete);
    }
执行结果大于一表示添加成功