Python Data Science Handbook
https://jakevdp.github.io/PythonDataScienceHandbook/

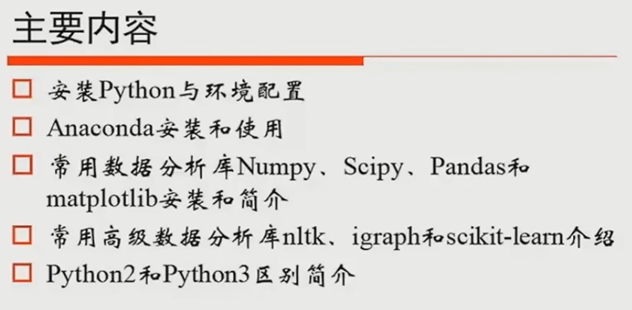
How to install anaconda Python on Ubuntu 16.04.
https://poweruphosting.com/blog/install-anaconda-python-ubuntu-16-04/
What is Anaconda Python?
Anaconda is used for Scientific computing which involves heavy calculations, High Scale data processing and predictive analysis.
Anaconda Python is used by Data scientist, business analyst, and software developers.
Prerequisites
Here are the requirements which you should have to install Anaconda Python.
1.You should have the Ubuntu version of 16.04 and also
2.The non-root user with sudo privileges for your server
Installing Anaconda
Anaconda Python Installation involved only three steps. The steps are
- Download the Anaconda installer bash script, i.e., anaconda python install package(Latest Version)
- Verify the downloaded script
- Run the Script
Step 1
To process anaconda python download go [here](https://www.continuum.io/downloads" target="_blank)
Note: Always try to use the latest version. Anaconda 4.3.0 is the latest version.
The next step is to use the tmp directory on the server. Why we use tmp directory here? The reason is simple. It is to save memory. Once you installed the Bash Script, you don't need it anymore.
Change the directory to tmp.
$ cd /tmp
Now it's time for downloading the bash script. Use curl to download the file.You should copy the URL of the file(Bash Script) from Anaconda Python website.
Paste the URL in front of curl command and run it.
$ curl -O https://repo.continuum.io/archive/Anaconda3-4.2.0-Linux-x86_64.sh
The next step: You have to verify the data integrity using cryptography hash verification via the SHA-256 checksum.
$ sha256sum Anaconda3-4.2.0-Linux-x86_64.sh
Now: To initialize the installation process, Execute the following code.
$ bash Anaconda3-4.2.0-Linux-x86_64.sh
You will get the following output.
Output:

Welcome to Anaconda3 4.2.0 (by Continuum Analytics, Inc.)

To continue the installation process, please    review the license
agreement.
Please, press ENTER to continue
Press enter two times.
Now the license agreement will be there.
Do you approve the license terms? [yes|no]
Then type Yes.
First, you should set location for installation. You can use the default location for the installation or specify a location of your choice to install.
Output
Anaconda3 will now be installed into this location:
/home/sammy/anaconda3

- Press ENTER to confirm the location
- Press CTRL-C to abort the installation
- Or specify a different location below

[/home/sammy/anaconda3] >>>
The Installation process starts now: The installation process takes place and it will take some time to finish. Once the installation is complete, you will get the below output.
Output
...
installation finished.
Do you wish the installer to prepend the Anaconda3     install location
to PATH in your /home/sammy/.bashrc ? [yes|no]
[no] >>>
To use the conda command utility, type yes and you will get the following output.
Output
Prepending PATH=/home/sammy/anaconda3/bin to PATH in    /home/sammy/.bashrc
A backup will be made to: /home/sammy/.bashrc-anaconda3.bak
...
To activate the installation, execute the code below.
$ source ~/.bashrc
Now you have to verify the installation using the conda command.
$ conda list
The output will list all the anaconda python packages you have.
Now, we have verified that the anaconda python is installed. Our next step is to setup the environment for anaconda.