上面是与生命周期有关的内容,下面是属性赋值相关的:
@Configuration
public class ProperTyValueConfig {

    @Bean
    public Person person() {
        return new Person();
    }
}
测试:
public class test {

    private void printBeans(AnnotationConfigApplicationContext applicationContext) {
        String[] beanDefinitionNames = applicationContext.getBeanDefinitionNames();
        for(String name : beanDefinitionNames) {
            System.out.println(name);
        }
        Object p = applicationContext.getBean("person");
        System.out.println(p);
    }

    @Test
    public void test01(){
        AnnotationConfigApplicationContext applicationContext = new AnnotationConfigApplicationContext(ProperTyValueConfig.class);
        System.out.println("容器创建完成");
        printBeans(applicationContext);
        //关闭容器
        applicationContext.close();
    }

}
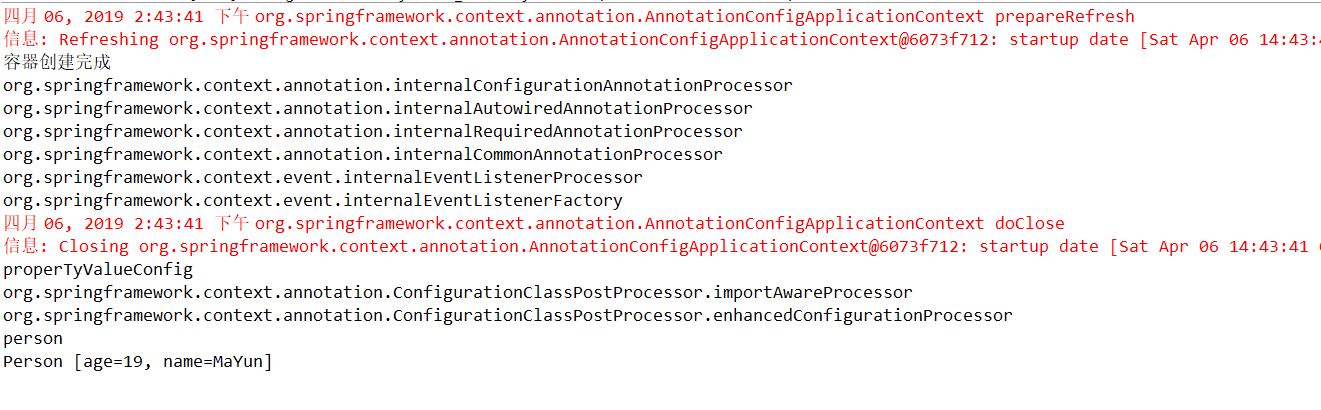
看看容器有哪些Bean
除了容器自带的,还有就是我们配置的person,还没有赋值哦

xml:
<baen id = "person" class = "com.toov5.Person">
<property name = "age" value= 12> </property>
<property name="name" value = "jack"> </property>
</bean>
注解:
@Value() boolean
Spel 基本数值都可以写 #{}
${} 取出配置文件中的值 在运行环境中的变量值
Bean类及其赋值:
package com.toov5.Bean;

import org.springframework.beans.factory.annotation.Value;

public class Person {

 @Value("#{20-1}")
  int age;

 @Value("MaYun")
  String name;

public Person() {
    // TODO Auto-generated constructor stub
}

public Person(int age, String name) {
    super();
    this.age = age;
    this.name = name;
}

@Override
public String toString() {
    return "Person [age=" + age + ", name=" + name + "]";
}

}
注意赋值 @Value 类型要匹配
下面介绍使用properties文件的:
如果用xml形式的读取:
xml中需要有命名空间: <context: property-placeholder location=“xxxxxx/xxx” /> 用其导入外部的配置文件
如果用注解的方式读取:
config:
@Configuration
@PropertySource(value= {"classpath"/person.properties"})
public class ProperTyValueConfig {

     @Bean
        public Person person() {
            return new Person();
        }
}
Bean类:
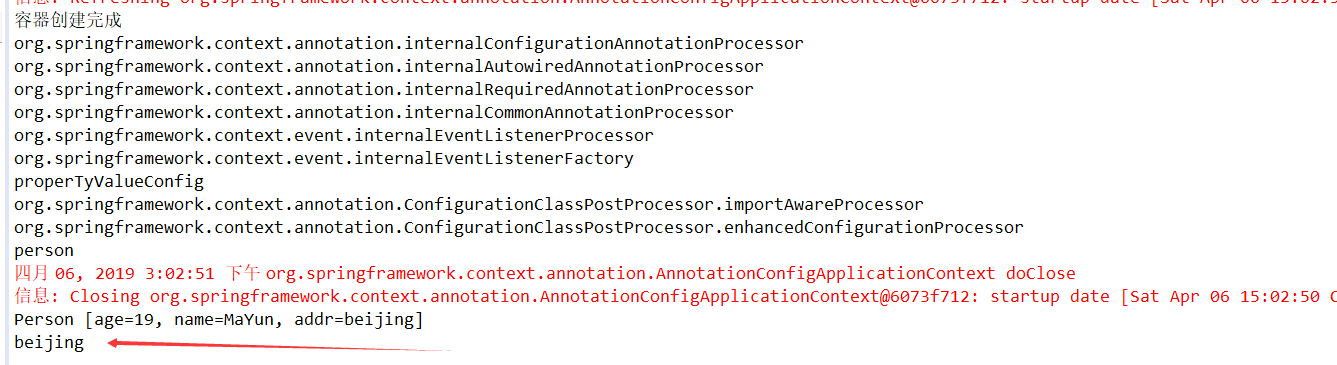
public class Person {

 @Value("#{20-1}")
  int age;

 @Value("MaYun")
  String name;

 @Value("${person.addr}")
  String addr;

public Person() {
    // TODO Auto-generated constructor stub
}

public Person(int age, String name) {
    super();
    this.age = age;
    this.name = name;
}

public int getAge() {
    return age;
}

public void setAge(int age) {
    this.age = age;
}

public String getName() {
    return name;
}

public void setName(String name) {
    this.name = name;
}

public String getAddr() {
    return addr;
}

public void setAddr(String addr) {
    this.addr = addr;
}

@Override
public String toString() {
    return "Person [age=" + age + ", name=" + name + ", addr=" + addr + "]";
}

}
properties:

person.addr=beijing
测试:
public class test {

    private void printBeans(AnnotationConfigApplicationContext applicationContext) {
        String[] beanDefinitionNames = applicationContext.getBeanDefinitionNames();
        for(String name : beanDefinitionNames) {
            System.out.println(name);
        }
        Object p = applicationContext.getBean("person");
        System.out.println(p);
    }

    @Test
    public void test01(){
        AnnotationConfigApplicationContext applicationContext = new AnnotationConfigApplicationContext(ProperTyValueConfig.class);
        System.out.println("容器创建完成");
        printBeans(applicationContext);
        //关闭容器
        applicationContext.close();
    }

}

一旦properties文件被加载,还可以使用如下方式获取:
public class test {

    private void printBeans(AnnotationConfigApplicationContext applicationContext) {
        String[] beanDefinitionNames = applicationContext.getBeanDefinitionNames();
        for(String name : beanDefinitionNames) {
            System.out.println(name);
        }
        Object p = applicationContext.getBean("person");
        System.out.println(p);
        //运行时环境变量
        ConfigurableEnvironment environment = applicationContext.getEnvironment();
        String property = environment.getProperty("person.addr");
        System.out.println(property);

    }

    @Test
    public void test01(){
        AnnotationConfigApplicationContext applicationContext = new AnnotationConfigApplicationContext(ProperTyValueConfig.class);
        System.out.println("容器创建完成");
        printBeans(applicationContext);
        //关闭容器
        applicationContext.close();
    }

}
自动装配:
Spring 利用依赖注入(DI),完成IOC容器中格个组件的依赖关系赋值
Service
@Service
public class BookService {

    @Autowired
    private BookDao bookDao;

    public void print() {
        System.out.println(bookDao);
    }
    @Override
    public String toString() {
        return "BookService"+bookDao;
    }
}
config:
@Configuration
@ComponentScan({"com.toov5.dao","com.toov5.service","com.toov5.controller"})
public class ProperTyValueConfig {

}
test:
public class test {

    @Test
    public void test01(){
        AnnotationConfigApplicationContext applicationContext  =new AnnotationConfigApplicationContext(ProperTyValueConfig.class);
        BookService bookService =(BookService) applicationContext.getBean(BookService.class); //按照类型去拿
        System.out.println(bookService);
        applicationContext.close();
    }

}

有了dao哦
其实就是容器中的到哦:

@Autowired 自动注入
默认优先按照类型去容器找对应的组件: applicationContext.getBean(BookService.class);
找到则赋值
如果这个类型的组件在IOC中有多个,怎么处理?
容器中有两个类型相同 名字不同的bean
如果找到多个相同类型的组件,再将属性名作为组件的id 去容器中查找。applicationContext.getBean("bookDao")
在装配时候:
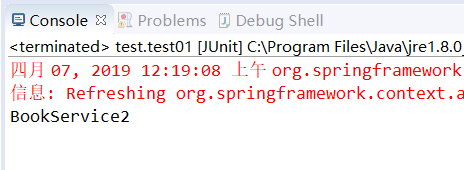
名字是bookDao2
@Service
public class BookService {

    @Autowired
    private BookDao bookDao2;

    public void print() {
        System.out.println(bookDao2);
    }
    @Override
    public String toString() {
        return "BookService"+bookDao2.getFlag();
    }
}
config注入的是 bookDao2
@Configuration
@ComponentScan({"com.toov5.dao","com.toov5.service","com.toov5.controller"})
public class ProperTyValueConfig {

    @Bean(name="bookDao2")
    public BookDao bookDao() {
         BookDao bookDao = new BookDao();
         bookDao.setFlag("2");
         return bookDao;
    }
}
测试:
public class test {

    @Test
    public void test01(){
        AnnotationConfigApplicationContext applicationContext  =new AnnotationConfigApplicationContext(ProperTyValueConfig.class);
        BookService bookService =(BookService) applicationContext.getBean(BookService.class); //按照类型去拿
        System.out.println(bookService);

        BookDao bookDao = applicationContext.getBean(BookDao.class);
        System.out.println(bookDao.getFlag());

        applicationContext.close();
    }
}
可以在装配时候这么玩儿
@Qualifier("bookDao") 指定需要抓给你配的组件的id 而不是属性名
@Service
public class BookService {

    @Qualifier("bookDao")
    @Autowired
    private BookDao bookDao2;

    public void print() {
        System.out.println(bookDao2);
    }
    @Override
    public String toString() {
        return "BookService"+bookDao2.getFlag();
    }
}
打印:

自动装配默认一定要将属性赋值好,没有就会报错
如果:
@Service
public class BookService {

    @Qualifier("bookDao")
    @Autowired(required=false)
    private BookDao bookDao2;

    public void print() {
        System.out.println(bookDao2);
    }
    @Override
    public String toString() {
        return "BookService"+bookDao2.getFlag();
    }
}
如果没有的情况下,不报错:
@Service
public class BookService {

    @Qualifier("bookDao666")
    @Autowired(required=false)
    private BookDao bookDao2;

    public void print() {
        System.out.println(bookDao2);
    }
}
测试:
public class test {

    @Test
    public void test01(){
        AnnotationConfigApplicationContext applicationContext  =new AnnotationConfigApplicationContext(ProperTyValueConfig.class);
        BookService bookService =(BookService) applicationContext.getBean(BookService.class); //按照类型去拿
        bookService.print();

        applicationContext.close();
    }
}
打印:
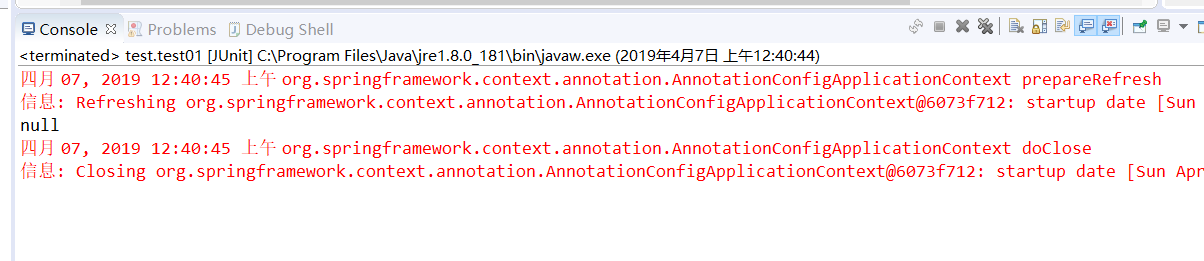
容器中没有的情况 会null
还有一个spring的牛逼的注解 @Primary 让spring自动装配的时候 默认使用首选bean
@Configuration
@ComponentScan({"com.toov5.dao","com.toov5.service","com.toov5.controller"})
public class ProperTyValueConfig {

    @Primary
    @Bean(name="bookDao2")
    public BookDao bookDao() {
         BookDao bookDao = new BookDao();
         bookDao.setFlag("2");
         return bookDao;
    }
}
每次首选装配的是加了 @Primary的
既然已经在容器中声明了 在装配时候 @Qualifier 就不需要了
使用首选来装配
如果加了@Qualifier 那就是明确指定的了
service:
@Service
public class BookService {

    @Autowired(required=false)
    private BookDao bookDao;

    public void print() {
        System.out.println(bookDao.getFlag());
    }
}
config 明确了优先装配的bean
@Configuration
@ComponentScan({"com.toov5.dao","com.toov5.service","com.toov5.controller"})
public class ProperTyValueConfig {

    @Primary
    @Bean(name="bookDao2")
    public BookDao bookDao() {
         BookDao bookDao = new BookDao();
         bookDao.setFlag("2");
         return bookDao;
    }
}
测试:
public class test {

    @Test
    public void test01(){
        AnnotationConfigApplicationContext applicationContext  =new AnnotationConfigApplicationContext(ProperTyValueConfig.class);
        BookService bookService =(BookService) applicationContext.getBean(BookService.class); //按照类型去拿
        bookService.print();

        applicationContext.close();
    }
}
Spring还支持使用 @Resource(JSR250) java 规范的注释 @Qualifier+ @Autowired = @Resource 或者 @Resource(name="bookDao2") 否则就默认当前的属性名字
和 @Inject(JSP330) 需要额外导入依赖 (maven仓库搜索inject) Autowried可以设置required属性
@Autowried构造器 参数 方法 属性 都可以标注使用
CarBean:
@Component
public class Car {
  public Car() {
    System.out.println("无参构造初始化");
}
  public void init() {
    System.out.println("CarBean---init");
}
  public void destory() {
    System.out.println("CarBean---destory");
  }
}
BossBean: 默认加载IOC容器中的组件,容器会调用无参构造器创建对象,在进行初始化赋值等操作。
@Component
public class Boss {

    private Car car;

    public Car getCar() {
        return car;
    }
    @Autowired //标注在方法上 spring容器创建对象时候 调用方法 完成赋值。方法使用的参数,自定义类型的值 从IOC获取值
    public void setCar(Car car) {
        this.car = car;
    }
}
config:
@Configuration
@ComponentScan({"com.toov5.Bean"})
public class ProperTyValueConfig {

    @Primary
    @Bean(name="bookDao2")
    public BookDao bookDao() {
         BookDao bookDao = new BookDao();
         bookDao.setFlag("2");
         return bookDao;
    }
}
测试:
public class test {
    @Test
    public void test01(){
        AnnotationConfigApplicationContext applicationContext  =new AnnotationConfigApplicationContext(ProperTyValueConfig.class);
        Boss boss =(Boss) applicationContext.getBean(Boss.class); //按照类型去拿
        System.out.println(boss.getCar());
      //再从容器中获取car  进行比对
        Car carBean =applicationContext.getBean(Car.class);
        System.out.println(carBean);
        applicationContext.close();
    }
}
打印:

来个有参构造器: 标注在有参构造器上面: Spring启动时候 调用有参构造器
@Component
public class Boss {

    private Car car;

    @Autowired
    public Boss(Car car) {
        this.car=car;
        System.out.println("Boss 有参构造器  ");
    }

    public Car getCar() {
        return car;
    }
 //    @Autowired //标注在方法上 spring容器创建对象时候 调用方法 完成赋值。方法使用的参数,自定义类型的值 从IOC获取值
    public void setCar(Car car) {
        this.car = car;
    }
}

当然也可以放在参数位置:
    public Boss(@Autowired  Car car) {
        this.car=car;
        System.out.println("Boss 有参构造器  ");
    }
如果只有一个有参构造器,注解可以省略。建议平时大家开发时候还是不要省略了吧
也可以在config里面这么玩儿
@Configuration
@ComponentScan({"com.toov5.Bean"})
public class ProperTyValueConfig {

    @Primary
    @Bean(name="boss")
    public Boss boss(Car car) {
        Boss boss =new Boss();
        boss.setCar(car);
        return boss;

    }
}
Bean标注的方法创建对象的时候,方法参数的值从容器中获取!
原理可以看Aware接口

可以看下这个:

启动容器后,创建对象,需要的其他组件都会以接口方法回调的方式引入进来
bean:
@Component
public class Animal implements ApplicationContextAware,BeanNameAware,EmbeddedValueResolverAware {
  private ApplicationContext applicationContext;
  String  color ;
  String  name;
  public Animal() {
    // TODO Auto-generated constructor stub
}
public Animal(String color, String name) {
    super();
    this.color = color;
    this.name = name;
}
//第一个接口
public void setApplicationContext(ApplicationContext applicationContext) throws BeansException {
    System.out.println("传入IOC:"+applicationContext);
    this.applicationContext=applicationContext;

}
//第二个接口
public void setBeanName(String name) {  //传入bean名字 通过名字去容器查找bean
    System.out.println("当前bean的名字"+name);

}
//第三个接口
//容器启动时候  创建对象 然后把resolver对象传递进来
public void setEmbeddedValueResolver(StringValueResolver resolver) { //解析字符串 # {}  等等
    // TODO Auto-generated method stub
    String resolveStringValue = resolver.resolveStringValue("你好${os.name} 我是#{30*1}");
    System.out.println("解析的字符串"+resolveStringValue);
}

}
config:
@Configuration
@ComponentScan({"com.toov5.Bean"})
public class ProperTyValueConfig {

    @Primary
    @Bean(name="boss")
    public Boss boss(Car car) {
        Boss boss =new Boss();
        boss.setCar(car);
        return boss;
    }
}
测试:
public class test {
    @Test
    public void test01(){
        AnnotationConfigApplicationContext applicationContext  =new AnnotationConfigApplicationContext(ProperTyValueConfig.class);
        Boss boss =(Boss) applicationContext.getBean(Boss.class); //按照类型去拿
        System.out.println(boss.getCar());
      //再从容器中获取car  进行比对
        Car carBean =applicationContext.getBean(Car.class);
        System.out.println(carBean);
        applicationContext.close();
    }
}
打印:

自定义组件想要使用Spring容器底层的一些组件 (ApplicationContext BeanFactory...)
自定义组件实现xxxAware; 在创建对象的时候,会调用接口规定的方法注入相关组件; Aware; 把Spring 底层一些组件注入到自定义的Bean
每个xxxAware 都会有相关的 xxxAwareProcessor 后置处理器