要想在没有安装 Python 集成环境的电脑上运行开发的
Python 程序,必须把 Python 文件打包成 .exe 格式的可执行
文件。
Python 的打包工作 PyInstaller 提供了两种把 .py 文件包
成 .exe 文件的方式:
第一种方式是把由 .py 文件打包而成的 .exe 文件及相
关文件放在一个目录中 。 这种方式是默认方式,称为 onedir
方式。
第二种方式是加上-F 参数后把制作出的 .exe 打包成一
个独立的 .exe 格式的可执行文件 , 称为 onefile 方法 。
安装 Pyl nstaller
pip3 install pyinstaller
Pylnstaller 使用方法
PyInstaller 有两种制作 exe 文件的方法。


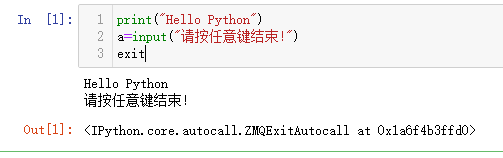
print("Hello Python")
a=input("请按任意键结束!")
exit
以 onedir 方式制作 .exe 可执行文件
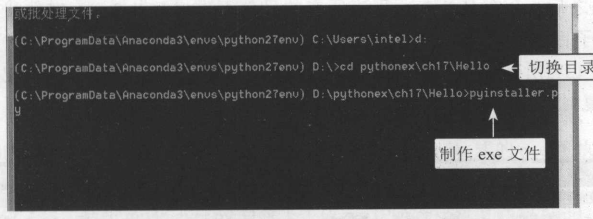
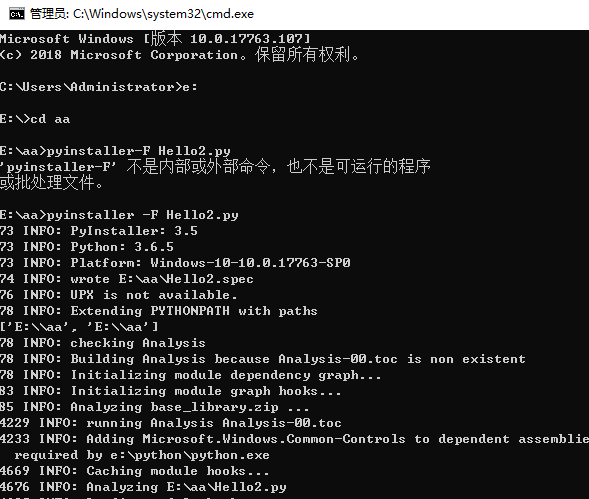
切换到 Hello.py 应用程序所在的目录,然后用
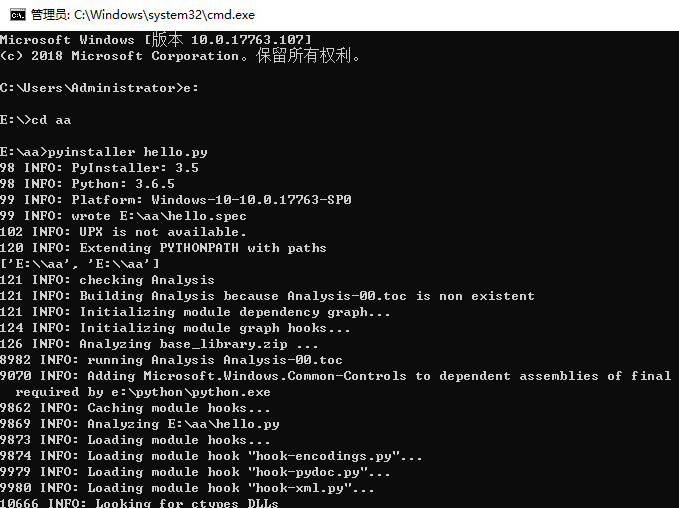
pyinstaller Hello.py 命令把 Hello.py 程序打包成 onedir 方式的 .exe 文件 。
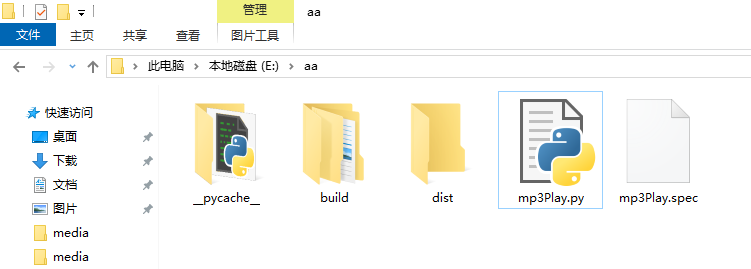
打包完成后,在 Hello.py 所在的目录下生成了 Hello.spec 文件和 build 、 dist 两个
子目录 。 其中 dist 子目录中又创建了 Hello 子目录, Hello 子目录中生成了许多文件,
其中就有一个名为 Hello.exe 的文件,我们只要把整个 Hello 目录复制到其他计算机
中,就可以在其他计算机上执行这个 Hello.exe 文件。

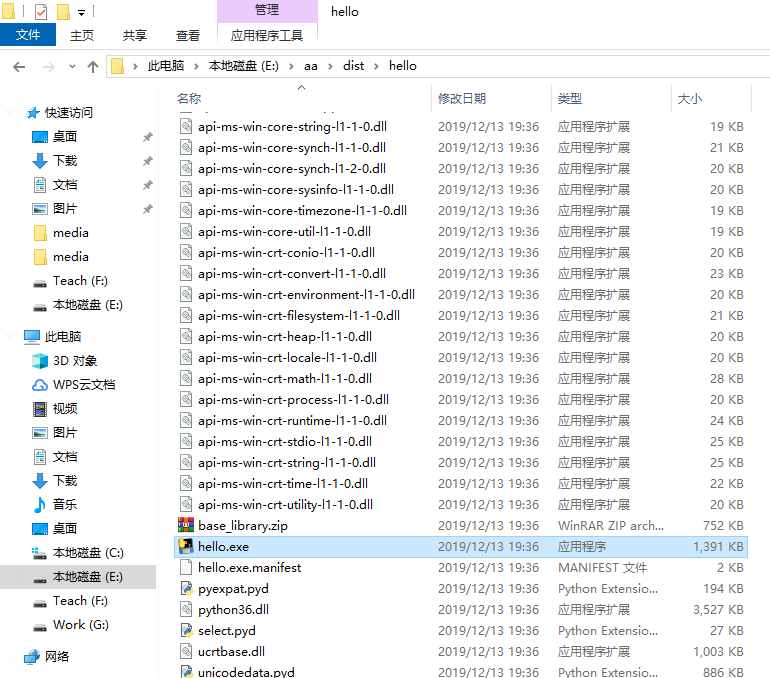
双击就可以运行那个hello.exe文件了,就算本机没有安装python也能运行这个文件。
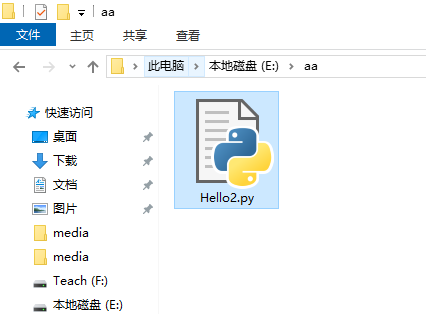
实际制作 onefile 式的 .exe 文件
现在我们通过下列程序来学习 onfi le 式的打包方法 。 程序内容如下:

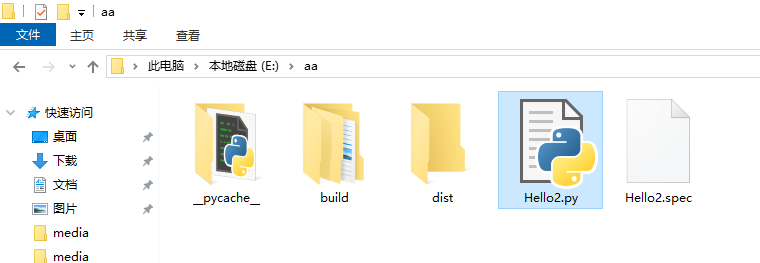
完成之后,会在 Hello2.py 程序所在的目录下生成 He llo2 叩巳c 文件和 build 、
dist 两个子目录,其中 dist 子目录中只建立了 一 个 Hello2.exe 可执行文件,因为
pyinstaller 己将所有相关的包都包含在了 He llo2.exe 文件中,所以我们只要把 He llo2 .
exe 文件复制到其他计算机上就可以运行了。

双击就能运行这个文件了,就算本机不安装python也能正常运行。

项目打包为可执行文件
在实际应用上, 一般的 Python 程序不会这么简单,可能还包含很多包或是相
关的资源文件,如图片、声音,甚至用 se lenium 执 行 webdriver 时,还必须用到
ChromeDriver.exe 建立 Google Chrome 浏览器等复杂情况。
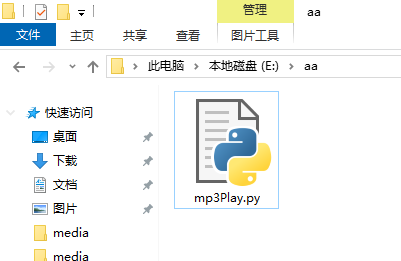
以 onefile 方式打包 mp3player 声音播放程序
def choose(): # 选曲
    global playsong
    msg.set("
播放歌曲:" + choice.get())
    playsong=choice.get()

def pausemp3(): #暂停
    mixer.music.pause()
    msg.set("
暂停播放 {}".format(playsong))

def increase(): #加大音量
    global volume
    volume +=0.1
    if volume>=1:
        volume=1
    mixer.music.set_volume(volume)

def decrease(): #调小音量
    global volume
    volume -=0.1
    if volume<=0.3:
        volume=0.3
    mixer.music.set_volume(volume)

def playmp3(): #播放
    global status,playsong,preplaysong
    if playsong==preplaysong: #同一首歌曲
        if not mixer.music.get_busy():
            mixer.music.load(playsong)
            mixer.music.play(loops=-1)
        else:
            mixer.music.unpause()
        msg.set("
正在播放:{}".format(playsong))
    else: # 更换歌曲
        playNewmp3()
        preplaysong=playsong

def playNewmp3(): #播放新曲
    global playsong
    mixer.music.stop()
    mixer.music.load(playsong)
    mixer.music.play(loops=-1)
    msg.set("
正在播放:{}".format(playsong))

def stopmp3(): #停止播放
    mixer.music.stop()
    msg.set("
停止播放")

def exitmp3(): # 结束
    mixer.music.stop()
    win.destroy()

### 主程序从这里开始 ###

import tkinter as tk
from pygame import mixer
import glob

mixer.init()
win=tk.Tk()
win.geometry("640x380")
win.title("mp3 播放器")

labeltitle = tk.Label(win, text="nmp3 播放器", fg="red",font=("新细明体",12))
labeltitle.pack()

frame1 = tk.Frame(win)  # mp3 歌曲容器
frame1.pack()

source_dir = "F:\pythonBase\pythonex\ch13\mp3\"
mp3files = glob.glob(source_dir+"*.mp3")

playsong=preplaysong = ""
index = 0
volume=0.6
choice = tk.StringVar()

for mp3 in mp3files:  #建立歌曲菜单按钮
    rbtem = tk.Radiobutton(frame1,text=mp3,variable=choice,value=mp3,command=choose)
    if(index==0):  #选择第1个按钮
        rbtem.select()
        playsong=preplaysong=mp3
    rbtem.grid(row=index, column=0, sticky="w")
    index += 1

msg = tk.StringVar()
msg.set("
播放歌曲:")
label = tk.Label(win, textvariable=msg,fg="blue",font=("新细明体",10))
label.pack()
labelsep = tk.Label(win, text="
")
labelsep.pack()

frame2 = tk.Frame(win)  # 按钮容器
frame2.pack()
button1 = tk.Button(frame2, text="播放", width=8,command=playmp3)
button1.grid(row=0, column=0, padx=5, pady=5)
button2 = tk.Button(frame2, text="暂停", width=8,command=pausemp3)
button2.grid(row=0, column=1, padx=5, pady=5)
button3 = tk.Button(frame2, text="音量调大", width=8,command=increase)
button3.grid(row=0, column=2, padx=5, pady=5)
button4 = tk.Button(frame2, text="音量调小", width=8,command=decrease)
button4.grid(row=0, column=3, padx=5, pady=5)
button5 = tk.Button(frame2, text="停止", width=8,command=stopmp3)
button5.grid(row=0, column=4, padx=5, pady=5)
button6 = tk.Button(frame2, text="结束", width=8,command=exitmp3)
button6.grid(row=0, column=5, padx=5, pady=5)
win.protocol("WM_DELETE_WINDOW", exitmp3)
win.mainloop()


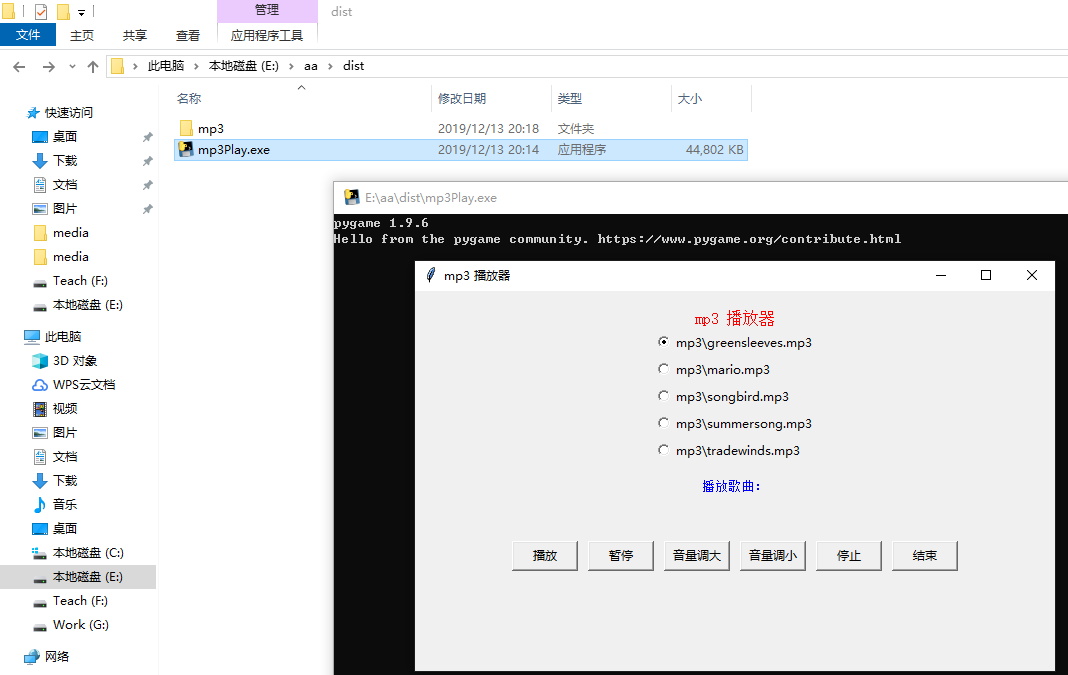
运行打包有额外的文件的时候,记得要把那些额外的文件复制到对应这个.exe文件目录中,这样才能正常加载所需文件运行。