方法一:直接使用tensorflow提供的函数image = tf.gfile.FastGFile('PATH')来读取一副图片:
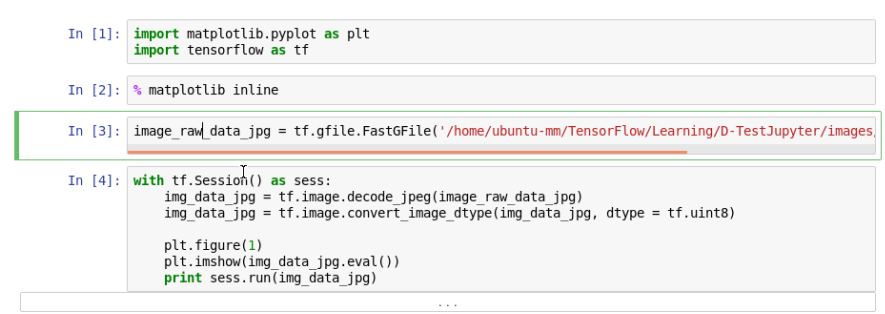
import matplotlib.pyplot as plt;
import tensorflow as tf;

% matplotlib inline #将matplotlib绘制的图像直接输出到当前交互式的框架下

image_raw_data_jpg = tf.gfile.FastGFile('home/ubuntu-mm/TensorFlow/Learning/D-TestJupyter/image/Train/Pic.jpg', 'r').read()

with tf.Session() as sess:
    img_data_jpg = tf.image.decode_jpeg(image_raw_data_jpg) #图像解码
    img_data_jpg = tf.image.convert_image_dtype(img_data_jpg, dtype=tf.uint8) #改变图像数据的类型

    plt.figure(1) #图像显示
    plt.imshow(img_data_jpg.eval())
    print sess.run(img_data_jpg)
我用的是基于Ubuntu16.04操作系统下的Jupyter来编写的程序,CPU版本(记得加% matplotlib inline就能显示出图像了)
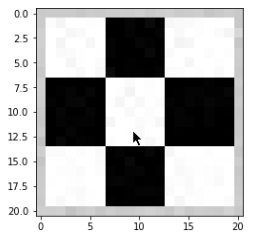
实验的结果如下所示:
方法二:将图像加载到创建好的队列中使用tf.train.string_input_producer(),然后再加载到变量当中:
import tensorflow as tf;
import matplotlib.pyplot as plt

path = '/home/ubuntu-mm/TesorFlow/Learning/D-TestJupyter/images/Train/Pic.jpg'
file_queue = tf.train.string_input_producer([path]) #创建输入队列
image_reader = tf.WholeFileReader()
_, image = image_reader.read(file_queue)
image = tf.image.decode_jpeg(image)

with tf.Session() as sess:
    coord = tf.train.Coordinator() #协同启动的线程
    threads = tf.train.start_queue_runners(sess=sess, coord=coord) #启动线程运行队列
    print sess.run(image)
    coord.request_stop() #停止所有的线程
    coord.join(threads)
    image_uint8 = tf.image.convert_image_dtype(image, dtype = tf.uint8)
    plt.imshow(image_uint8.eval())

实验结果如下所示:
