摘要:
在这篇文章中,我将在一个例子中实际地展示MVC。
场景
假设一个朋友决定举办一个新年晚会,她邀请我创建一个用来邀请朋友参加晚会的WEB程序。她提出了四个注意的需求:
- 一个首页展示这个晚会
- 一个表单用来提交申请
- 验证表单内容,成功后显示谢谢页面
- 完成后给主人发送申请邮件
添加Model类GuestResponse
任何程序都应该是以数据为中心。因此,首先,在工程内添加Domain Model。
在工程根部创建Model文件夹。
在Model文件夹内创建GuestResponse.cs代码文件。
修改GustResponse代码。
 1 using System;
 2 using System.Collections.Generic;
 3 using System.Linq;
 4 using System.Web;
 5
 6 namespace PartyInvite.Models
 7 {
 8     public class GuestResponse
 9     {
10         public string Name { get; set; }
11         public string Email { get; set; }
12         public string Phone { get; set; }
13         public bool? WillAttend { get; set; }
14     }
15 }
修改Index视图。
我将打算将Home/Index作为首页,修改Index视图。
 1 @{
 2     Layout = null;
 3 }
 4
 5 <!DOCTYPE html>
 6
 7 <html>
 8 <head>
 9     <meta name="viewport" content="width=device-width" />
10     <title>Index</title>
11 </head>
12 <body>
13     <div>
14        @ViewBag.Greeting World (from the view)
15         <p>
16             We're going to have an exciting party.<br />
17             (To do: sell it better. Add pictures or something.)
18         </p>
19         @Html.ActionLink("RSVP Now", "RsvpForm")
20     </div>
21 </body>
22 </html>
执行程序,在浏览器中得到运行结果。

在页面底部出现了一个“RSVP Now链接”,这个链接是方法Html.ActionLink得到的。
将鼠标移到该链接上,可以看到链接指向了/Home/RsvpForm链接。

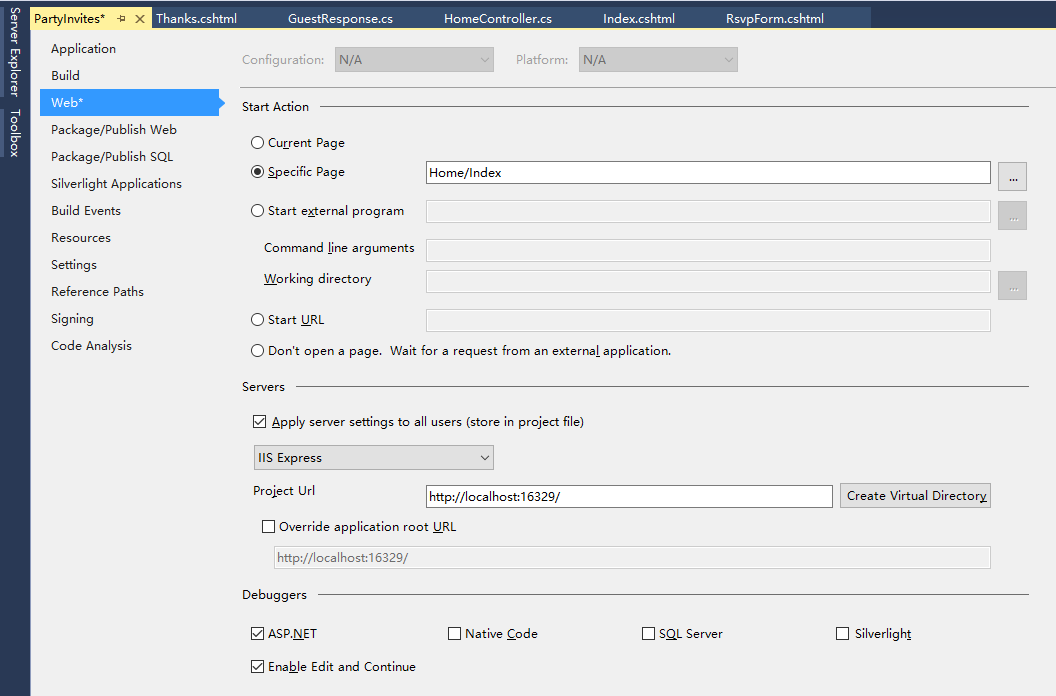
为工程指定默认页面
鼠标右键工程PartyInvites,在弹出的菜单中选择Properties。在Web选项卡中选择“Specific page”,在输入框中输入Home/Index。
为RSVP添加Action和视图
返回HomeController,添加Action。
 1 using System;
 2 using System.Collections.Generic;
 3 using System.Linq;
 4 using System.Web;
 5 using System.Web.Mvc;
 6
 7 namespace PartyInvites.Controllers
 8 {
 9     public class HomeController : Controller
10     {
11         // GET: Home
12         public ViewResult Index()
13         {
14             int hour = System.DateTime.Now.Hour;
15             ViewBag.Greeting = hour < 12 ? "Good Moring" : "Good Afternoon";
16             return View();
17         }
18
19         public ViewResult RsvpForm()
20         {
21             return View();
22        }
23     }
24 }
为RsvpForm这个Action添加视图。
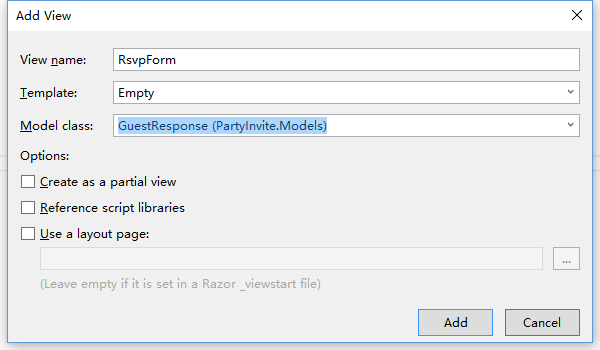
模板选择“Empty”,Model class选择刚创建的Domain Model类GuestResponse。点击“Add”按钮添加。
修改添加的视图RsvpForm.cshtml。
 1 @model PartyInvite.Models.GuestResponse
 2
 3 @{
 4     Layout = null;
 5 }
 6
 7 <!DOCTYPE html>
 8
 9 <html>
10 <head>
11     <meta name="viewport" content="width=device-width" />
12     <title>RsvpForm</title>
13 </head>
14 <body>
15     @using (Html.BeginForm())
16     {
17         <p>Your name: @Html.TextBoxFor(x => x.Name) </p>
18         <p>Your email: @Html.TextBoxFor(x => x.Email)</p>
19         <p>Your phone: @Html.TextBoxFor(x => x.Phone)</p>
20         <p>
21             Will you attend?
22             @Html.DropDownListFor(x => x.WillAttend, new[] {
23                                       new SelectListItem() {Text = "Yes, I'll be there",
24                                       Value = bool.TrueString},
25                                       new SelectListItem() {Text = "No, I can't come",
26                                       Value = bool.FalseString}
27                                 }, "Choose an option")
28         </p>
29         <input type="submit" value="Submit RSVP" />
30     }
31 </body>
32 </html>
一些解释:

@model PartyInvite.Models.GuestResponse:此视图以GuestResponse类作为它的Model。
@using (Html.BeginForm()) {}: 调用Html帮助类,创建一个表单,大括号里面的内容是表单内容。
@Html.TextBoxFor、@Html.DropDownListFor:调用Html帮助类,传入lamda表达式,为表单创建输入HTML元素。
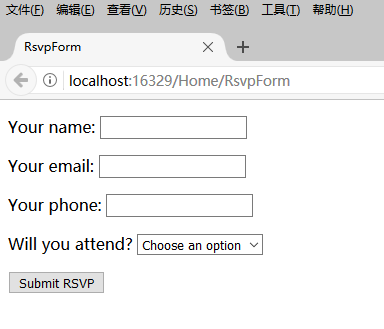
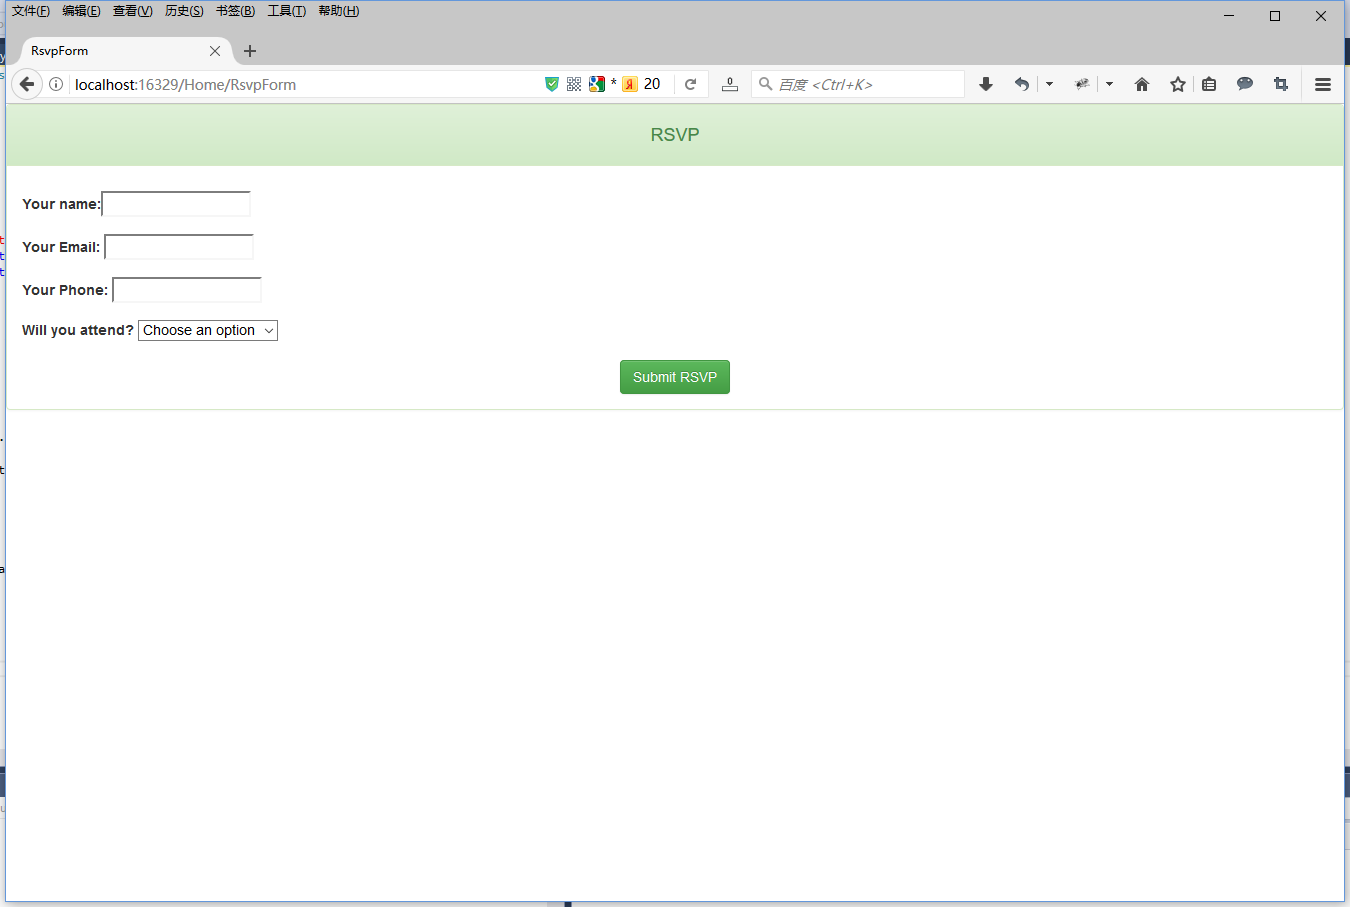
执行程序,在浏览器中得到的Index页面中点击“RSVP Now”链接,得到下面的页面。
处理表单
我还没有告诉MVC当表单提交到服务器端的时候我的响应是什么。按照目前的情况,点击提交按钮只是清空你刚才填写的信息。这是因为表单提交到Home控制器的RsvpForm行为方法,这个方法只是告诉MVC再次呈现这个视图。
获取和处理提交的表单数据,我将要使用一个聪明的方法。我将添加第二个RsvpForm行为方法来做下面的事情:
- 一个方法响应HTTP GET请求。GET请求是每当用户点击一个链接时浏览器发出的。当用户第一次访问/Home/RsvpForm的时候展示初始空白表单,调用这个版本的方法。
- 一个响应HTTP提交请求的方法:默认的,使用Html.BeginForm()方法呈现的表单由浏览器提交一个POST请求。这个版本的行为方法负责获取提交数据以及决定拿到数据做什么事情。
在分开的C#方法中处理GET和POST请求让我的控制器打开变得简洁,因为两个方法有不同的责任。两个行为方法都由相同的URL激活,但是MVC根据处理的是一个GET请求还是POST请求确保合适的方法被调用。下面是修改后的HomeController类。
 1 using PartyInvite.Models;
 2 using System;
 3 using System.Collections.Generic;
 4 using System.Linq;
 5 using System.Web;
 6 using System.Web.Mvc;
 7
 8 namespace PartyInvites.Controllers
 9 {
10     public class HomeController : Controller
11     {
12         public ViewResult Index()
13         {
14             int hour = System.DateTime.Now.Hour;
15             ViewBag.Greeting = hour < 12 ? "Good Moring" : "Good Afternoon";
16             return View();
17         }
18
19         [HttpGet]
20         public ViewResult RsvpForm()
21         {
22             return View();
23         }
24
25         [HttpPost]
26         public ViewResult RsvpForm(GuestResponse guestResponse)
27         {
28             // TODO: Email response to the party organizer
29             return View("Thanks", guestResponse);
30         }
31     }
32 }
我在现在的RsvpForm行为方法上添加了HttpGet特性。这告诉MVC这个方法应该只用来处理GET请求。然后添加一个重载版本的RsvpForm,传入一个GustResponse参数,用HttpPost特性修饰。这个特性告诉MVC这个心的方法处理Post请求。
呈现其他视图
第二个重载的RsvpForm行为方法也展示了怎样告诉MVC为请求的响应呈现一个具体的视图,而不是默认的视图,这是相关的语句:
return View("Thanks", guestResponse);
这调用View方法告诉MVC寻找并呈现一个名字叫“Thanks”的视图,并传递GuestResponse对象给这个视图。
在Views/Home文件夹中创建Thanks视图。
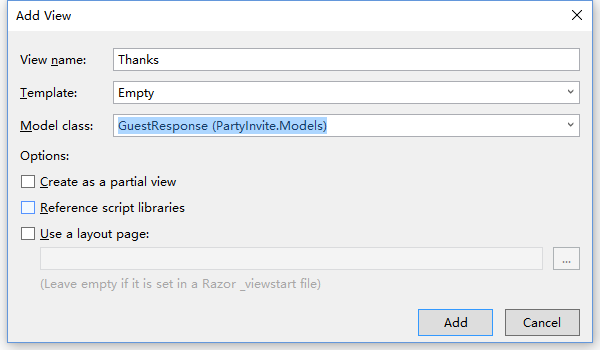
修改视图代码:
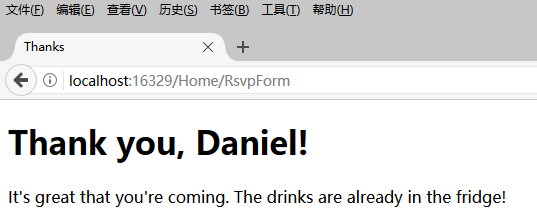
@model PartyInvite.Models.GuestResponse

@{
    Layout = null;
}

<!DOCTYPE html>

<html>
<head>
    <meta name="viewport" content="width=device-width" />
    <title>Thanks</title>
</head>
<body>
    <div>
        <h1>Thank you, @Model.Name!</h1>
        <div>
            @if (Model.WillAttend == true)
            {
                <p>It's great that you're coming. The drinks are already in the fridge!</p>
            }
            else {
                @:Sorry to hear that you can't make it, but thanks for letting us know.
        }
        </div>
    </div>
</body>
</html>
基于我传给视图方法RsvpForm的参数GuestResponse对象属性值,这个Thanks视图使用Razor展示内容。Razor表达式@Model引用我写的Domain Model类型,得到对象的属性值Model.Name。
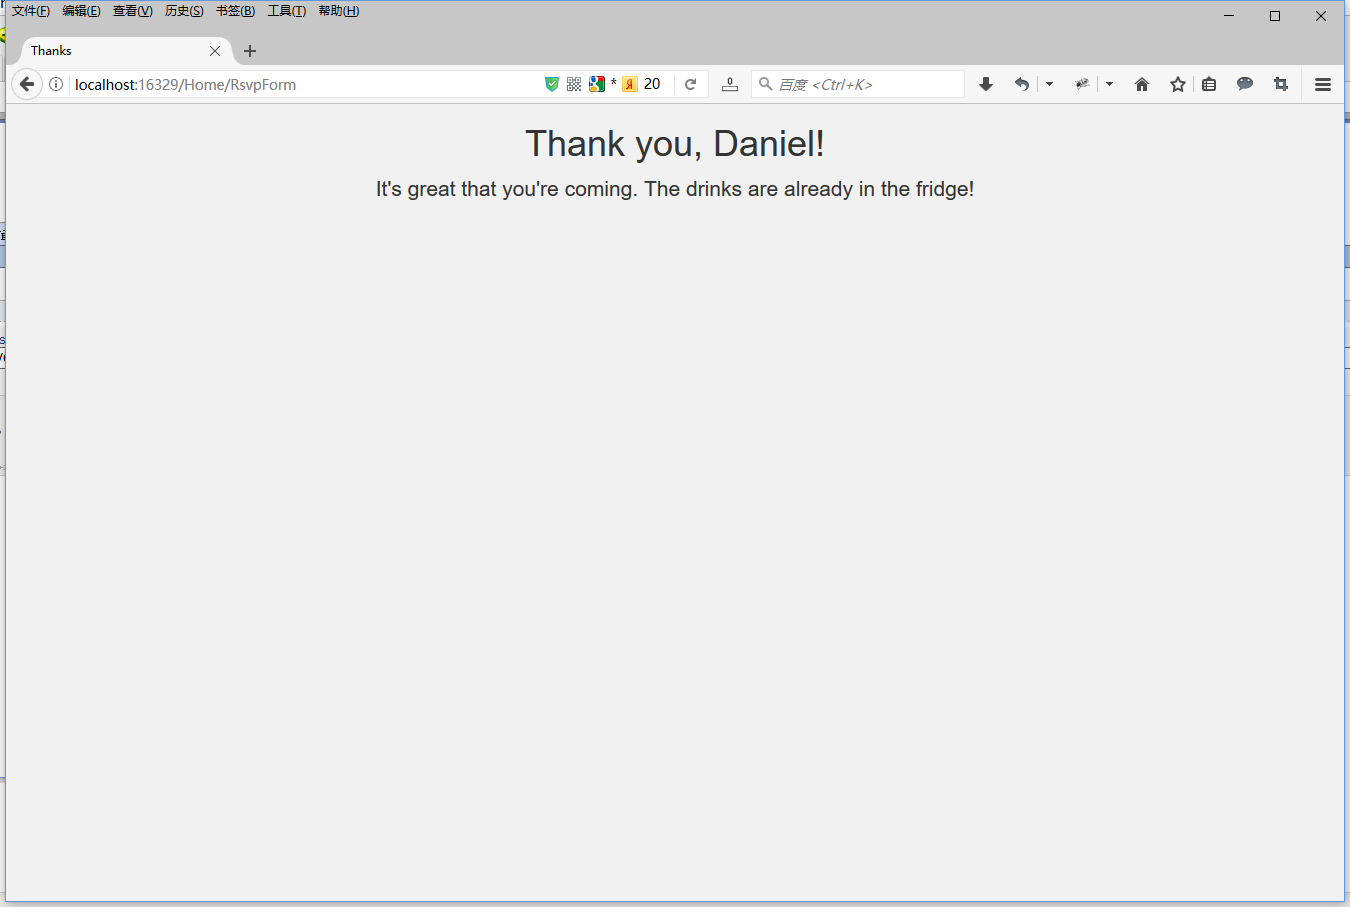
执行程序,在RsvpForm表单中填写数据,点击“Submit” 按钮,跳转到Thanks页面。
添加验证
我现在要给我的应用程序添加验证。没有验证,用户可能输入无意义的数据或者甚至提交空的表单。在MVC应用程序里,把Domain Model(域模型)应用到验证,而不是用户接口。这意味着我可以在一个地方定义验证准则,在模块类被使用的应用程序里任何地方都生效。ASP.NET MVC支持定义System.ComponentModel.DataAnnotations名称空间的特性声明式验证规则,意味着验证约束使用标准的C#特性来表达。
修改GuestResponse类。
 1 using System;
 2 using System.Collections.Generic;
 3 using System.ComponentModel.DataAnnotations;
 4 using System.Linq;
 5 using System.Web;
 6
 7 namespace PartyInvite.Models
 8 {
 9     public class GuestResponse
10     {
11         [Required(ErrorMessage = "Please enter your name")]
12         public string Name { get; set; }
13         [Required(ErrorMessage = "Please enter your email address")]
14         [RegularExpression(".+\@.+\..+", ErrorMessage = "Please enter a valid email address")]
15         public string Email { get; set; }
16         [Required(ErrorMessage = "Please enter your phone number")]
17         public string Phone { get; set; }
18         [Required(ErrorMessage = "Please specify whether you'll attend")]
19         public bool? WillAttend { get; set; }
20     }
21 }
验证代码用粗体字显示。MVC在模型-绑定过程中自动探测特性并使用他们验证数据。
在Controller类里,我使用ModelState.IsValid属性检验是否有验证问题。下面是修改后的Controller类RsvpForm方法。
 1         [HttpPost]
 2         public ViewResult RsvpForm(GuestResponse guestResponse)
 3         {
 4             if (ModelState.IsValid)
 5             {
 6                 return View("Thanks", guestResponse);
 7             }
 8             else
 9             {
10                 return View();
11             }
12         }
如果没有验证错误,我告诉MVC呈现Thanks视图,像我之前那样。如果有验证错误,我调用不含参数的View方法重新呈现这个表单。
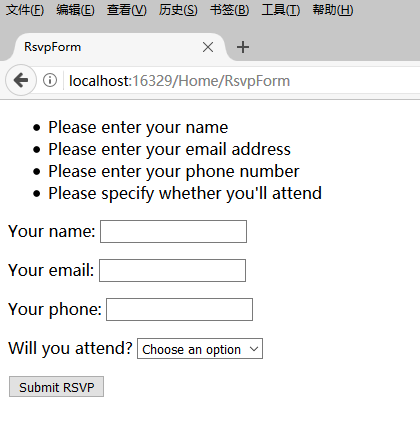
只是显示这个表单而不显示错误信息是没有什么帮助的-我还需要为用户提供一些错误提示信息以及为什么我不能获得表单的提交数据。我在RsvpForm视图里使用Html.ValidationSummary帮助方法来达到这个目的。下面是修改后的RsvpForm视图。
如果没有错误,Html.ValidationSummary方法在表单内创建一个隐藏的列表项作为占位符。MVC使得占位符变得可见并将定义在验证属性的错误消息显示在上面。
提交空白的RsvpForm表单,得到下面的运行结果。
将不会给用户显示Thanks视图,直到所有的运用在GuestResponse类的验证约束都被满足。注意输入到在视图被呈现的时候,表单的数据被保留了并和验证摘要信息一起重新显示。
高亮显示非法输入字段
HTML帮助方法创建文本框、下拉框和其他的元素,这些元素有现成的可以用于模型绑定的特性。相同的保留用户输入到表单的数据机制同样被用来高亮显示验证失败的字段。
当一个模型类属性验证失败了,HTML帮助方法将产生稍微不同的HTML。
例如,下面是调用Html.TextBoxFor(x=>x.Name)方法后,验证没有错误的文本框:
<input data-val="true" data-val-required="Please enter your name" id="Name" name="Name" type="text" value="" />
下面是调用相同方法后,用户没有输入值(这是一个验证错误,因为我在Name属性运用了Request特性)的文本框:
<input class="input-validation-error" data-val="true" data-val-required="Please enter your name" id="Name" name="Name" type="text" value="" />
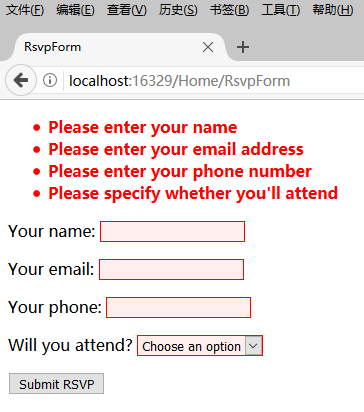
帮助方法添加了一个名称为input-validation-error的类到元素上。我可以利用这个特性,创建一个包含这个css类样式的样式表。
在根目录下添加Content文件夹,在Content文件夹内添加样式表文件Styles.css。
1 .field-validation-error {color: #f00;}
2 .field-validation-valid { display: none;}
3 .input-validation-error { border: 1px solid #f00; background-color:#fee; }
4 .validation-summary-errors { font-weight: bold; color: #f00;}
5 .validation-summary-valid { display: none;}
修改RsvpForm视图,添加样式表引用。
 1 @model PartyInvite.Models.GuestResponse
 2
 3 @{
 4     Layout = null;
 5 }
 6
 7 <!DOCTYPE html>
 8
 9 <html>
10 <head>
11     <meta name="viewport" content="width=device-width" />
12     <link rel="stylesheet" type="text/css" href="~/Content/Styles.css" />
13     <title>RsvpForm</title>
14 </head>
15 <body>
16     @using (Html.BeginForm())
17     {
18         @Html.ValidationSummary()
19         <p>Your name: @Html.TextBoxFor(x => x.Name) </p>
20         <p>Your email: @Html.TextBoxFor(x => x.Email)</p>
21         <p>Your phone: @Html.TextBoxFor(x => x.Phone)</p>
22         <p>
23             Will you attend?
24             @Html.DropDownListFor(x => x.WillAttend, new[] {
25                                     new SelectListItem() { Text = "Yes, I'll be there", Value = bool.TrueString },
26                                     new SelectListItem() { Text = "No, I can't come", Value = bool.FalseString }
27                                 }, "Choose an option")
28         </p>
29         <input type="submit" value="Submit RSVP" />
30     }
31 </body>
32 </html>
当RsvpForm表单输入错误的时候,页面将显示如下所示、
给视图添加样式
基本的应用程序功能已经做好了-除了发送邮件,但是整体的外观很简陋。
这里我使用Bootstrap库,这是早先是Twitter公司开发的现在用得很广的一个CSS库。
使用NutGet导入Bootstrap库。Bootstrap库的CSS文件将导入到Content文件夹下,JavaScript文件将导入到Scripts文件夹下。
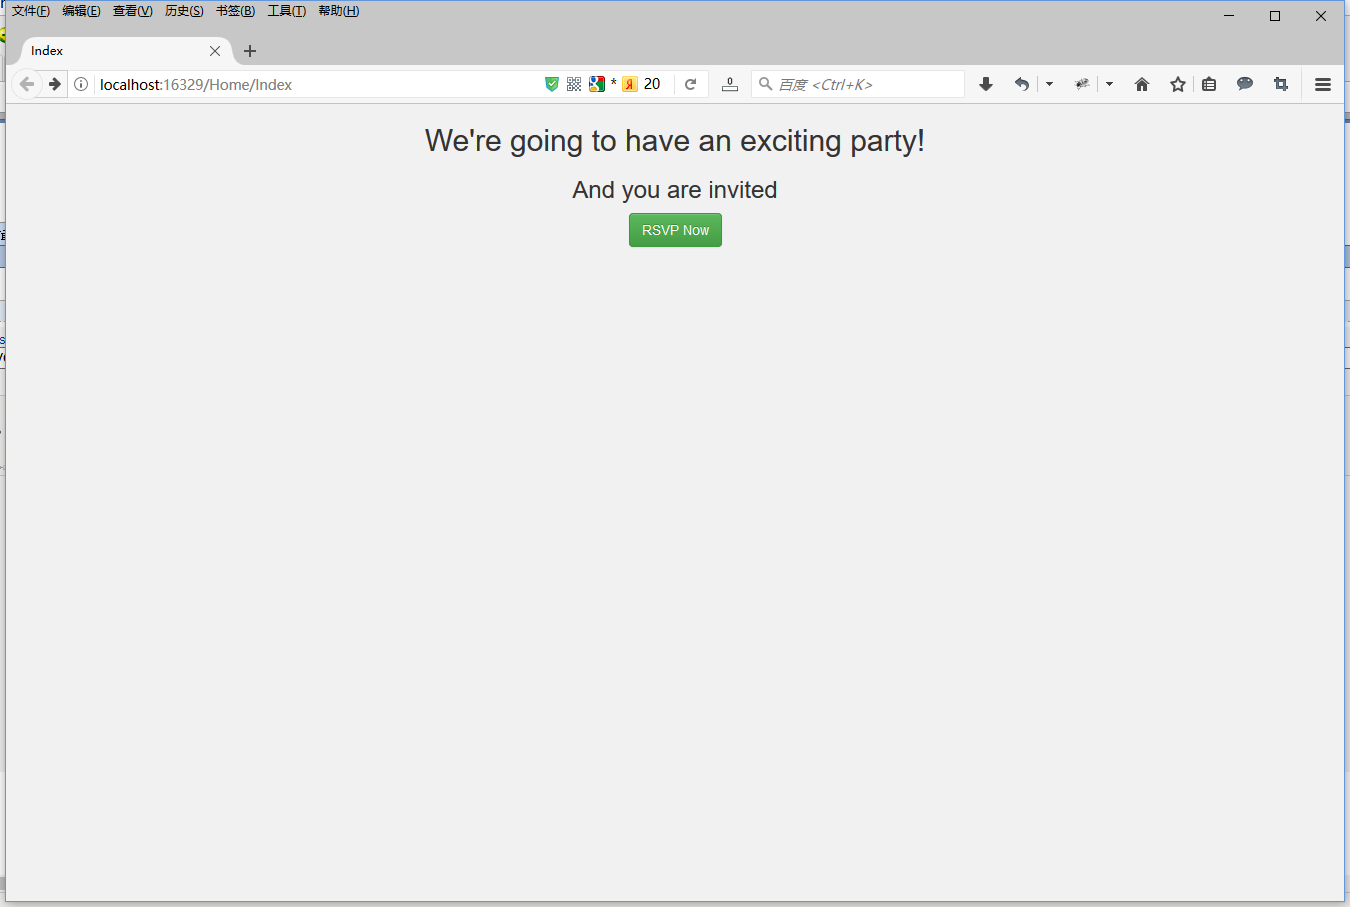
修改Index视图。
 1 @{
 2     Layout = null;
 3 }
 4
 5 <!DOCTYPE html>
 6
 7 <html>
 8 <head>
 9     <meta name="viewport" content="width=device-width" />
10     <link href="~/Content/bootstrap.css" rel="stylesheet" />
11     <link href="~/Content/bootstrap-theme.css" rel="stylesheet" />
12     <title>Index</title>
13     <style>
14         .btn a {
15             color: white;
16             text-decoration: none;
17         }
18
19         body {
20             background-color: #F1F1F1;
21         }
22     </style>
23 </head>
24 <body>
25     <div class="text-center">
26         <h2>We're going to have an exciting party!</h2>
27         <h3>And you are invited</h3>
28         <div class="btn btn-success">
29             @Html.ActionLink("RSVP Now", "RsvpForm")
30         </div>
31     </div>
32 </body>
33 </html>
修改RsvpForm视图。
 1 @model PartyInvite.Models.GuestResponse
 2
 3 @{
 4     Layout = null;
 5 }
 6
 7 <!DOCTYPE html>
 8
 9 <html>
10 <head>
11     <meta name="viewport" content="width=device-width" />
12     <link href="~/Content/bootstrap.css" rel="stylesheet" />
13     <link href="~/Content/bootstrap-theme.css" rel="stylesheet" />
14     <title>RsvpForm</title>
15 </head>
16 <body>
17     <div class="panel panel-success">
18         <div class="panel-heading text-center"><h4>RSVP</h4></div>
19         <div class="panel-body">
20             @using (Html.BeginForm())
21             {
22                 @Html.ValidationSummary()
23                 <div class="form-group">
24                     <label>Your name:</label>@Html.TextBoxFor(x => x.Name)
25                 </div>
26                 <div class="form-group">
27                     <label>Your Email:</label> @Html.TextBoxFor(x => x.Email)
28                 </div>
29                 <div class="form-group">
30                     <label>Your Phone:</label> @Html.TextBoxFor(x => x.Phone)
31                 </div>
32                 <div class="form-group">
33                     <label>
34                         Will you attend?
35                     </label>
36                     @Html.DropDownListFor(x => x.WillAttend,
37                     new[] {
38                        new SelectListItem() { Text="Yes, I will be there" , Value = bool.TrueString },
39                        new SelectListItem() { Text = "Yes, I will be there", Value = bool.TrueString }
40                     }, "Choose an option")
41                 </div>
42                 <div class="text-center">
43                     <input class="btn btn-success" type="submit"
44                            value="Submit RSVP" />
45                 </div>
46             }
47         </div>
48     </div>
49 </body>
50 </html>
修改Thanks视图。
 1 @model PartyInvite.Models.GuestResponse
 2
 3 @{
 4     Layout = null;
 5 }
 6
 7 <!DOCTYPE html>
 8
 9 <html>
10 <head>
11     <meta name="viewport" content="width=device-width" />
12     <link href="~/Content/bootstrap.css" rel="stylesheet" />
13     <link href="~/Content/bootstrap-theme.css" rel="stylesheet" />
14     <title>Thanks</title>
15     <style>
16         body {
17             background-color: #F1F1F1;
18         }
19     </style>
20 </head>
21 <body>
22     <div class="text-center">
23         <h1>Thank you, @Model.Name!</h1>
24         <div class="lead">
25             @if (Model.WillAttend == true)
26             {
27                 <p>It's great that you're coming. The drinks are already in the fridge!</p>
28             }
29             else {
30                 @:Sorry to hear that you can't make it, but thanks for letting us know.
31         }
32         </div>
33     </div>
34 </body>
35 </html>
运行程序,在浏览器中得到运行结果。
Index页面:
RsvpForm页面:
Thanks页面:
完成这个例子
我的例子的最后一个需求是给晚会主办者发送提交邮件。
修改Thanks视图,添加发送邮件代码。
 1 @model PartyInvite.Models.GuestResponse
 2
 3 @{
 4     Layout = null;
 5 }
 6
 7 <!DOCTYPE html>
 8
 9 <html>
10 <head>
11     <meta name="viewport" content="width=device-width" />
12     <link href="~/Content/bootstrap.css" rel="stylesheet" />
13     <link href="~/Content/bootstrap-theme.css" rel="stylesheet" />
14     <title>Thanks</title>
15     <style>
16         body {
17             background-color: #F1F1F1;
18         }
19     </style>
20 </head>
21 <body>
22     @{
23         try
24         {
25             WebMail.SmtpServer = "smtp.example.com";
26             WebMail.SmtpPort = 25;
27             WebMail.EnableSsl = true;
28             WebMail.UserName = "example@163.com";
29             WebMail.Password = "password";
30             WebMail.From = "example@163.com";
31             WebMail.Send("example@163.com", "RSVP Notification", Model.Name + " is " + ((Model.WillAttend ?? false) ? "" : "not") + "attending");
32         }
33         catch (Exception e)
34         {
35             <b>
36                 Sorry - we couldn't send the email to confirm your RSVP.
37             </b>
38         }
39     }
40     <div class="text-center">
41         <h1>Thank you, @Model.Name!</h1>
42         <div class="lead">
43             @if (Model.WillAttend == true)
44             {
45                 <p>It's great that you're coming. The drinks are already in the fridge!</p>
46             }
47             else
48             {
49                 @:Sorry to hear that you can't make it, but thanks for letting us know.
50         }
51         </div>
52     </div>
53 </body>
54 </html>
至此,一个完整的ASP.NET MVC程序就完成了。