无论的原生开发还是weex开发,经常会需要我们对一些组件/控件动态赋值,在原生中,我们大家都知道,对控件setText就可以了,那么在weex中呢,我们需要怎么做呢,其实很简单,几行代码就可以搞定!
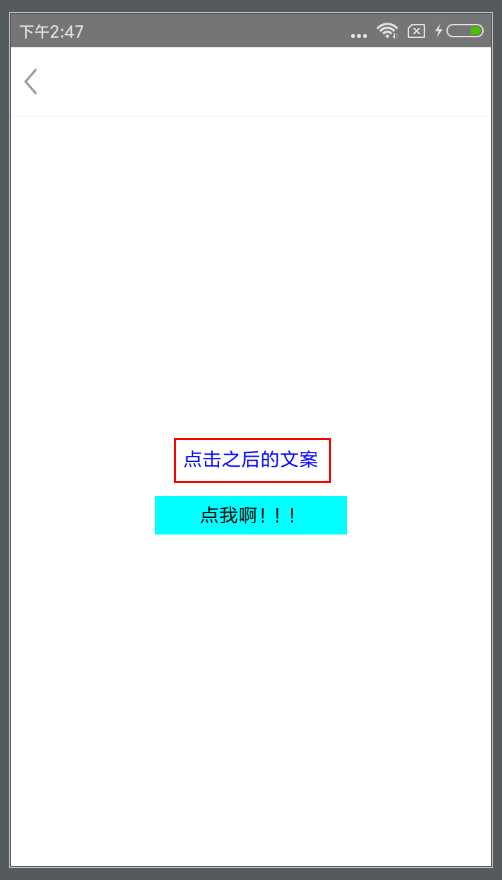
首先呢,需要知道一个概念叫“数据绑定”,即组件会根据内容的变化重新进行渲染,先看一下效果展示及代码:


<template>
    <div style="justify-content: center;align-items: center;flex-direction: column">
        <text style="font-size: 30px;color: blue">{{mValue}}</text>
        <div style="background-color: aqua; 300px;height: 60px;align-items: center;justify-content: center;margin-top: 40px" @click="clickMe">
            <text style="font-size: 30px;color: #000;">点我啊!!!</text>
        </div>
    </div>
</template>

<style>

</style>

<script>
    var navigator = weex.requireModule('navigator');
    navigator.setNavBarTitle({'title': ''}, null);
    export default{
        data: {
            mValue: '点击之前的文案'
        },
        methods: {
            clickMe:function(){
                this.mValue = '点击之后的文案';
            }
        },
        created: function () {

        },
        mounted: function () {

        }
    }
</script>
text标签通过“{{mValue}}”绑定数据,为了页面不展示空白,在data里面设置默认值,这个默认值可以为任意数据,再通过为div设置点击事件,动态的控制text的内容,很简单吧!!!
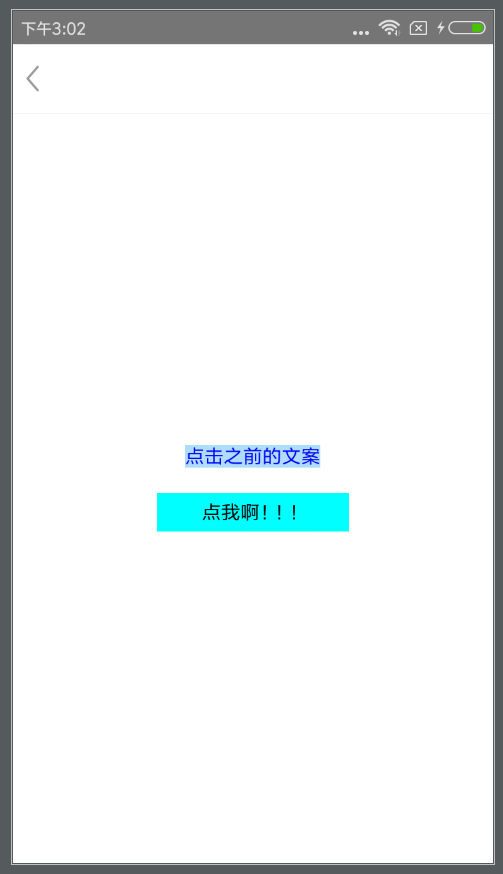
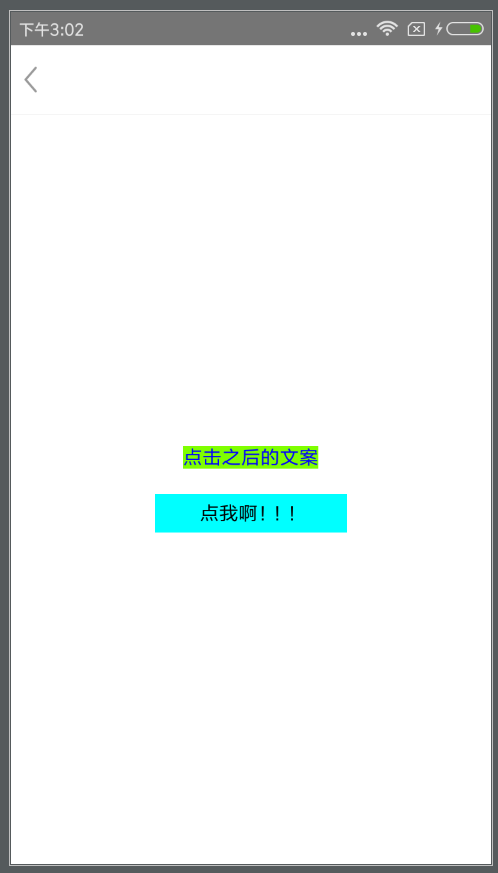
那如果需求不仅仅是动态的改变文案的内容呢,如果产品要求内容变化的同时,text的背景颜色也要变化呢,同样的道理,通过数据绑定,为text标签绑定一个背景的样式,点击div,文案和背景同时变化:


<template>
    <div style="justify-content: center;align-items: center;flex-direction: column">
        <text :class="showWhich ? bg_style : bg_style1" style="font-size: 30px;color: blue">{{mValue}}</text>
        <div style="background-color: aqua; 300px;height: 60px;align-items: center;justify-content: center;margin-top: 40px" @click="clickMe">
            <text style="font-size: 30px;color: #000;">点我啊!!!</text>
        </div>
    </div>
</template>

<style>
    .bgOne{
        background-color: #afddff;
    }
    .bgTwo{
        background-color: chartreuse;
    }
</style>

<script>
    var navigator = weex.requireModule('navigator');
    navigator.setNavBarTitle({'title': ''}, null);
    export default{
        data: {
            mValue: '点击之前的文案',
            bg_style:['bgOne'],
            bg_style1:['bgTwo'],
            showWhich:true
        },
        methods: {
            clickMe:function(){
                this.mValue = '点击之后的文案';
                this.showWhich = false;
            }
        },
        created: function () {

        },
        mounted: function () {

        }
    }
</script>
其实道理都是一样的,首先给text设置一个默认的背景样式,我这里只写了一个背景颜色,然后通过一个布尔类型的变量来控制显示哪种样式,触发点击事件,会改变布尔变量的值,进而渲染不同的背景

红色标记的这行代码就是一句三目运算,showWhich为true,渲染bg_style的背景,反之渲染bg_style1背景。
其实没什么难度,如果有不理解或不清楚的地方,欢迎评论提疑!!!