1.先安装nodejs环境
https://npm.taobao.org/mirrors/node (选择版本)
https://npm.taobao.org/mirrors/node (选择版本)

下一步 下一步 默认安装就行
2.检查node和npm的是否成功安装
node -v npm -v (版本号)

3.安装cnpm
npm install -g cnpm --registry=https://registry.npm.taobao.org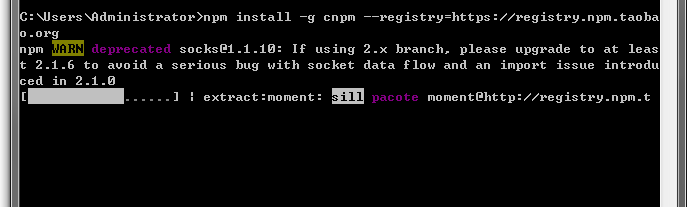
安装ing
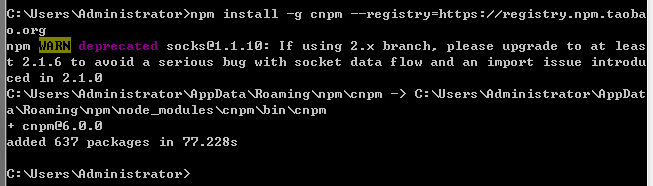
完成安装
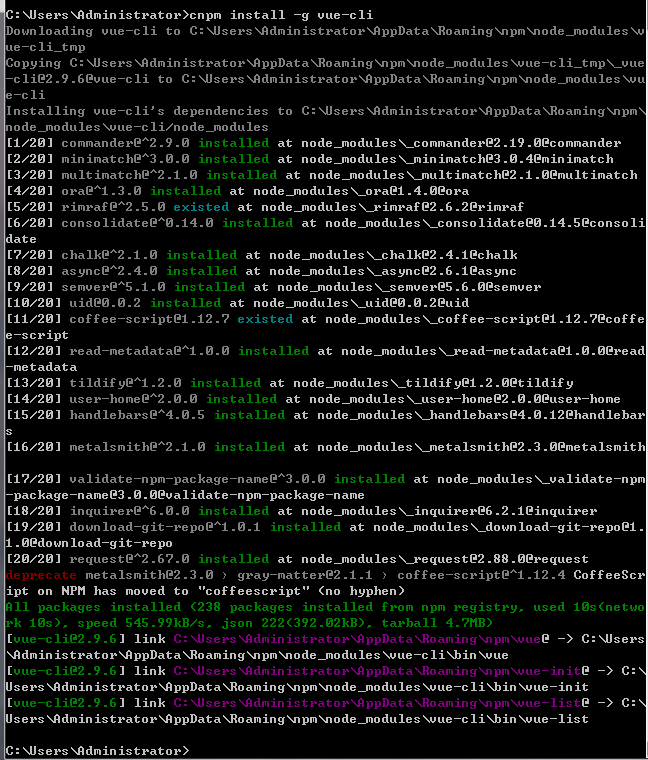
4.安装vue框架;
cnpm install -g vue-cli
cnpm install -g vue-cli
5.安装webpack打包工具;
cnpm install webpack -g

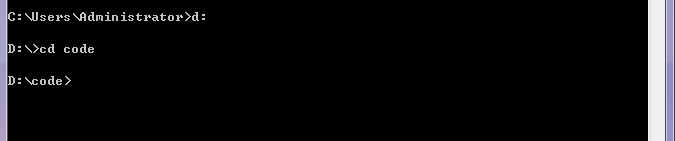
6.建一个项目文件夹 然后cd到它
7.webpack打包vue组件到项目文件夹 ;
vue init webpack mydemo
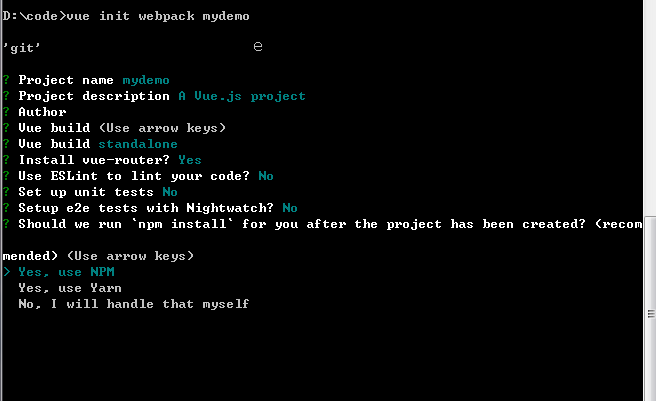
特别注意:这里应该选择第三项 自己创建 就不会 报下面的错误了 原因应该是 选第一项是用npm创建 npm国内太慢就报错了
选自己创建 然后用 cnpm install 创建就好了


8.cd 到项目文件夹内 带package.json 这个目录层级
cnpm install
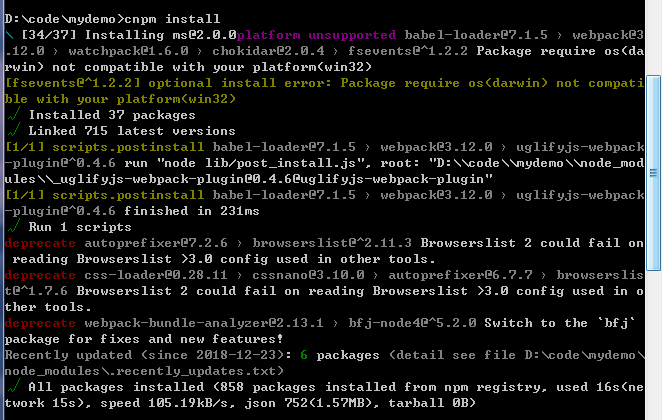
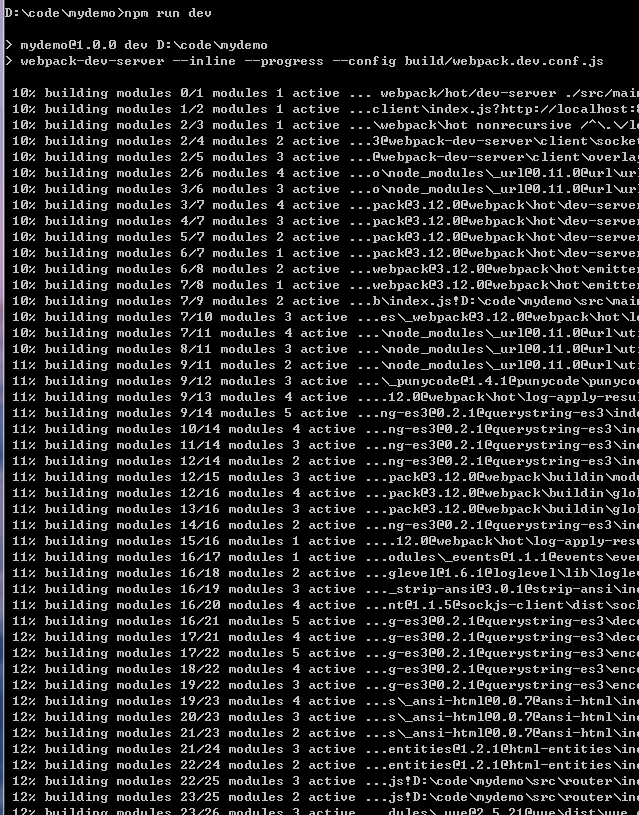
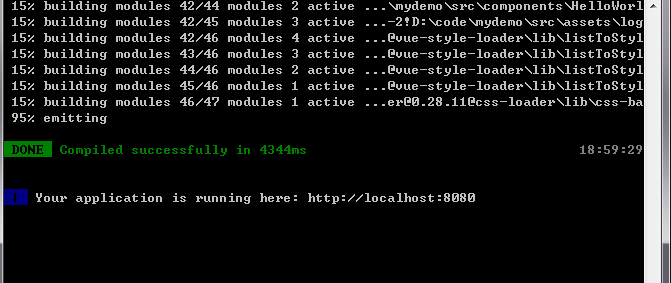
然后在npm run dev 项目服务器就启动了 浏览器http://localhost:8080 访问即可