This article provides a pictorial guide for performing a default installation of Oracle Linux 5.
As you would expect, the installation is almost entirely the same as the Red Hat Enterprise Linux 5 installation.
-
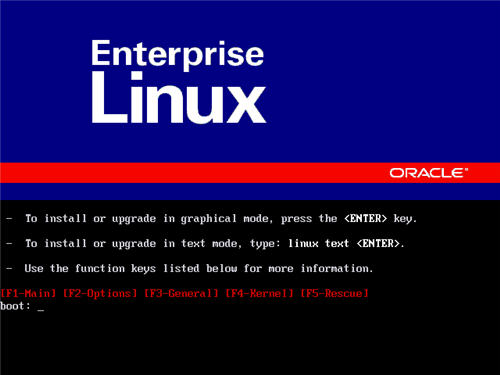
Boot from the CD or DVD. At the boot screen, press the "Enter" key.
-
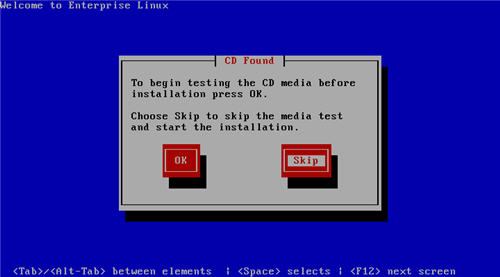
Press the "tab" key to move focus to the "Skip" key, then press the "Enter" key to continue.
-
On the "Welcome" screen, click the "Next" button.

-
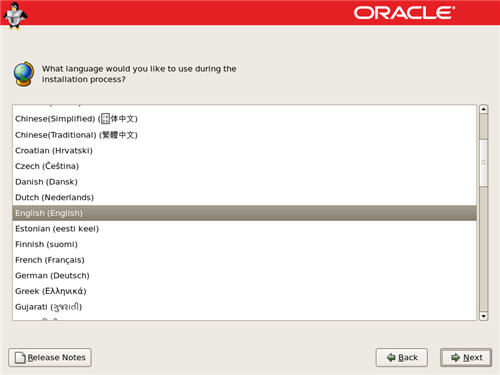
Select the appropriate language, then click the "Next" button.
-
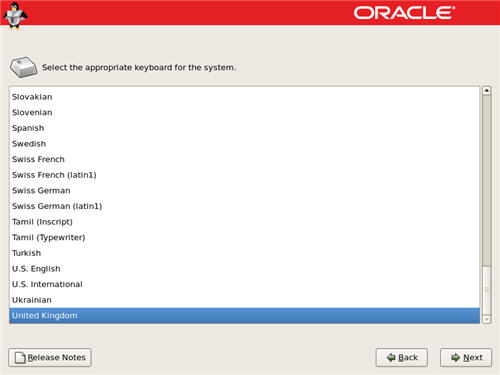
Select the relevant keyboard setting, then click the "Next" button.
-
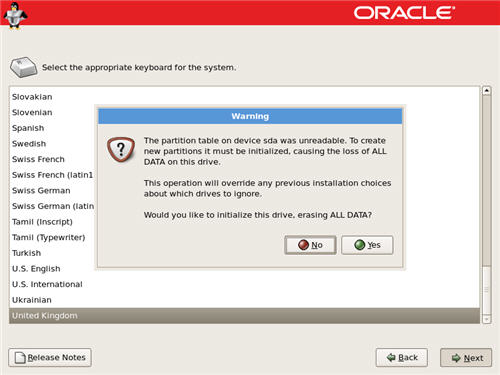
Click the "Yes" button on the disk partitioning warning dialog.
-
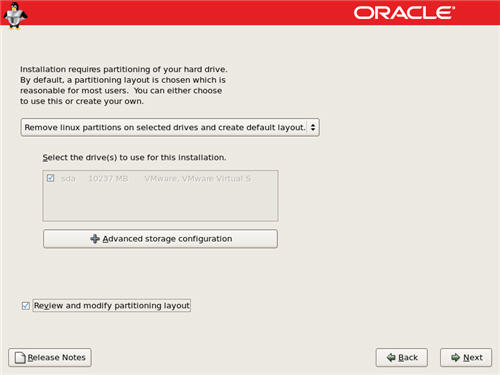
Check the "Review and modify partitioning layout" option, then allow the installer to automatically partition the disk by clicking on the "Next" button.
-
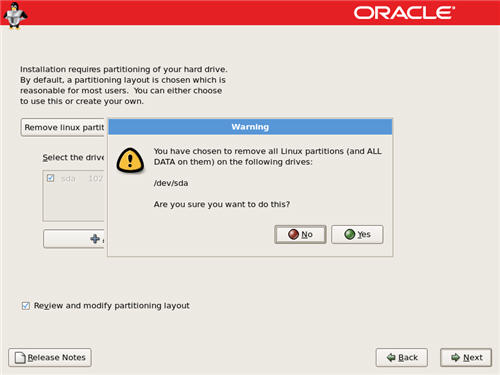
Click the "Yes" button on the subsequent warning dialog.
-
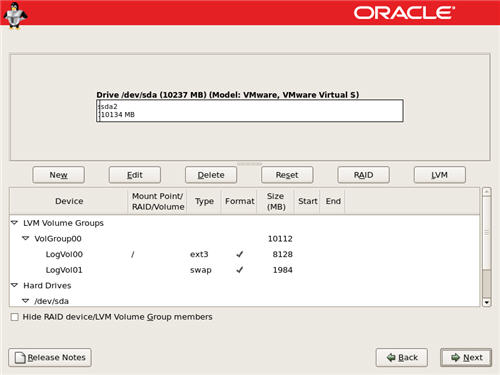
The installer will list the default partitioning scheme for your size disk.
The following screen shots show the actions I take for small test installations
-
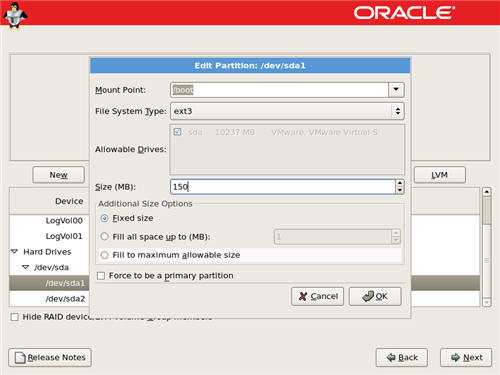
Edit the "/boot" partition, setting it to "150M" and "Fixed size", then click the "OK" button.
-
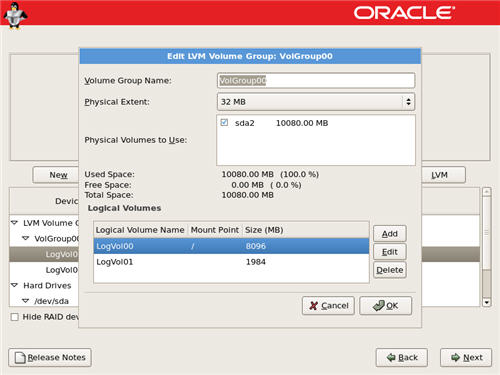
The "/root" and "/swap" partitions are part of a volume group.
-
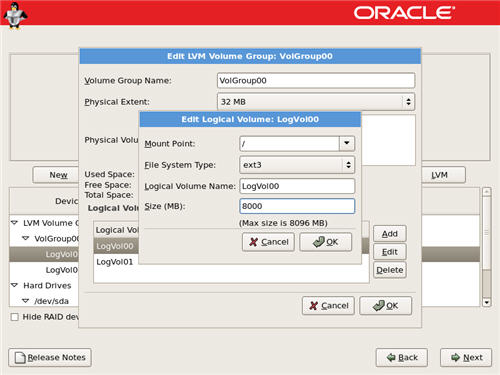
Edit the "/root" partition, setting it to "8000 MB", then click the "OK" button.
-
Edit the "swap" partition, setting it to "2048M", then click the "OK" button.
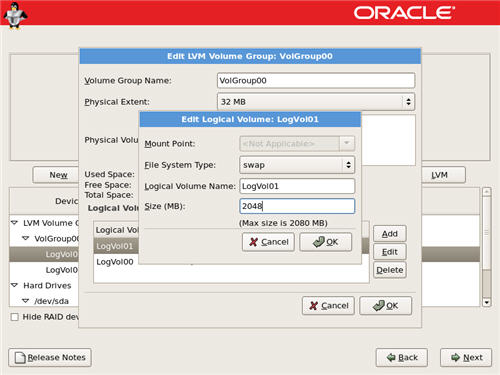
If you need additional swap space, simply make this partition bigger.
-
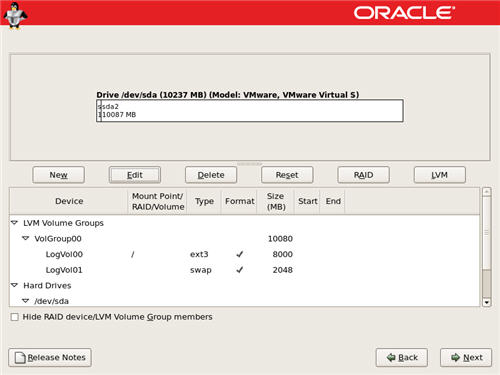
The partitions screen should now looks something like the following picture, then click the "Next" button.
-
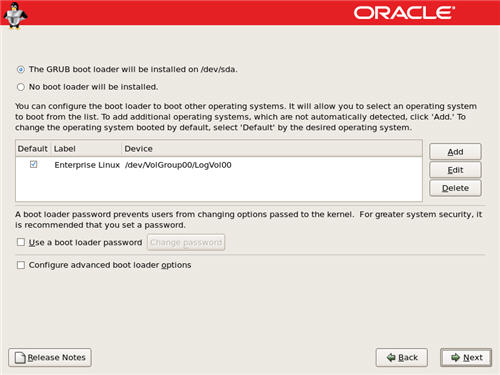
Accept the boot loader settings by clicking the "Next" button.
-
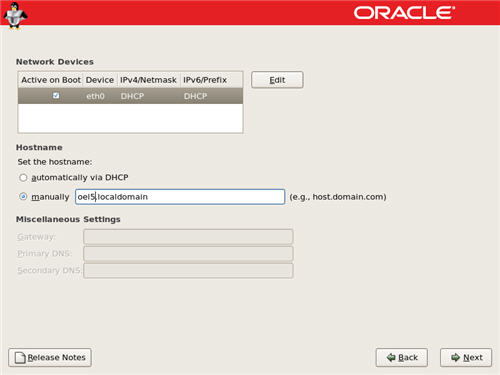
Configure the network interface with the apropriate settings. This can be done automatically using DHCP, or manually.
-
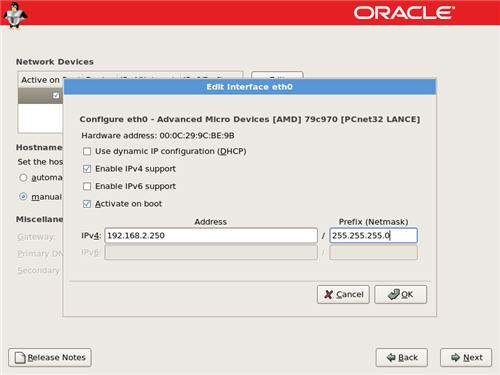
If you are not using DHCP, enter the appropriate IP addess and subnet mask, then click the "OK" button.
-
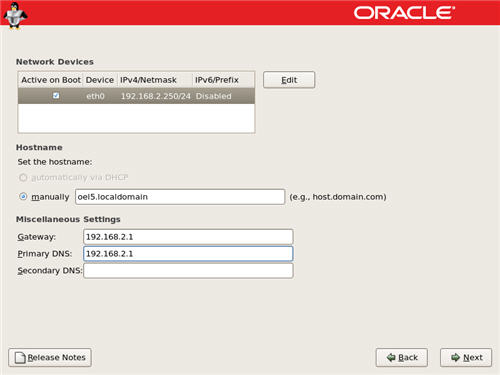
If you are not using DHCP, enter the host name, gateway and DNS information, then click the "Next" button.
-
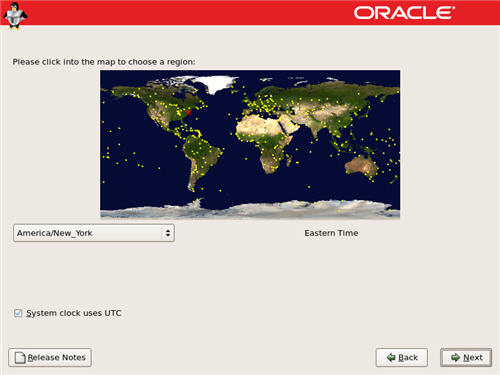
Select the relevant region by clicking on the map.
-
Select the relevant city by clicking on the map. Click on the "Next" button to proceed.

-
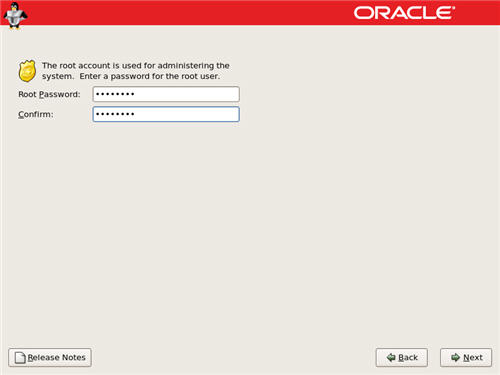
Enter a root password for the server, then click the "Next" button to proceed.
-
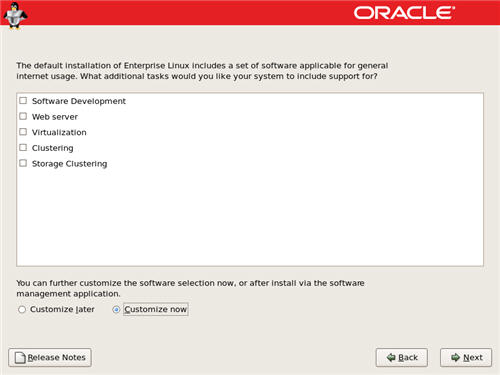
Select the "Customize now" option and the appropriate installation type and click the "Next" button.
-
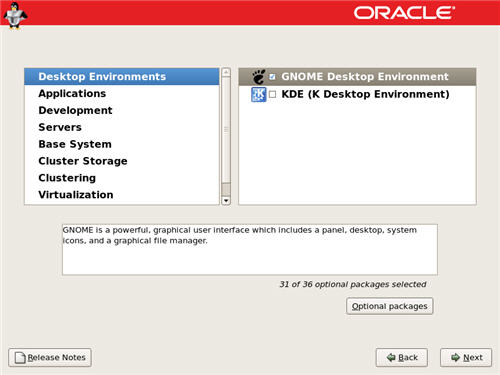
The "Package Group Selection" screen allows you to select the required package groups, and individual packages within the details section. When you've made your selection, click the "Next" button.
-
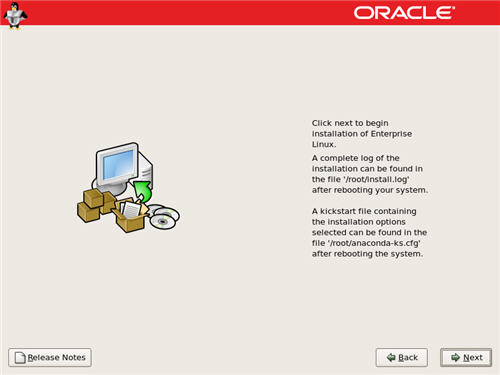
On the "About to Install" screen, click the "Next" button.
-
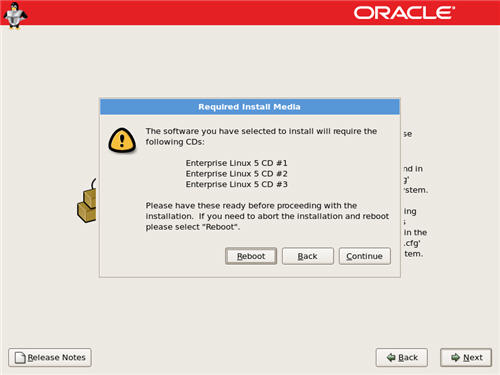
Click the "Continue" button on the "Required Install Media" screen.
-
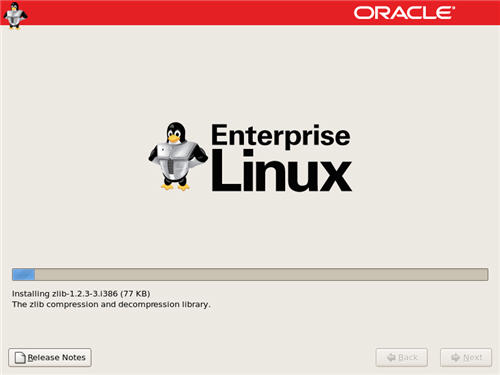
During the installation phase, enter the appropriate CDs as requested.
-
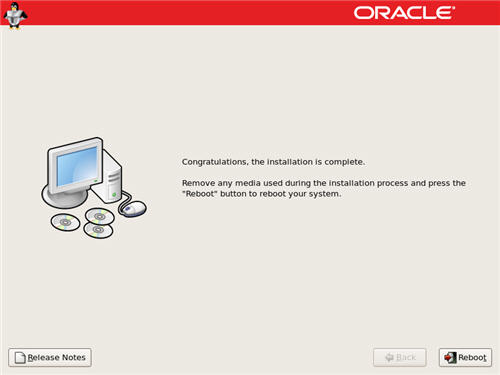
Click the "Reboot" button to complete the installation.
-
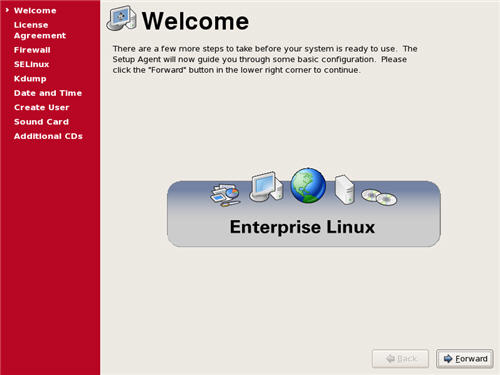
On the "Welcome" screen, click the "Forward" button.
-
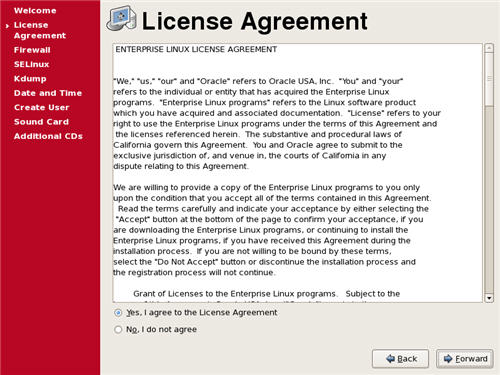
Accept the license agreement and click the "Forward" button.
-
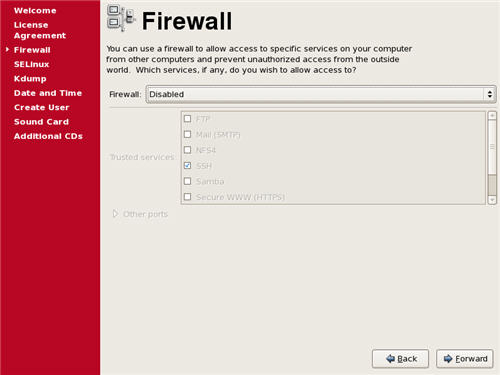
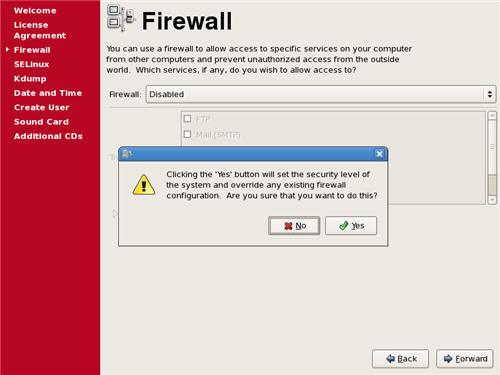
On the Firewall screen, choose the "Disabled" option and click the "Forward" button.
-
Click the "Yes" button on the subsequent warning screen.
-
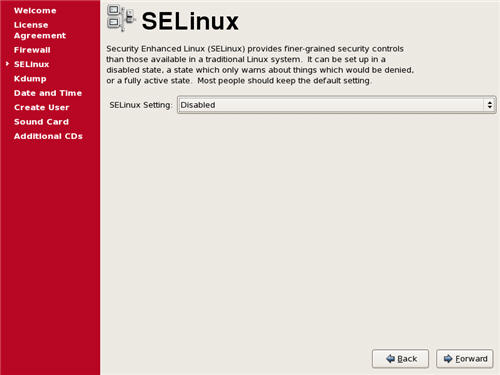
On the SELinux screen, choose the "Disabled" option and click the "Forward" button.
-
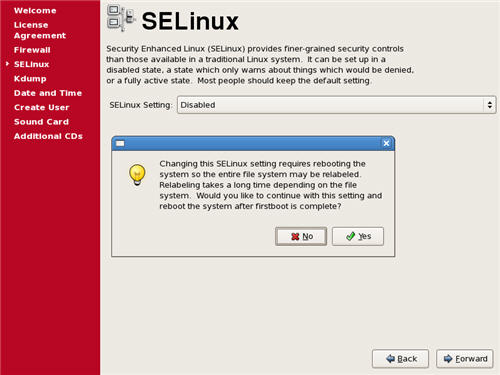
Click the "Yes" button on the subsequent warning screen.
-
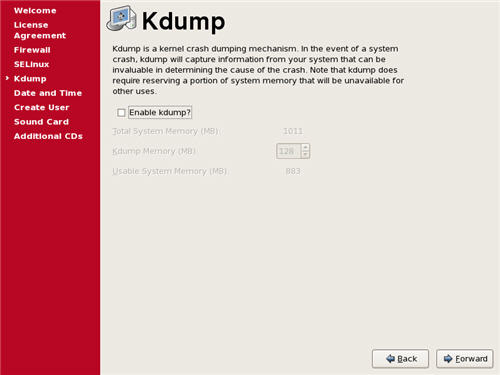
Accept the default setting on the Kdump screen by clicking the "Forward" button.
-
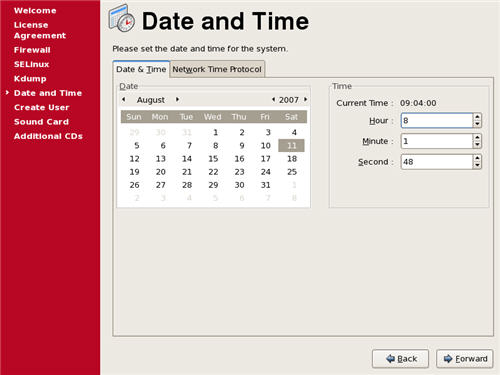
Adjust the Date and Time settings if necessary, and click the "Forward" Button.
-
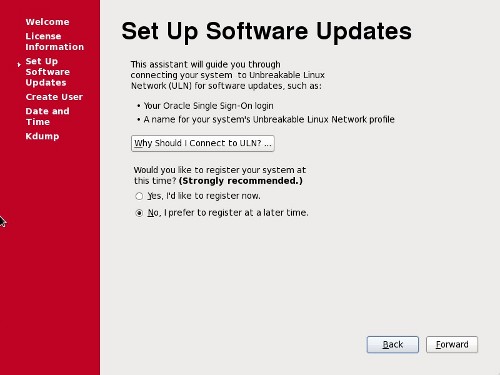
If you have an Unbreakable Linux Support account, you can enter it here and register your system. Alternatively, you can pick the "No, I prefer to register at a later time" option and click the "Forward" button to avoid this step.
-
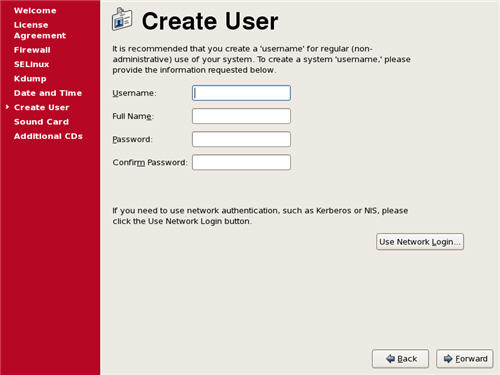
Create an additional system user if required, and click the "Next" button.
-
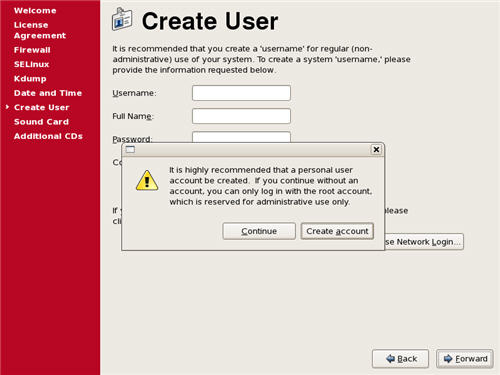
If you chose not to define an additional system user, click the "Continue" button on the resulting warning dialog.
-
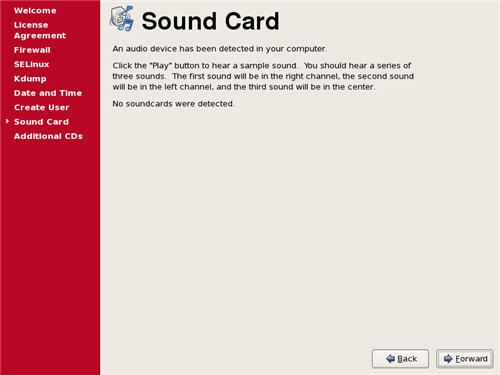
On the sound card screen, click the "Forward" button.
-
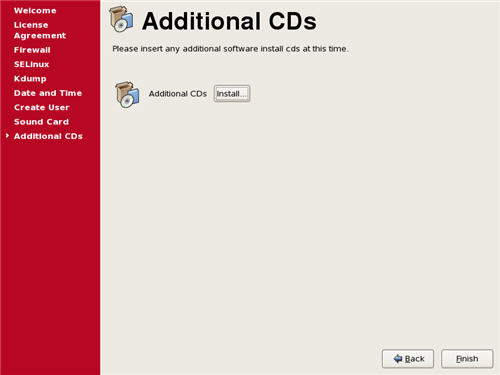
On the "Additional CDs" screen, click the "Finish" button.
-
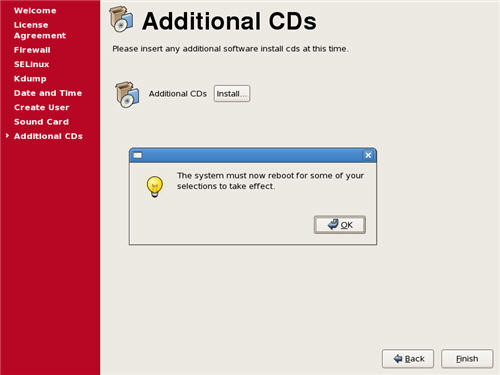
Click the "OK" button on the reboot request dialog.
-
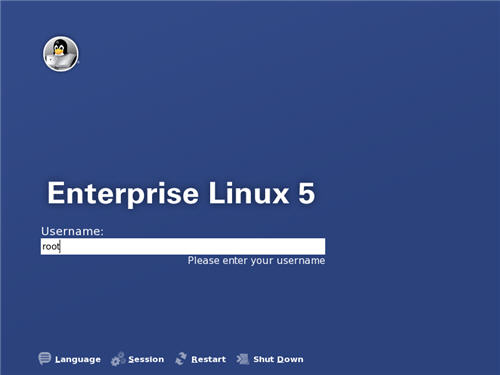
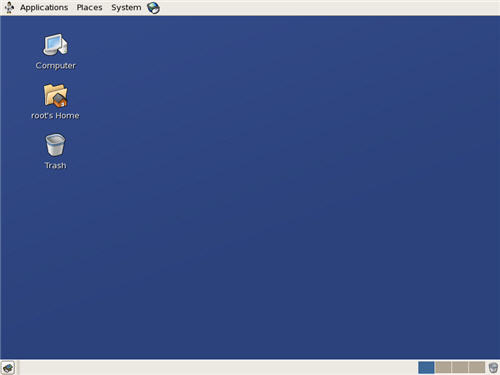
Once the system has rebooted, you are presented with the login screen.
-
Once logged in, you are ready to use the desktop.
For more information see:
Hope this helps. Regards Tim...