BenchMark主要是演示在绘制很多的精灵的事后,怎么样保持FPS不掉。
用到了BatchNode这个概念,将需要绘制的很多精灵统一添加到BatchNode上去,然后一次性绘制。
关于加载plist、png文件的方式,主要是通过:
1 function game.startup()
2     CCFileUtils:sharedFileUtils():addSearchPath("res/")
3     display.addSpriteFramesWithFile(GAME_TEXTURE_DATA_FILENAME, GAME_TEXTURE_IMAGE_FILENAME)
4
5     game.benchmark()
6 end
通过第三行的代码,图片资源就已经载入到内存了。调用的时候是“#+文件名.png”即可引取内存中的图片资源。
既然要创建一个动画效果,也就是很多张frames连续播放的效果。
一、如何创建我们的Frames呢,如下:
display.newFrames("CoinSpin%02d.png", 1, 8)
二、根据Frames,如何创建我们的animation,如下:
local animation = display.newAnimation(frames, 0.4 / 8)
具体代码如下,涉及到图片资源的加载。
特别需要注意的是,给一个精灵定义了onEnterFrame方法。其实这个方法名字是可以任意的,然后我们引用这个精灵的方法时
就可以对特定的精灵处理特定的动作了。
具体代码如下:
  1 local BenchmarkScene = class("BenchmarkScene", function()
  2     return display.newScene("BenchmarkScene")
  3 end)
  4
  5 local random = math.random
  6
  7 function BenchmarkScene:ctor()
  8     --使用BatchNode提高绘制的帧率
  9     self.batch = display.newBatchNode(GAME_TEXTURE_IMAGE_FILENAME, 10000)
 10     --场景中添加batchNode
 11     self:addChild(self.batch)
 12
 13     --创建场景默认层
 14     self.layer = display.newLayer()
 15     --默认层添加到场景中
 16     self:addChild(self.layer)
 17
 18     local button = display.newSprite("#AddCoinButton.png", display.right - 100, display.bottom + 270)
 19     self:addChild(button)
 20     --获取addCoin精灵的BoundingBox
 21     self.addCoinButtonBoundingBox = button:getBoundingBox()
 22
 23     local button = display.newSprite("#RemoveCoinButton.png", display.right - 100, display.bottom + 100)
 24     self:addChild(button)
 25     --获取removeCoin精灵的BoundingBox
 26     self.removeCoinButtonBoundingBox = button:getBoundingBox()
 27
 28     local button = ui.newImageMenuItem({
 29         image = "#ExitButton.png",
 30         listener = function()
 31             game.exit()
 32         end,
 33         x = display.right - 100,
 34         y = display.top - 100,
 35     })
 36     --通过Menu添加到场景中
 37     local menu = ui.newMenu({button})
 38     self:addChild(menu)
 39
 40     --BMFontLabel的使用
 41     self.label = ui.newBMFontLabel({
 42         text = "00000",
 43         font = "UIFont.fnt", --设置BMFontLabel的font属性
 44         x = display.cx,
 45         y = display.top - 40,
 46     })
 47     self:addChild(self.label)
 48
 49     self.coins = {} --创建coins的table表
 50     self.state = "IDLE"
 51
 52     --创建Frame从Coinspin01.png开始,到Coinspin08.png结束,共创建了8个Frame
 53     local frames = display.newFrames("CoinSpin%02d.png", 1, 8)
 54     --创建animation,0.4秒播放8帧
 55     local animation = display.newAnimation(frames, 0.4 / 8)
 56     --设置AnimationCache缓存
 57     display.setAnimationCache("Coin", animation)
 58
 59     --场景的四个属性,左右上下的边界
 60     self.left   = display.left   + display.width / 4
 61     self.right  = display.right  - display.width / 4
 62     self.top    = display.top    - display.height / 3
 63     self.bottom = display.bottom + display.height / 3
 64 end
 65
 66 function BenchmarkScene:onTouch(event, x, y)
 67     if event == "began" then
 68         local p = CCPoint(x, y) --获取触摸点的位置
 69         --在onTouch里面判断是否点击了addCoin精灵
 70         if self.addCoinButtonBoundingBox:containsPoint(p) then
 71             self.state = "ADD"
 72         --判断是否点击了removeCoin精灵
 73         elseif self.removeCoinButtonBoundingBox:containsPoint(p) then
 74             self.state = "REMOVE"
 75         else --如果都没有点击,则处于空闲状态
 76             self.state = "IDLE"
 77         end
 78         return true
 79     elseif event ~= "moved" then
 80         self.state = "IDLE"
 81     end
 82 end
 83
 84 function BenchmarkScene:addCoin()
 85     --[[通过display.addSpriteFramesWithFile(GAME_TEXTURE_DATA_FILENAME, GAME_TEXTURE_IMAGE_FILENAME)
 86     来加载的plist,png,通过"#+图片名"来索引内存中的图片资源]]--
 87     local coin = display.newSprite("#CoinSpin01.png")
 88     --永久播放animation
 89     coin:playAnimationForever(display.getAnimationCache("Coin"))
 90     --随机设置coin的位置
 91     coin:setPosition(random(self.left, self.right), random(self.bottom, self.top))
 92     --将coin添加到batchNode上面去一次性绘制,提高绘制帧率
 93     self.batch:addChild(coin)
 94
 95     --这个函数每帧调用,随机改变coin的位置
 96     function coin:onEnterFrame(dt)
 97         local x, y = self:getPosition()
 98         x = x + random(-2, 2)
 99         y = y + random(-2, 2)
100         self:setPosition(x, y)
101     end
102
103     --将这个新增的coin添加到coins的table表中
104     self.coins[#self.coins + 1] = coin --#self.coins用来获取table表的大小size
105     self.coinsCount = #self.coins  --当前coin的总数目
106     self.label:setString(string.format("%05d", self.coinsCount))
107 end
108
109 function BenchmarkScene:removeCoin()
110     local coin = self.coins[self.coinsCount]
111     coin:removeSelf()
112     table.remove(self.coins, self.coinsCount)
113     self.coinsCount = self.coinsCount - 1
114     --设置label的值
115     self.label:setString(string.format("%05d", self.coinsCount))
116 end
117
118 function BenchmarkScene:onEnterFrame(dt)
119     if self.state == "ADD" then --当前状态是Add就添加coin
120         self:addCoin()
121     --当前coin数大于0,就移除coin
122     elseif self.state == "REMOVE" and self.coinsCount > 0 then
123         self:removeCoin()
124     end
125
126     local coins = self.coins
127     for i = 1, #coins do
128         local coin = coins[i]
129         coin:onEnterFrame(dt) --在每帧中对每个coin执行位置偏移函数
130     end
131 end
132
133 function BenchmarkScene:onEnter()
134     --场景每帧执行onEnterFrame()函数
135     self:scheduleUpdate(function(dt) self:onEnterFrame(dt) end)
136     --给默认层添加触摸监听函数
137     self.layer:addTouchEventListener(function(event, x, y)
138         return self:onTouch(event, x, y)
139     end)
140     --启动触摸监听
141     self.layer:setTouchEnabled(true)
142 end
143
144 return BenchmarkScene
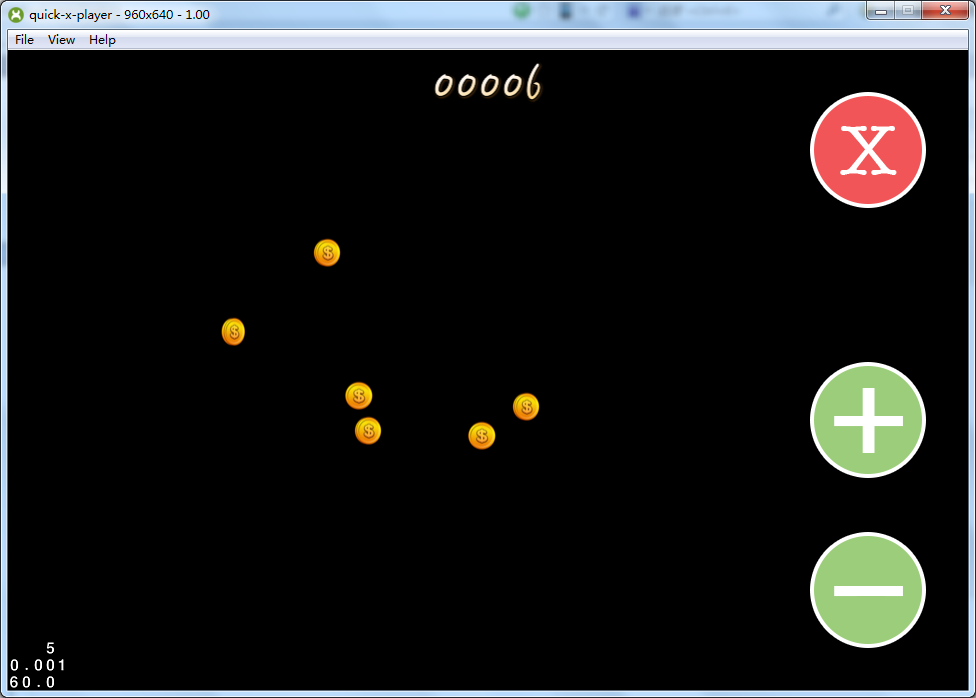
效果图: