django ad 认证 免设置ldap 免用户名密码登录
,采用C# windos iis 自带域身份验证,提供身份认证接口 可以对接java python php等语言
搭建ad 域认证站点, 可对接django java php 等项目
1.采用iis windos 域认证完成,必须有一台加域的windows 服务器
2.必须了解asp.net mvc 基础,以及项目发布
3.实现方式 类似微信认证登录采用oath2方式(第三方系统-->ad 域认证站点-->获得code-->跳转会第三方系统-->通过code 获取当前用户域信息)
实现效果

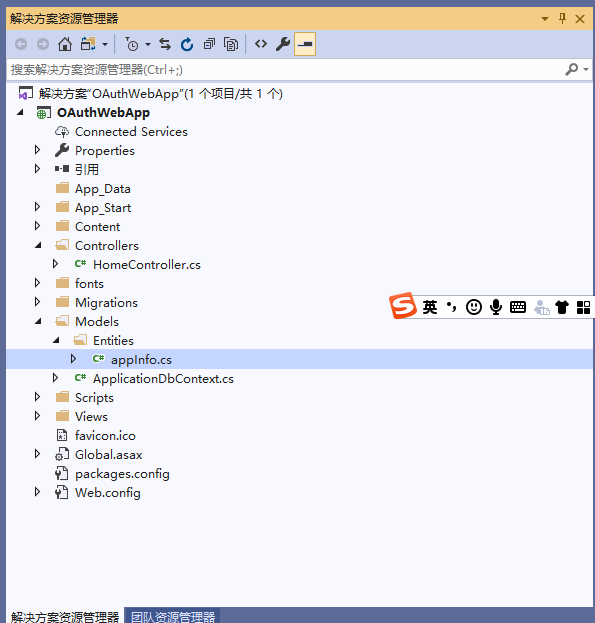
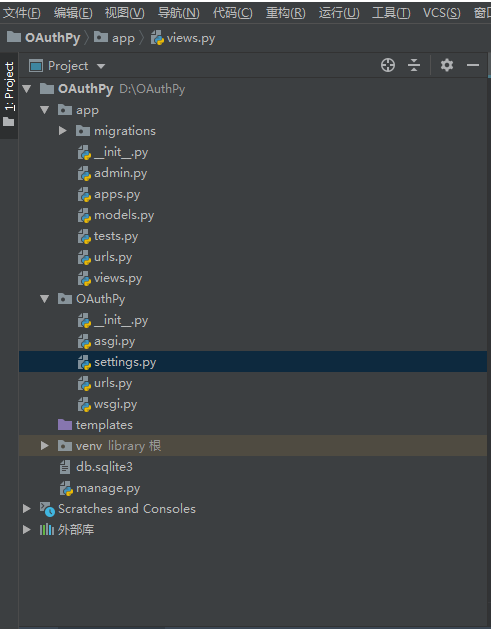
项目结构
C# 代码如下: https://github.com/wangcongxing/OAuthWebApp
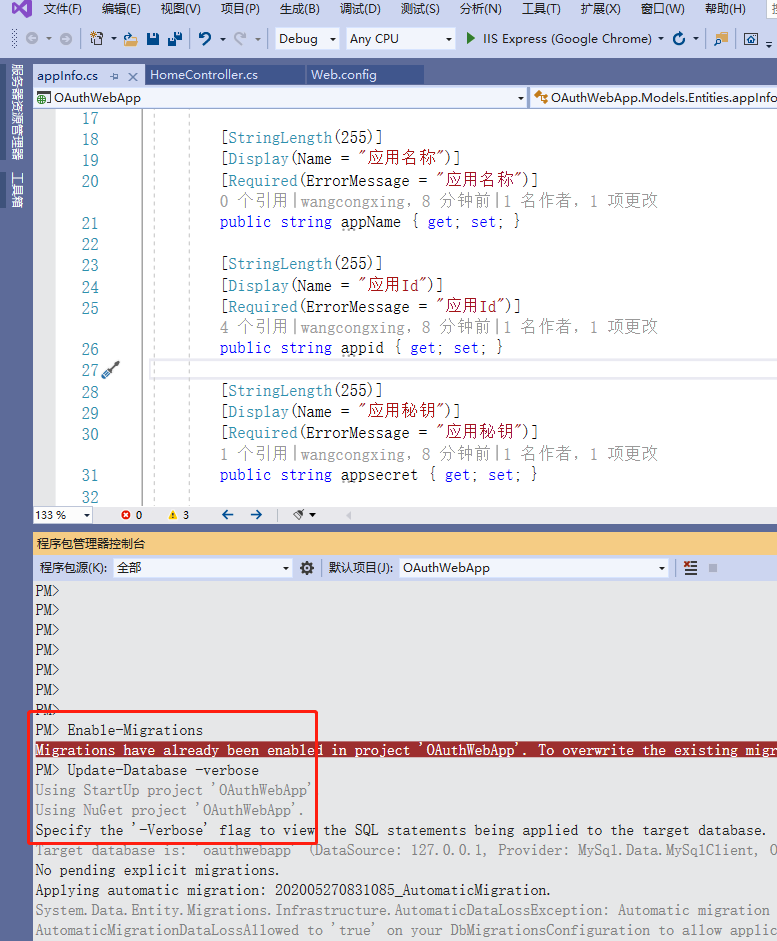
生成数据库迁移:
Enable-Migrations
Update-Database -verbose
using System;
using System.Collections.Generic;
using System.Linq;
using System.Web;
using System;
using System.Collections.Generic;
using System.ComponentModel.DataAnnotations;
using System.ComponentModel.DataAnnotations.Schema;
using System.Linq;
using System.Threading.Tasks;

namespace OAuthWebApp.Models.Entities
{
    public class appInfo
    {
        public Guid Id { get; set; }

        [StringLength(255)]
        [Display(Name = "应用名称")]
        [Required(ErrorMessage = "应用名称")]
        public string appName { get; set; }

        [StringLength(255)]
        [Display(Name = "应用Id")]
        [Required(ErrorMessage = "应用Id")]
        public string appid { get; set; }

        [StringLength(255)]
        [Display(Name = "应用秘钥")]
        [Required(ErrorMessage = "应用秘钥")]
        public string appsecret { get; set; }

        [StringLength(255)]
        [Display(Name = "回调地址")]
        [Required(ErrorMessage = "回调地址")]
        public string redirectUrl { get; set; }

        [Display(Name = "创建时间")]
        [DisplayFormat(DataFormatString = "{0:yyyy-MM-dd HH:mm:ss}")]
        public DateTime? creationTime { get; set; }

        [Display(Name = "修改时间")]
        [DisplayFormat(DataFormatString = "{0:yyyy-MM-dd HH:mm:ss}")]
        public DateTime? lastWriteTime { get; set; }

        [StringLength(255)]
        [Display(Name = "创建者")]
        public string author { get; set; }

        [StringLength(255)]
        [Display(Name = "修改者")]
        public string editor { get; set; }
    }
}
using OAuthWebApp.Models;
using StackExchange.Redis;
using System;
using System.Collections.Generic;
using System.Linq;
using System.Web;
using System.Web.Mvc;

namespace OAuthWebApp.Controllers
{
    public class HomeController : Controller
    {
        ConnectionMultiplexer redis = ConnectionMultiplexer.Connect("127.0.0.1:6379");
        //ConnectionMultiplexer redis = ConnectionMultiplexer.Connect("server1:6379,server2:6379");
        [Authorize]
        public ActionResult Index()
        {
            return View();
        }

        public ActionResult About()
        {
            ViewBag.Message = "Your application description page.";

            return View();
        }

        public ActionResult Contact()
        {
            ViewBag.Message = "Your contact page.";

            return View();
        }
        [HttpGet]
        [Authorize]
        public ActionResult authorize(string appid = "", string state = "")
        {
            if (string.IsNullOrEmpty(appid))
                return Json(new { code = 0, msg = "参数有误,appid不能为空!" }, JsonRequestBehavior.AllowGet);
            using (ApplicationDbContext _context = new ApplicationDbContext())
            {
                var item = _context.appInfos.Where(x => x.appid.Equals(appid)).FirstOrDefault();
                if (item != null)
                {
                    //ConnectionMultiplexer redis = ConnectionMultiplexer.Connect("server1:6379,server2:6379");
                    string config = redis.Configuration;

                    //step-2: Accessing a redis database 連接到Redis數據庫
                    IDatabase db = redis.GetDatabase();

                    //step-3: 通過db使用Redis API (http://redis.io/commands)
                    string code = System.Guid.NewGuid().ToString();
                    db.StringSet(code + "_" + item.appid, User.Identity.Name, new TimeSpan(0, 5, 0), When.Always, CommandFlags.None);
                    //string value = string.Empty;
                    //if (db.KeyExists("mykey"))
                    //{
                    //    value = db.StringGet("mykey");
                    // }
                    return Redirect(item.redirectUrl + "?code=" + code + "&state=" + state);
                }
                else
                    return Json(new { code = 0, msg = "参数有误,appid不存在或已删除!" }, JsonRequestBehavior.AllowGet);
            }
        }
        /// <summary>
        /// 获取用户信息
        /// </summary>
        /// <param name="code">用户code</param>
        /// <returns></returns>

        [AllowAnonymous]
        [HttpPost]
        public ActionResult getUserInfo(string appid, string appsecret, string code)
        {
            try
            {
                if (string.IsNullOrEmpty(appid) || string.IsNullOrEmpty(appsecret) || string.IsNullOrEmpty(code))
                    return Json(new { code = -1, msg = "输入参数不合法!!!" });
                using (ApplicationDbContext _context = new ApplicationDbContext())
                {
                    var item = _context.appInfos.Where(x => x.appid.Equals(appid) && x.appsecret.Equals(appsecret)).FirstOrDefault();
                    if (item == null)
                        return Json(new { code = -2, msg = "appid或appsecret输入有误!!!" });
                    code = code + "_" + item.appid;

                    string config = redis.Configuration;
                    //step-2: Accessing a redis database 連接到Redis數據庫
                    IDatabase db = redis.GetDatabase();
                    string um = db.StringGet(code).ToString();
                    db.KeyDelete(code);
                    return Json(new { code = 1, msg = "seccess", um = um });
                }
            }
            catch (Exception ex)
            {
                return Json(new { code = -3, msg = ex.Message + ex.StackTrace });
            }

        }
    }
}
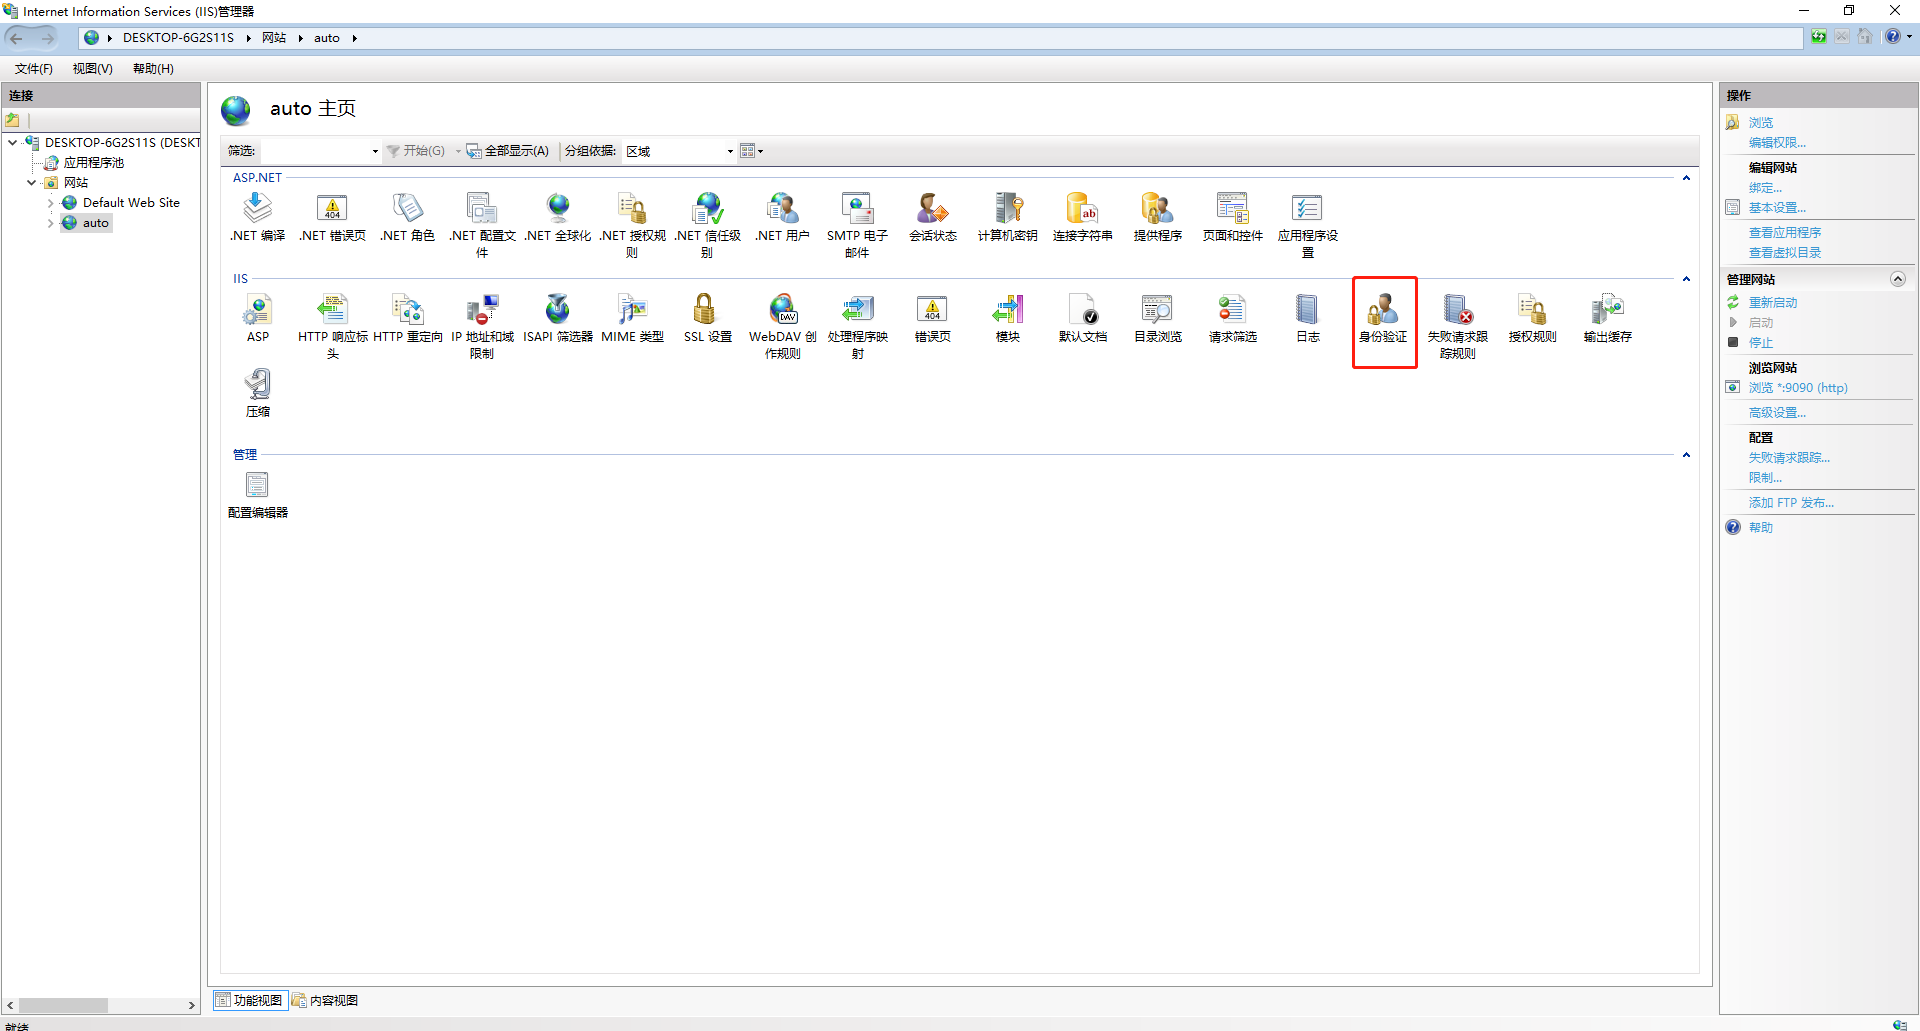
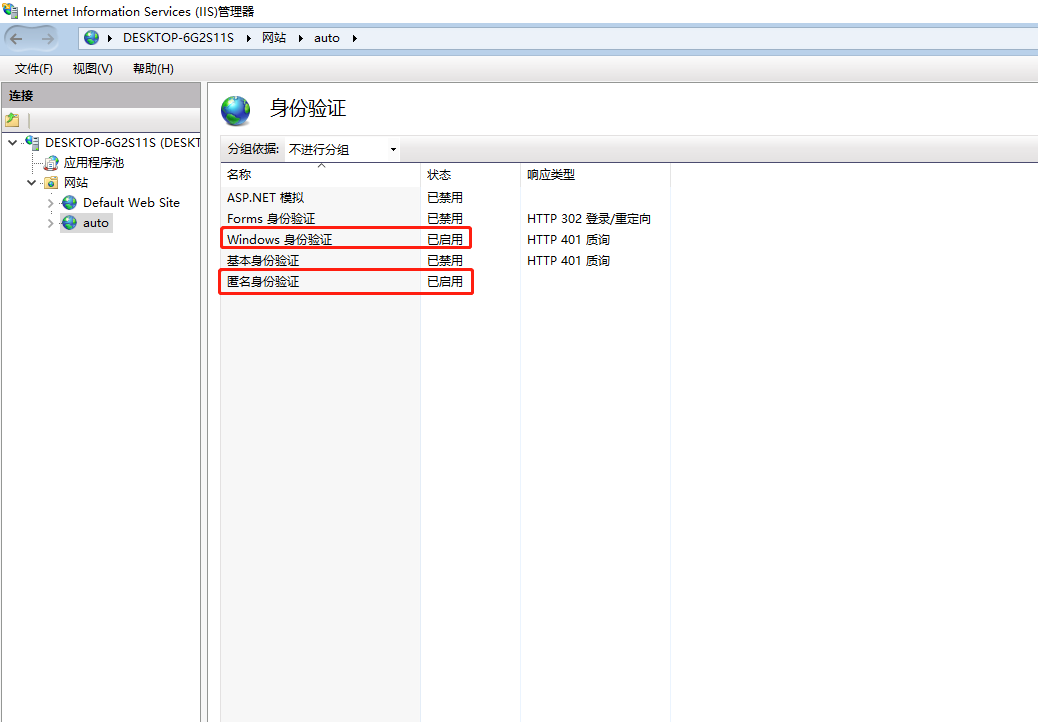
IIS 设置
django 项目
https://github.com/wangcongxing/OAuthPy
主要代码views.py
from django.http import JsonResponse, HttpResponse, HttpResponseRedirect
from django.shortcuts import render, redirect
from django.core.cache import cache
import requests, uuid
from urllib.parse import quote
from django.contrib.auth.models import Permission, User
from django.contrib import auth

appid = "wxd1fc775bed1421c6"
appsecret = "070dc5f52dac5bef72673c7d0ee21ae3"

authUrl = "http://localhost:9090/Home/authorize/?appid={}".format(appid)
authUserInfo = "http://localhost:9090/Home/getUserInfo"


# Create your views here.
def login(request):
    code = request.GET.get('code', None)
    state = request.GET.get('state', '')
    redirecturl = request.GET.get("redirectUrl", "/")
    result = requests.post(authUserInfo, data={'appid': appid, 'appsecret': appsecret, "code": code})
    resultJson = result.json()

    resultCode = resultJson["code"]
    resultUm = resultJson["um"]
    if resultCode == 1 and resultUm is not '':
        resultUm = str(resultUm).split("\")[1]
        obj, created = User.objects.update_or_create(
            defaults={'username': resultUm, 'email': resultUm + "@pingan.com.cn", 'password': uuid.uuid1(),
                      'is_staff': True, 'is_active': True},
            username=resultUm)
        if created:
            print("创建成功")
        else:
            print("更新成功")
        '''
        mpPermission = "XXX新增权限" # 使用前需要手动新增在系统授权-->新建权限组
        #分配默认系统权限(对表的增删改查权限)
        permission = Permission.objects.filter(codename=mpPermission).first()
        if not permission:
            content_type = ContentType.objects.get_for_model(TemplateRequestLog)
            permission = Permission.objects.create(
                codename=mpPermission,
                name='WeChat User Permission',
                content_type=content_type,
            )
        user.user_permissions.add(permission)
        '''
        auth.login(request, obj)
        return redirect(redirecturl + "?state=" + state)
    else:
        print("登录失败,请稍后再试!!!")


def index(request):
    if not request.user.is_authenticated:
        return redirect(authUrl)
    return HttpResponse("首页")