我们将对帧数据做一些处理,比如将每一帧的 图像转为jpg或者bmp或者ppm等格式保存下来。
举例:在ffmpeg-2.8.8文件夹下编写test.c程序
/*
test.c
*/
#include<stdio.h>
#include<libavcodec/avcodec.h>
#include<libavformat/avformat.h>
#include<libswscale/swscale.h>

int main(int argc, char *argv[])
{
    AVFormatContext *pFormatCtx = NULL;
    if (argc < 2)
    {
        printf("Please provide a movie file
");
        return -1;
    }

    av_register_all();
    if (avformat_open_input(&pFormatCtx,argv[1], NULL, NULL) != 0)
    {
        return -1;
    }
    if (avformat_find_stream_info(pFormatCtx, NULL) < 0)
    {
        return -1;
    }

    av_dump_format(pFormatCtx, 0, argv[1], 0);
    avformat_close_input(&pFormatCtx);
    return 0;
}
注册ffmpeg库
av_register_all();
这会将所有可用的文件格式和编解码器注册到我们的库中,以便在打开具有相应格式/编解码器的文件时自动使用。 注意,我们只需要 av_register_all()一次,所以在 main()中调用。 如果你喜欢,可以只注册某些文件格式和编解码器,但是这样比较麻烦。
打开文件
AVFormatContext *pFormatCtx = NULL;
if (avformat_open_input(&pFormatCtx,argv[1], NULL, NULL) != 0)
{
    return -1;
}
我们从第一个参数获取文件名。 此函数读取文件头并将有关文件格式的信息存储在我们给出的 AVFormatContext 结构中。 最后三个参数用于指定文件格式,缓冲区大小和格式选项,但通过将其设置为NULL或0,libavformat将自动检测这些。 此函数只查看头文件,所以接下来我们需要检查文件中的流信息:
if (avformat_find_stream_info(pFormatCtx, NULL) < 0)
此函数获取有效的数据流,没有就返回 -1。接下来编写一个方便的调试功能,可以显示我们资源的数据信息
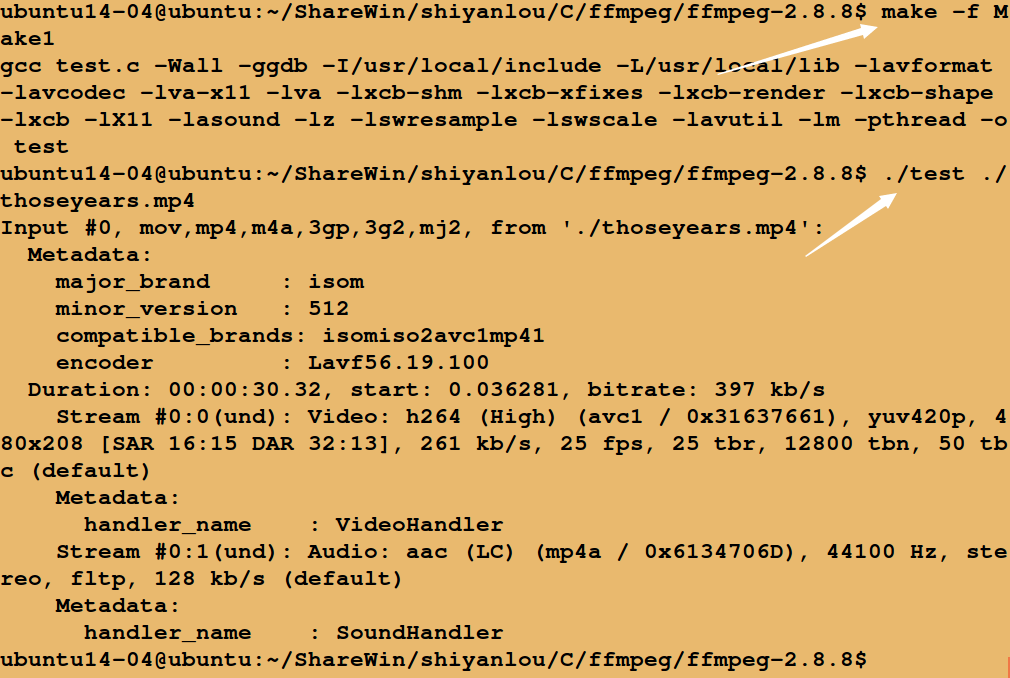
av_dump_format(pFormatCtx, 0, argv[1], 0); //打印资源信息
makefile如下:
DIR_INC = -I/usr/local/include
DIR_LIB = -L/usr/local/lib

LIBS = -lavformat
        -lavcodec
        -lva-x11
        -lva
        -lxcb-shm
        -lxcb-xfixes
        -lxcb-render
        -lxcb-shape
        -lxcb -lX11
        -lasound
        -lz
        -lswresample
        -lswscale
        -lavutil
        -lm
        -pthread

FLAGS = -Wall -ggdb

test : test.c
    gcc test.c ${FLAGS} ${DIR_INC} ${DIR_LIB} ${LIBS} -o test

.PHONY:clean
clean:
    rm test
运行: