笔记
1、@SpringBootTest单元测试实战
简介:讲解SpringBoot的单元测试
1、引入相关依赖
<!--springboot程序测试依赖,如果是自动创建项目默认添加-->
<dependency>
<groupId>org.springframework.boot</groupId>
<artifactId>spring-boot-starter-test</artifactId>
<scope>test</scope>
</dependency>
2、使用
@RunWith(SpringRunner.class) //底层用junit SpringJUnit4ClassRunner
@SpringBootTest(classes={XdclassApplication.class})//启动整个springboot工程
public class SpringBootTests { }
开始
手工创建的spring boot的项目需要手工的添加依赖项。如果是网站自动创建的,会自动添加了这个包的引用
<groupId>org.springframework.boot</groupId>
<artifactId>spring-boot-starter-test</artifactId>
<scope>test</scope>
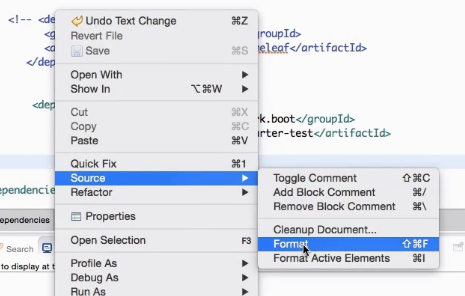
Ecplise中的格式化代码
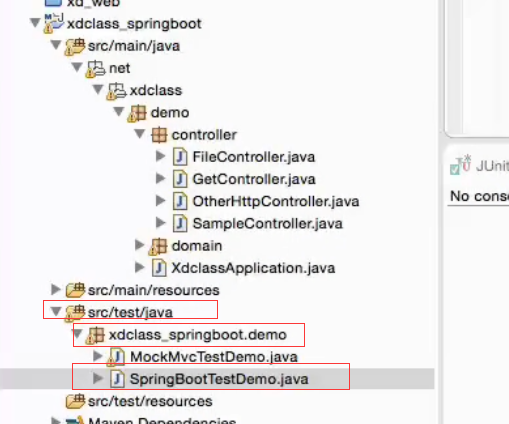
src/test/java/下创建包,并创建测试类
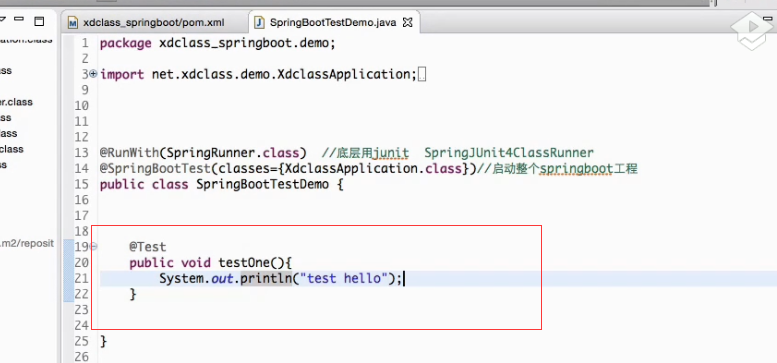
这是一个空的类。加了两个注解

SpringRunner是继承了SpringJUnit4ClassRunner,这是springboot里面推荐的方法

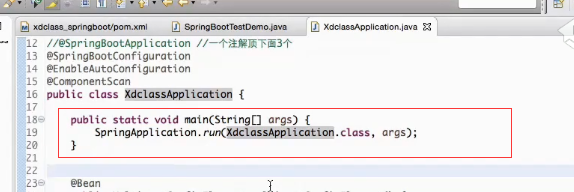
@SpringBootTest指定这是个Spring boot的应用.这里配置的是SpringBoot的启动文件。指定main函数的入口
在就是我们main功函数的入口
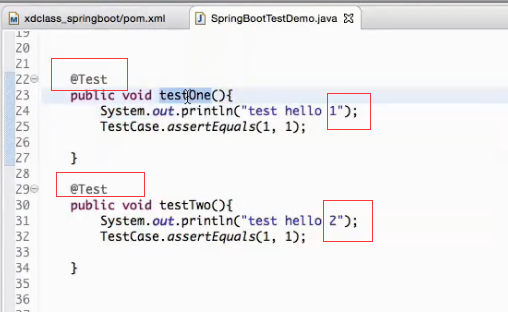
写测试方法
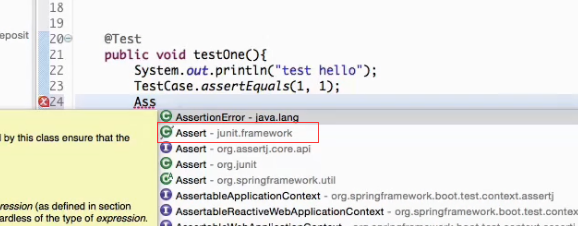
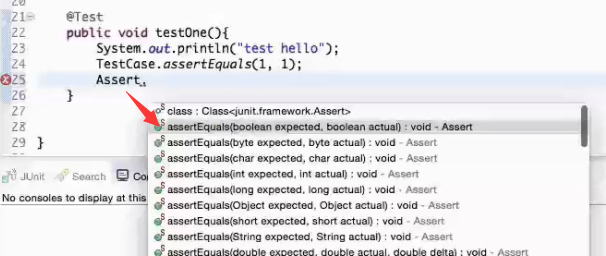
断言,判断1是否等于1.TestCase是JUnit里面的断言

也可以使用Assert.equals
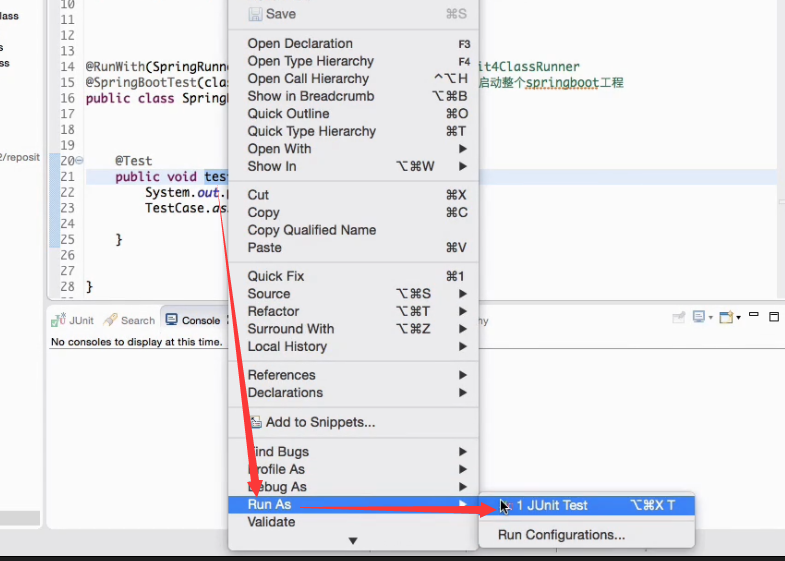
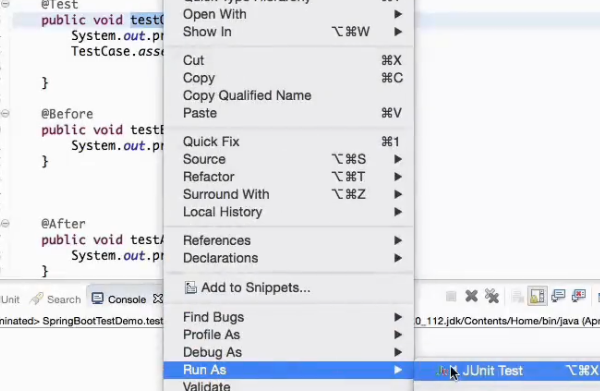
运行测试方法
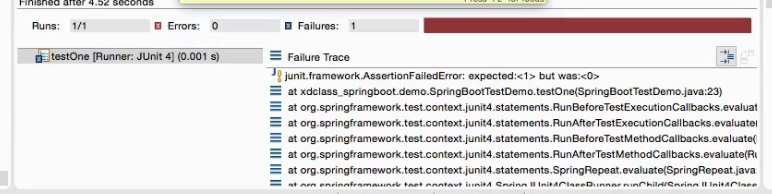
绿色表示测试通过

判断1是否等于0.断言失败

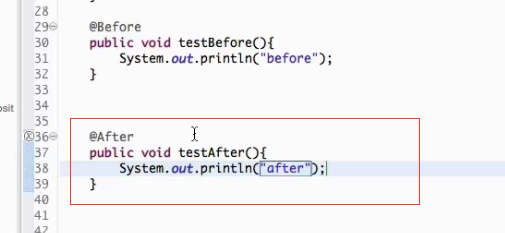
@Before

@After 一般用于资源的回收利用。
启动引用测试

执行多个测试方法
多个方法进行单元测试。那就选中这个类。右键。run---JUnit Test
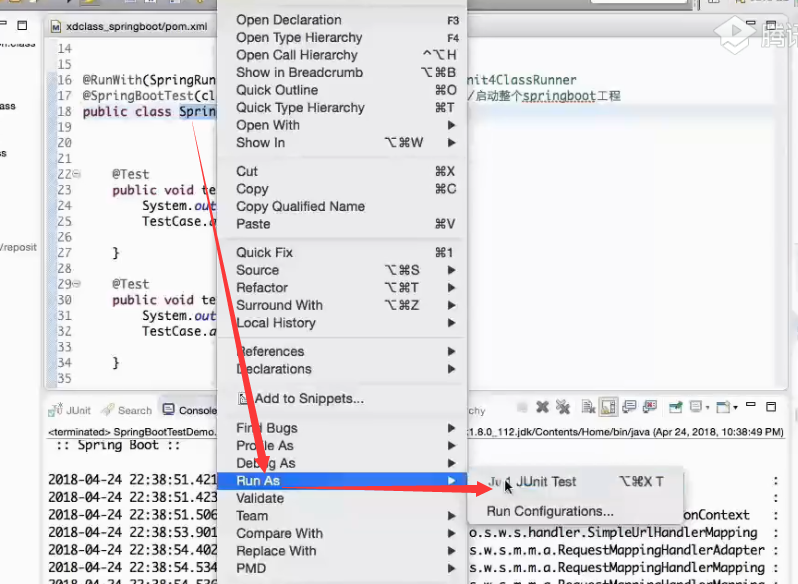
这里执行了两个方法
