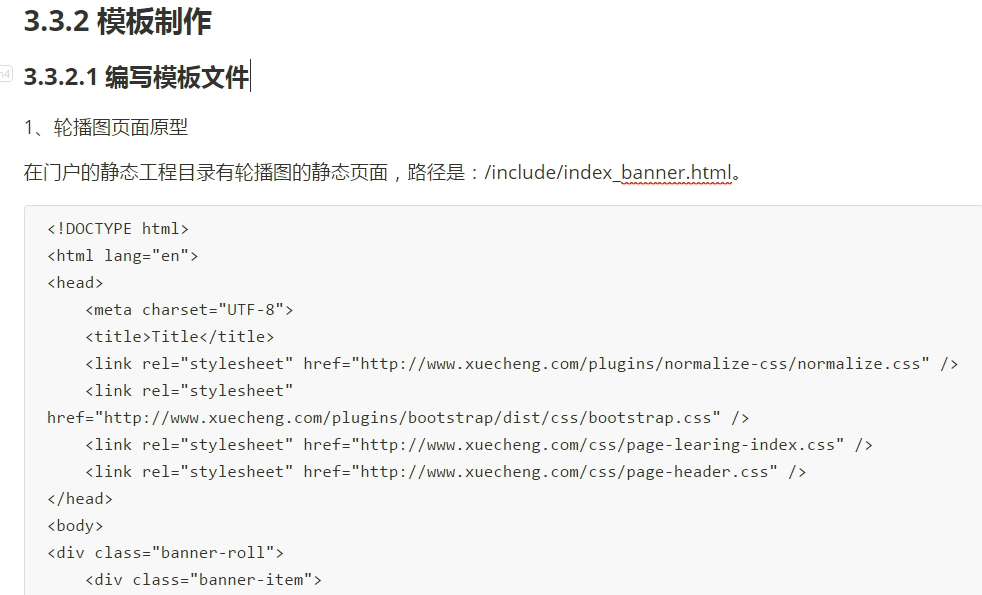
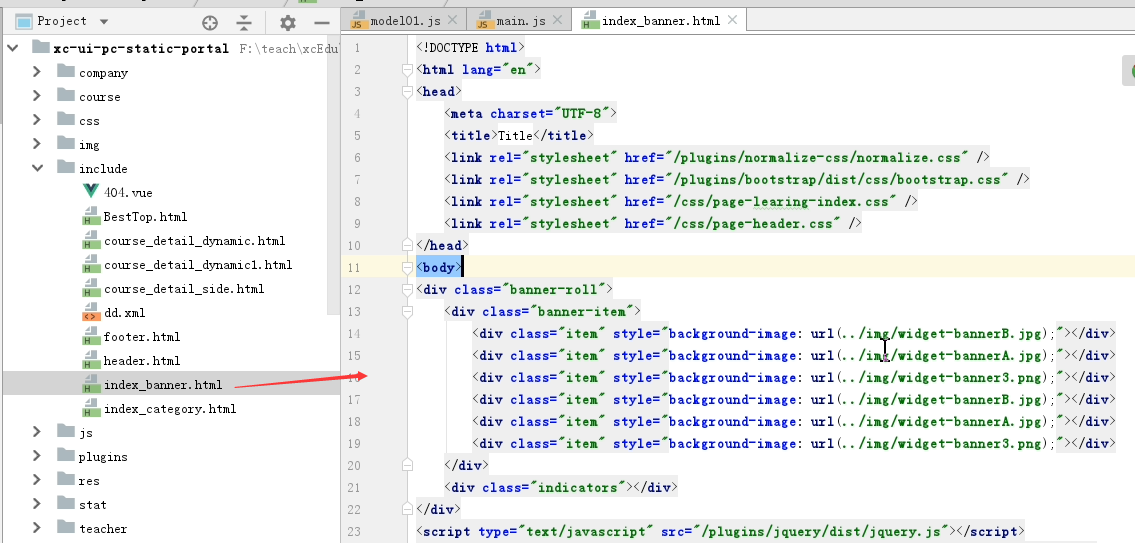
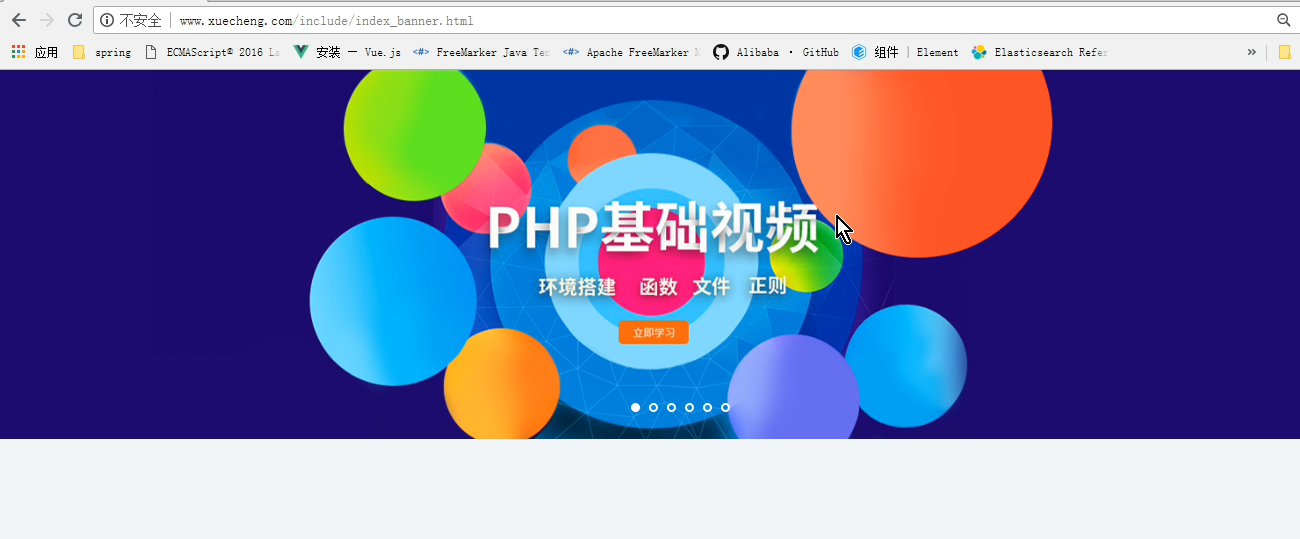
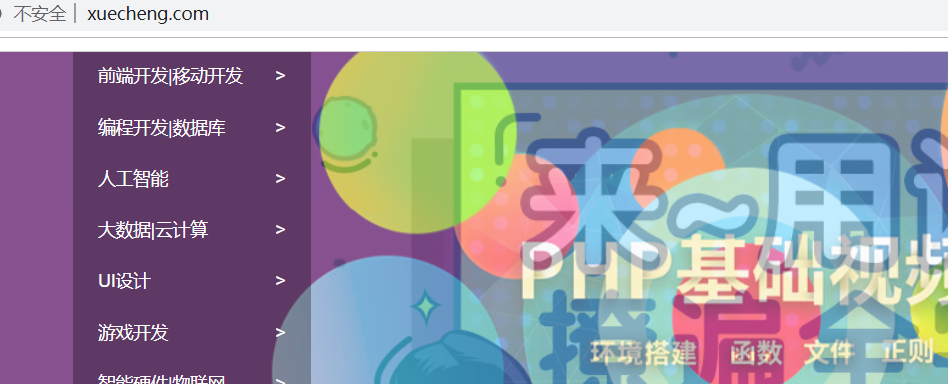
这是轮播图的原始文件
运行门户需要把 nginx启动起来

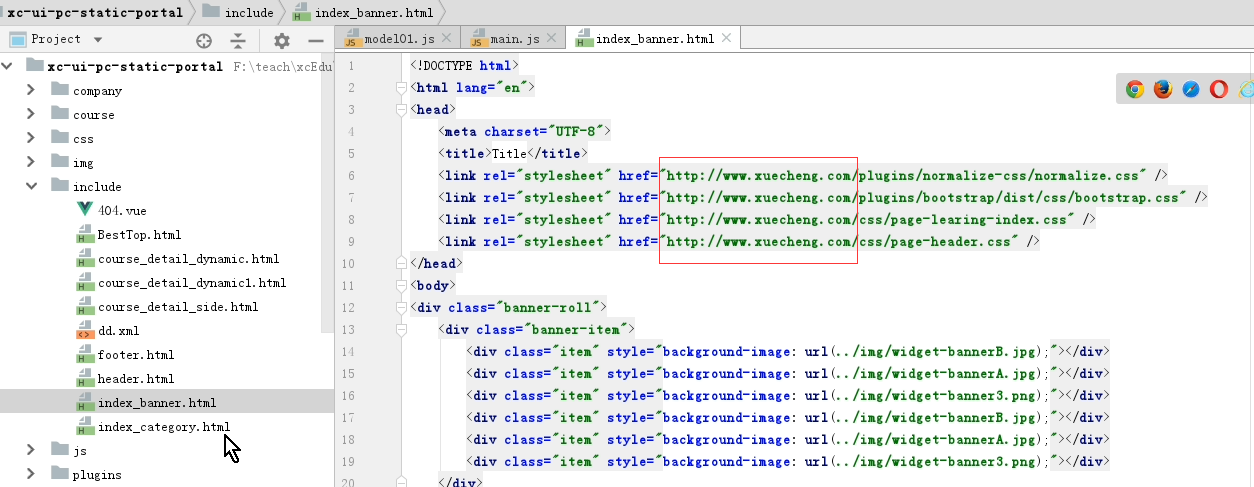
单独运行轮播图。把里面的css的引用都加上网址的url
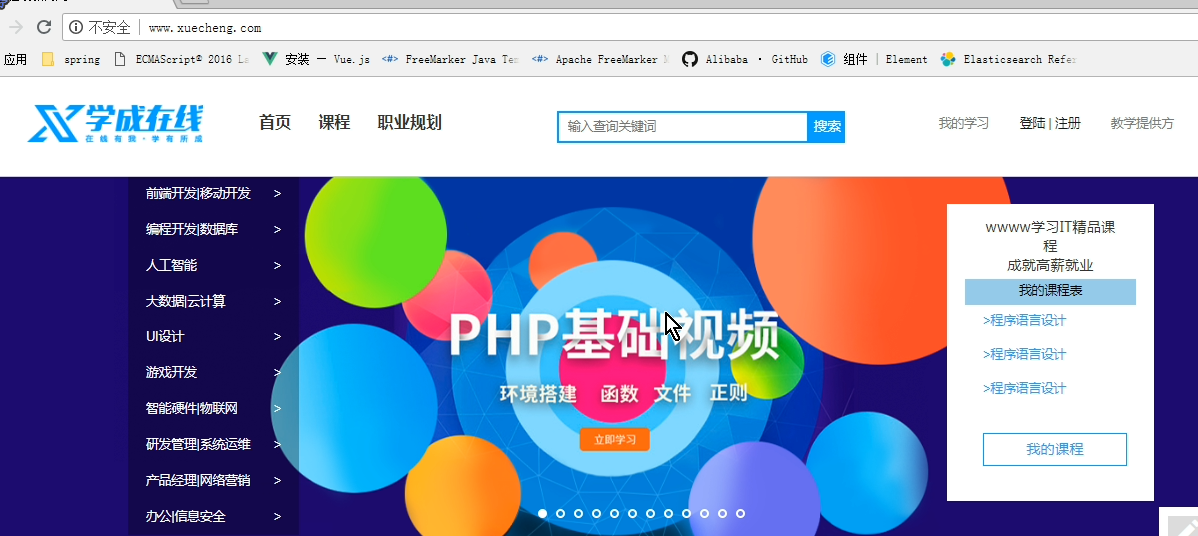
这就是单独访问到的轮播图的效果
轮播图模板的地址:
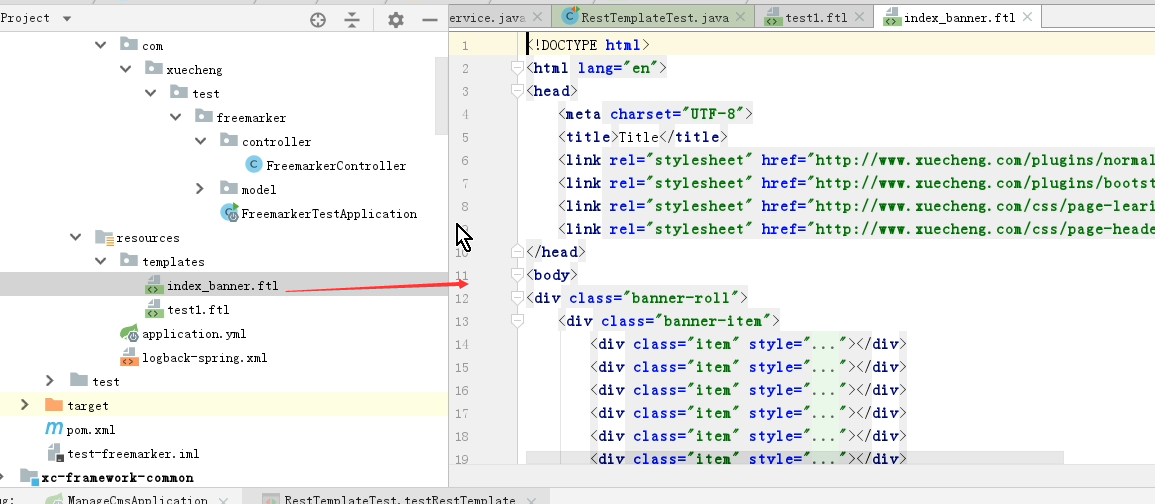
阶段5 3.微服务项目【学成在线】·day04 页面静态化代码index_banner.ftl
test-freemarker的服务内。模板的html文件,复制过来。然后改了名字后缀叫做index_banner.ftl
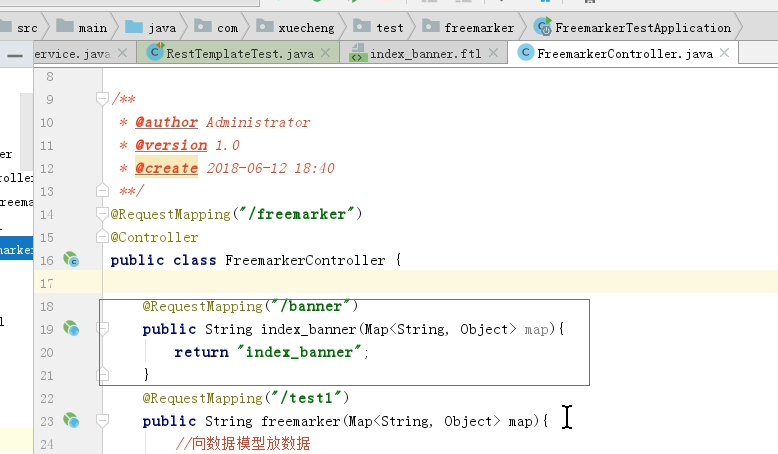
FreemarkerController内
新加一个方法 返回为轮播图的模板地址
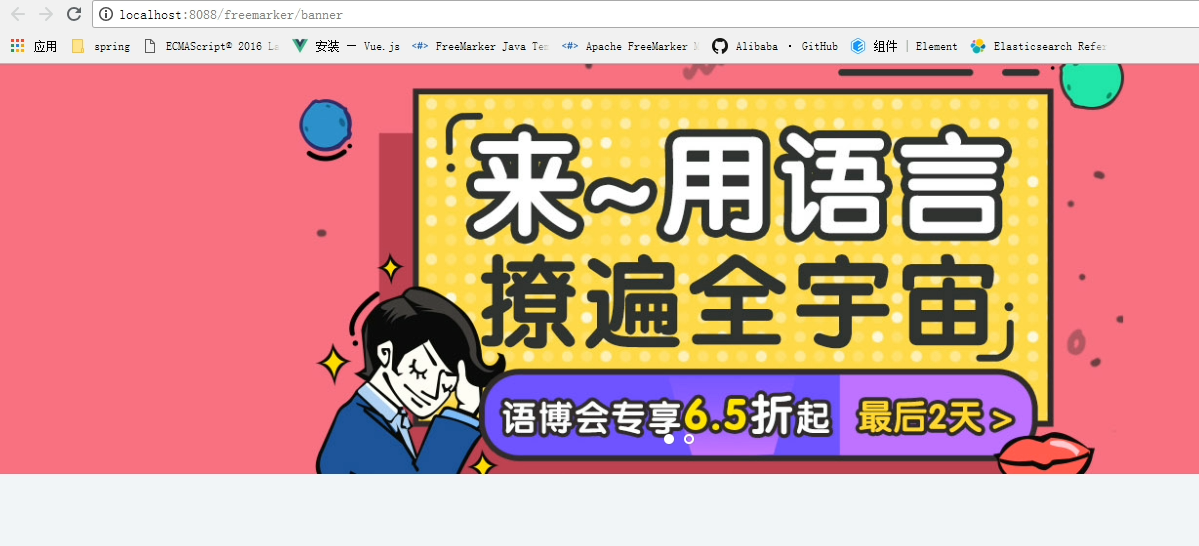
http://localhost:8088/freemarker/banner
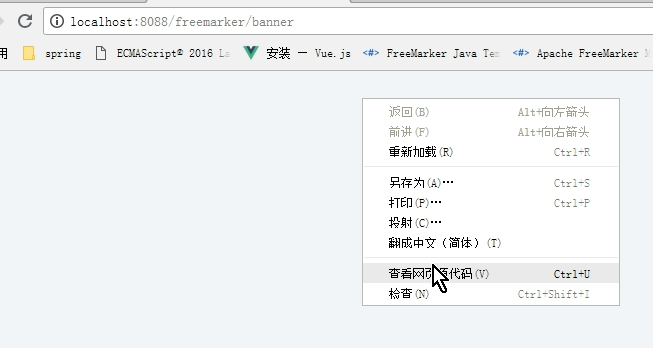
页面没显示东西。但是里面的内容是有的。里面的图片地址都是相对的路径

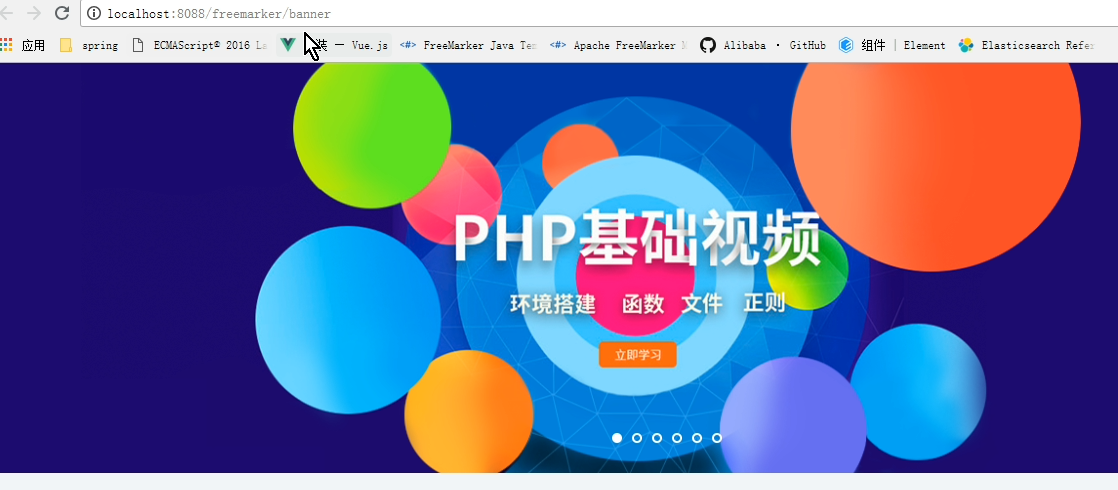
如果模板这里改成绝对路径是可以显示出来的

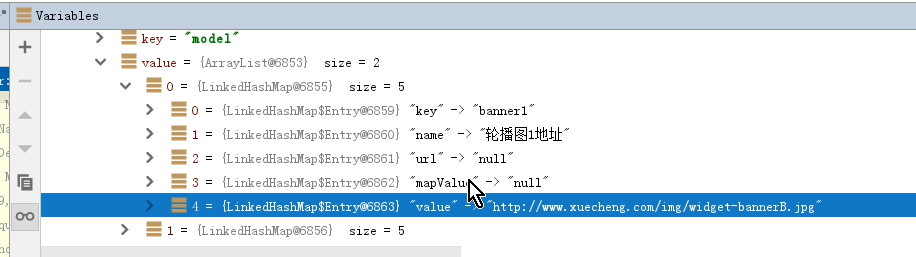
先来确定录播图的数据格式

显示就是要遍历这个model

<!DOCTYPE html>
<html lang="en">
<head>
    <meta charset="UTF-8">
    <title>Title</title>
    <link rel="stylesheet" href="http://www.xuecheng.com/plugins/normalize-css/normalize.css" />
    <link rel="stylesheet" href="http://www.xuecheng.com/plugins/bootstrap/dist/css/bootstrap.css" />
    <link rel="stylesheet" href="http://www.xuecheng.com/css/page-learing-index.css" />
    <link rel="stylesheet" href="http://www.xuecheng.com/css/page-header.css" />
</head>
<body>
<div class="banner-roll">
    <div class="banner-item">
        <#if model??>
            <#list model as item>
                <div class="item" style="background-image: url(${item.value});"></div>
            </#list>
        </#if>
    <#-- <div class="item" style="background-image: url(../img/widget-bannerA.jpg);"></div>
        <div class="item" style="background-image: url(../img/widget-banner3.png);"></div>
        <div class="item" style="background-image: url(../img/widget-bannerB.jpg);"></div>
        <div class="item" style="background-image: url(../img/widget-bannerA.jpg);"></div>
        <div class="item" style="background-image: url(../img/widget-banner3.png);"></div>-->
    </div>
    <div class="indicators"></div>
</div>
<script type="text/javascript" src="http://www.xuecheng.com/plugins/jquery/dist/jquery.js"></script>
<script type="text/javascript" src="http://www.xuecheng.com/plugins/bootstrap/dist/js/bootstrap.js"></script>
<script type="text/javascript">
    var tg = $('.banner-item .item');
    var num = 0;
    for (i = 0; i < tg.length; i++) {
        $('.indicators').append('<span></span>');
        $('.indicators').find('span').eq(num).addClass('active');
    }

    function roll() {
        tg.eq(num).animate({
            'opacity': '1',
            'z-index': num
        }, 1000).siblings().animate({
            'opacity': '0',
            'z-index': 0
        }, 1000);
        $('.indicators').find('span').eq(num).addClass('active').siblings().removeClass('active');
        if (num >= tg.length - 1) {
            num = 0;
        } else {
            num++;
        }
    }
    $('.indicators').find('span').click(function() {
        num = $(this).index();
        roll();
    });
    var timer = setInterval(roll, 3000);
    $('.banner-item').mouseover(function() {
        clearInterval(timer)
    });
    $('.banner-item').mouseout(function() {
        timer = setInterval(roll, 3000)
    });
</script>
</body>
</html>
首先是配置RestTemplate
首先是确定pom.yml内添加了okhttp的引用
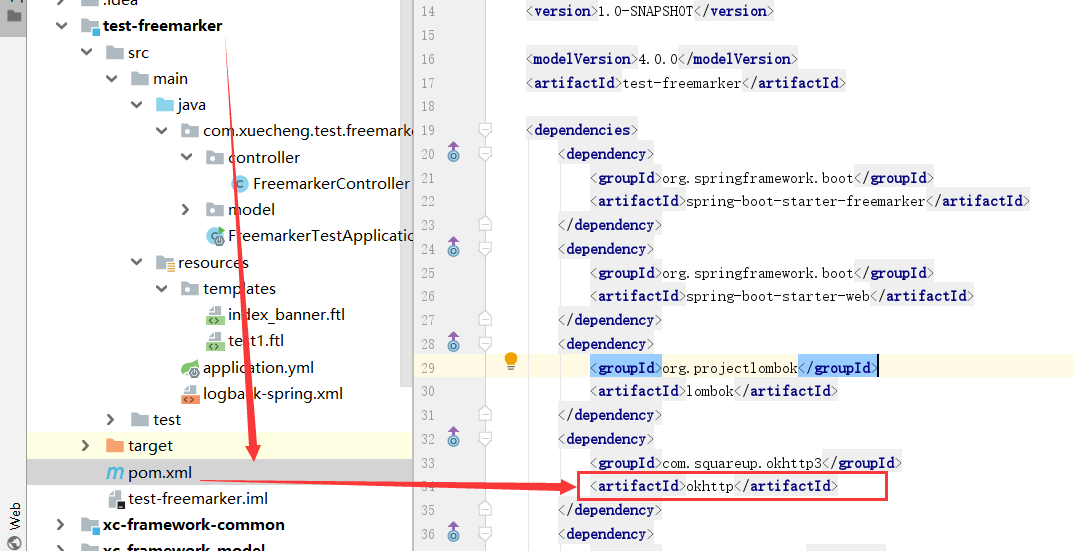
<dependency>
    <groupId>com.squareup.okhttp3</groupId>
    <artifactId>okhttp</artifactId>
</dependency>
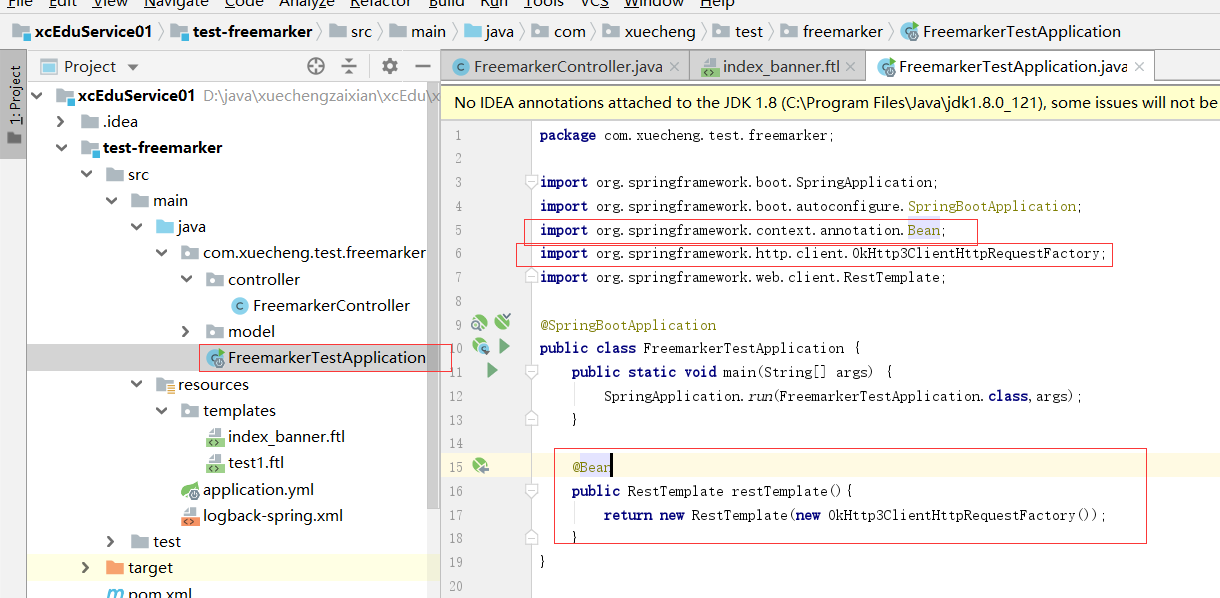
然后是在SpringBoot的启动类里面,配置RestTemplate的Bean
<dependency>
    <groupId>com.squareup.okhttp3</groupId>
    <artifactId>okhttp</artifactId>
</dependency>
@Bean
public RestTemplate restTemplate(){
    return new RestTemplate(new OkHttp3ClientHttpRequestFactory());
}
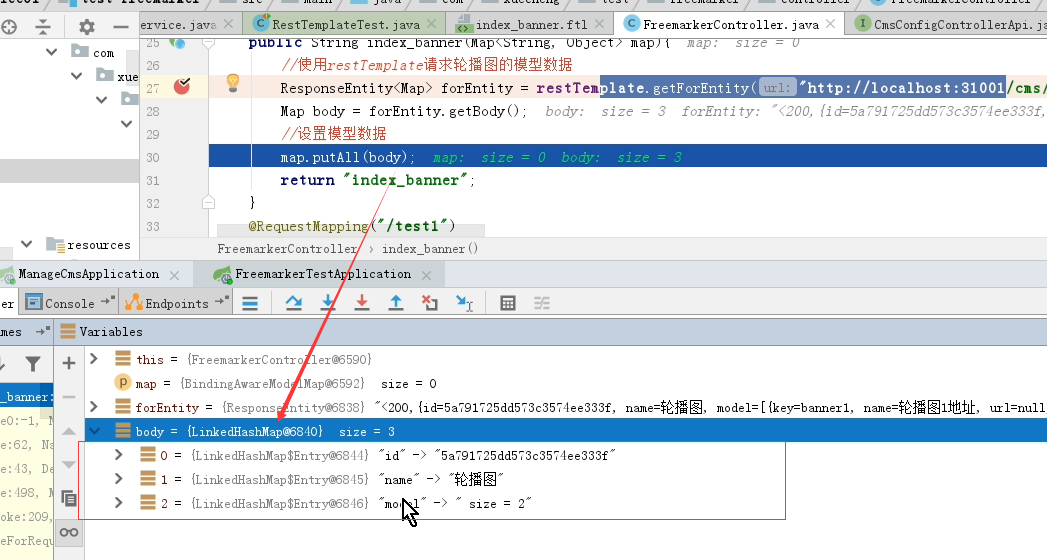
使用restTemplate请求数据
请求的接口的地址

请求最终转换成一个Map

body就是我们的模型数据

@Autowired
RestTemplate restTemplate;
@RequestMapping("/banner")
public String index_banner(Map<String,Object> map){
    ResponseEntity<Map> forEntity = restTemplate.getForEntity("http://localhost:31001/cms/config/getmodel/5a791725dd573c3574ee333f", Map.class);
    Map body = forEntity.getBody();
    //设置模型数据
    map.putAll(body);
    return "index_banner";
}
测试
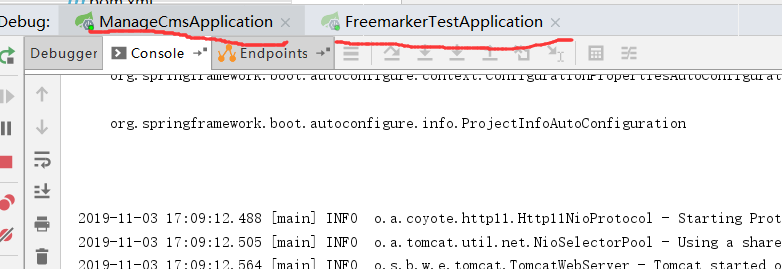
测试的时候记得先启动cms的微服务,test-freemarker的服务是调用cms的服务获取到的轮播图的数据,确保启动了两个微服务

body里面的数据有三条
需要修改mongoDB里面的数据

原来的数据
{
    "_id" : ObjectId("5a791725dd573c3574ee333f"),
    "_class" : "com.xuecheng.framework.domain.cms.CmsConfig",
    "name" : "轮播图",
    "model" : [
        {
            "key" : "banner1",
            "name" : "轮播图1地址",
            "value" : "http://192.168.101.64/group1/M00/00/01/wKhlQFp5wnCAG-kAAATMXxpSaMg864.png"
        },
        {
            "key" : "banner2",
            "name" : "轮播图2地址",
            "value" : "http://192.168.101.64/group1/M00/00/01/wKhlQVp5wqyALcrGAAGUeHA3nvU867.jpg"
        },
        {
            "key" : "banner3",
            "name" : "轮播图3地址",
            "value" : "http://192.168.101.64/group1/M00/00/01/wKhlQFp5wtWAWNY2AAIkOHlpWcs395.jpg"
        }
    ]
}
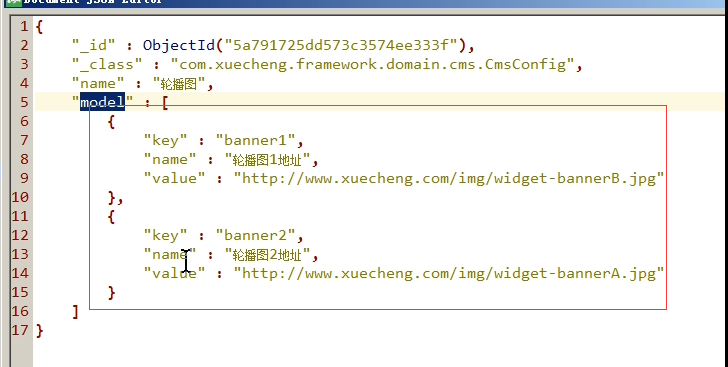
新的数据
{
    "_id" : ObjectId("5a791725dd573c3574ee333f"),
    "_class" : "com.xuecheng.framework.domain.cms.CmsConfig",
    "name" : "轮播图",
    "model" : [
        {
            "key" : "banner1",
            "name" : "轮播图1地址",
            "value" : "http://www.xuecheng.com/img/widget-bannerA.jpg"
        },
        {
            "key" : "banner2",
            "name" : "轮播图2地址",
            "value" : "http://www.xuecheng.com/img/widget-bannerB.jpg"
        },
        {
            "key" : "banner3",
            "name" : "轮播图3地址",
            "value" : "http://www.xuecheng.com/img/widget-banner3.png"
        }
    ]
}
然后确保nginx启动起来了。www.xuecheng.com的网址是可以打开的
以上都确认好后。再次访问:http://localhost:8088/freemarker/banner
我自己做测试 最终返回的数据3个图片的地址 都展示出来了。主要修改mongoDB里面的cms_config里面轮播图的数据