Feature visualization from ipython notebook
Wang Xiao
1. install anaconda2 from: https://www.continuum.io/downloads
Note: download the version 2 not version 3 ! Or the following will always wrong !!!

2. Then install python.protobuf follow the blog from: http://www.voidcn.com/blog/woainiwss/article/p-5002715.html
(1). Download: http://protobuf.googlecode.com/files/protobuf-2.5.0.zip
(2). Unzip protobuf-2.5.0 and cd protobuf-2.5.0
(3). Do the following in the terminal
make -j4
make check -j4
sudo make install
(4). cd ./python
python setup.py build
python setup.py test
python setup.py install
(5). >>python
check if you input the >> import google.protobuf , it does not inform you any error, it means everything is ok.

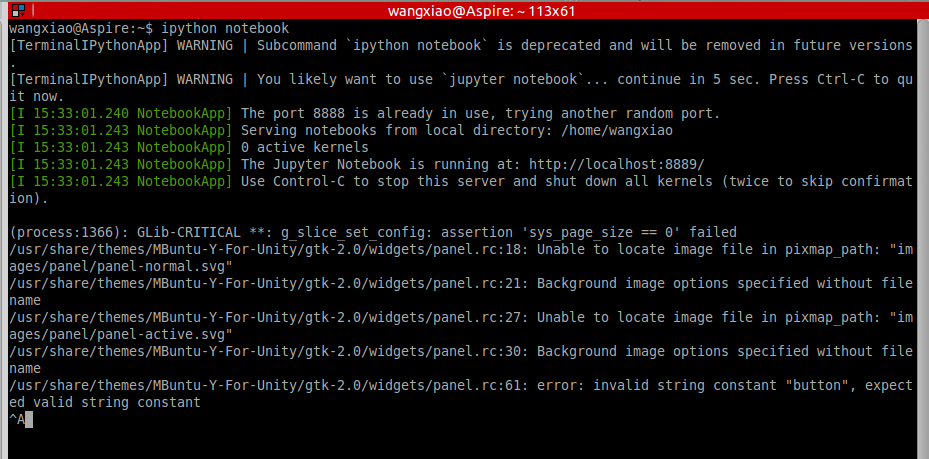
If your screen like the above figure, you only could try it again like me.
(6).Then, input : ipython notebook in the terminal, and a page will be opened in your Browser.

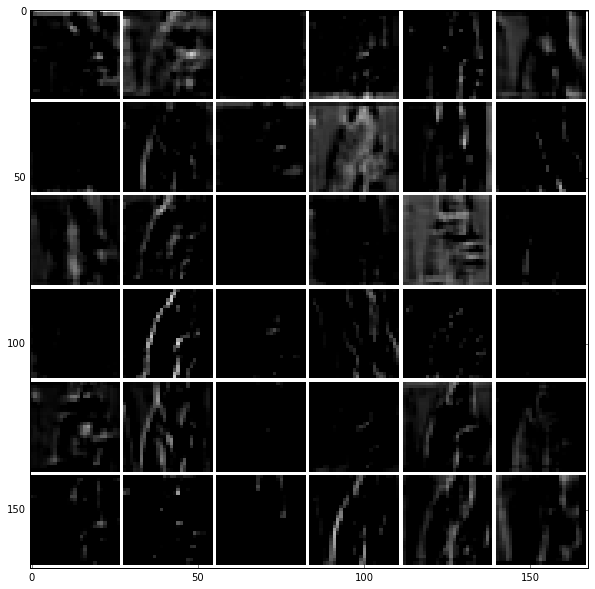
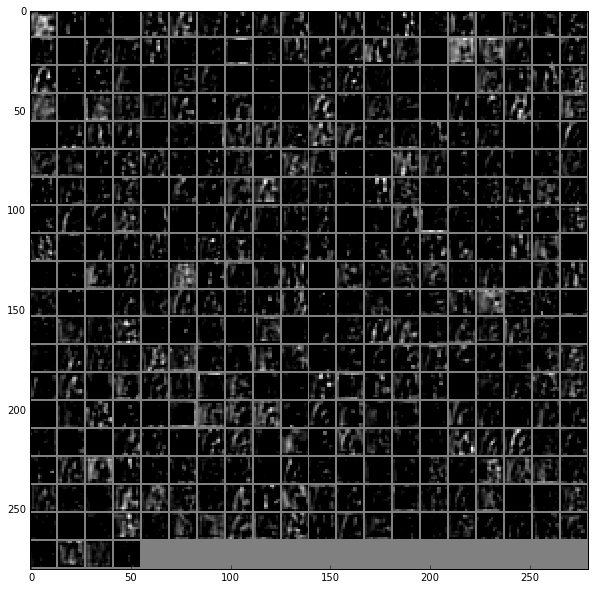
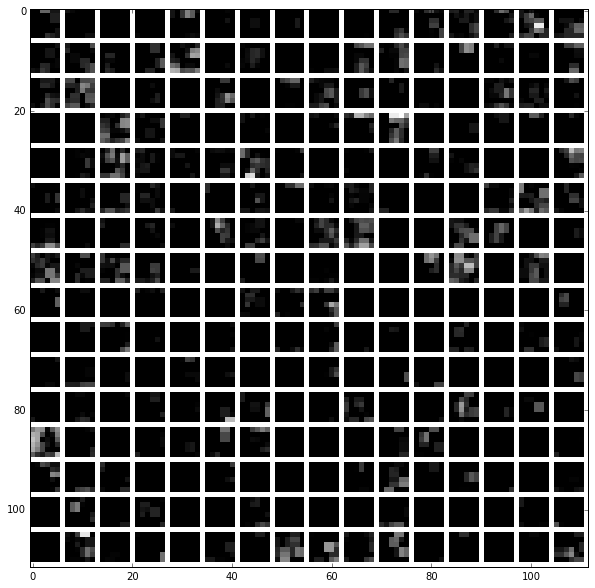
Then Compile the python file in what you needed way. Then run it step by step, you will see your image in each layer.

(7). The results can be shown in the following way: