前言
能用,但不是最好的方法,最好的还是fly,因为为了以后多平台的考虑,最好使用fly.js,做之前先关闭校验合法域名,因为我没在后台进行配置

后台进行配置合法域名,按着官方给的配置就OK了,这里就不写了,因为只是个测试,用的都是测试的appid
https://developers.weixin.qq.com/miniprogram/dev/framework/ability/network.html
目录结构
fly.js位于src下的utils目录下,最后在main.js引入

封装
这就是个很简单很简单的封装,我也是一边学一遍弄的,如有更好的还望赐教。
fly.js
//定义请求地址
const host = 'http://test.wangyangyang.vip/api/';

function request(url, method, data, header = {}) {
    wx.showLoading({
        title: '加载中'
    })
    return new Promise((resolve, reject) => {
        wx.request({
            url: host + url,
            method: method,
            data: data,
            headers: {
                'content-type': 'application/json' // 默认转为json格式
            },
            success: function(res) {
                wx.hideLoading();
                resolve(res.data)
            },
            fail: function(error) {
                wx.hideLoading();
                reject(false)
            },
            complete: function() {
                wx.hideLoading();
            }
        })
    })
}

function get(obj) {
    return request(obj.url, 'GET', obj.data)
}

function post(obj) {
    return request(obj.url, 'POST', obj.data)
}

export default {
    request,
    get,
    post
}
main.js
根目录下的main.js中引入
import Vue from 'vue'
import App from './App'
import fly from './utils/fly'
Vue.prototype.$http = fly;

Vue.config.productionTip = false
App.mpType = 'app'

const app = new Vue(App)
app.$mount()
使用
直接在页面中使用即可
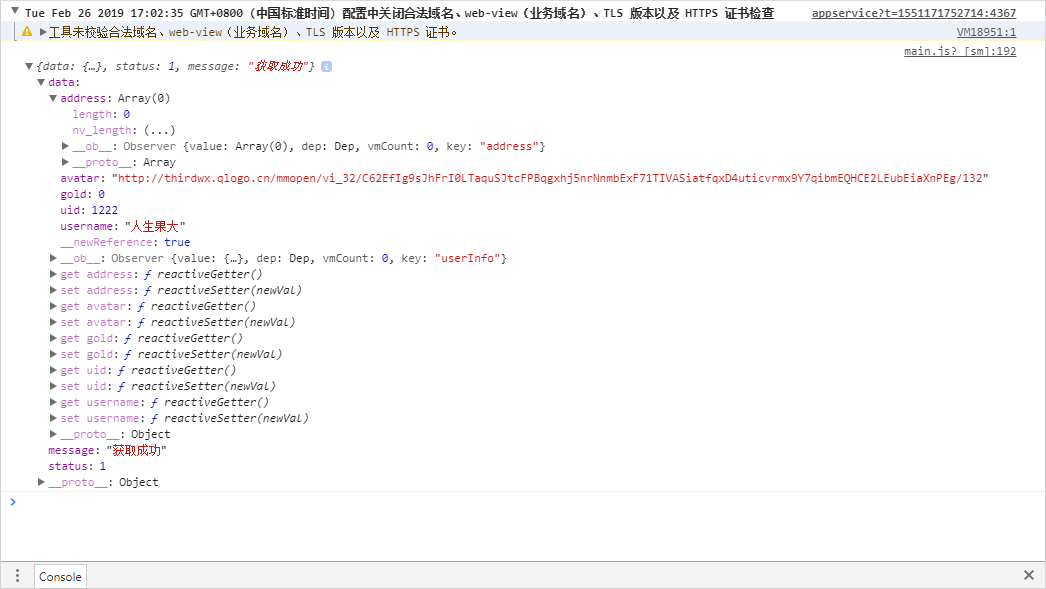
this.$http.post({
        url:"live/get_liveinfo",
        data:{
            "token":"test6666",
            "uid":"1222",
        }
    }).then(res =>{
       console.log(res.status)
        if(res.status == 1) {
          this.user.userInfo = res.data
        } else {
          wx.showToast({
          title: '系统开小差',
          icon: 'loading',
          duration: 2000,
          mask: true,
        });
      }
    });
在console中可以完整看到打印的值