(建议使用官方文档安装最新版 http://docs.jumpserver.org/zh/docs/step_by_step.html#python3-python),这个是我用官方文档装出来的

下文本文来自http://blog.51cto.com/13858192/2172369
1、安装yum源
cd /etc/yum.repos.d/
curl -o 163.repo http://mirrors.163.com/.help/CentOS7-Base-163.repo
sed -i 's/$releasever/7/g' /etc/yum.repos.d/163.repo
sed -i 's/enabled=0/enabled=1/g' /etc/yum.repos.d/163.repo
yum -y install epel-release
yum clean all
yum -y install wget sqlite-devel xz gcc automake zlib-devel openssl-devel
yum -y install git
2、安装python包
yum -y install wget sqlite-devel xz gcc automake zlib-devel openssl-devel
cd /usr/local/src/
wget https://www.python.org/ftp/python/3.6.1/Python-3.6.1.tar.xz
tar xvf Python-3.6.1.tar.xz  && cd Python-3.6.1
./configure --prefix=/usr/local/python3 && make && make install
3、安装git
yum -y install git
4、安装mysql
此处省去(我博客yum、二进制、编译都有),安装完以后创建个数据库
create  database  jumpserver;
5、安装jumpserver
(1)百度网盘下载
https://pan.baidu.com/s/16JJP4ckkKdtx2s4LOAWQ8g
(2)解压
unzip jumpserver-rpm.zip
cd jumpserver-rpm/jumpserver
git checkout master
cd install/
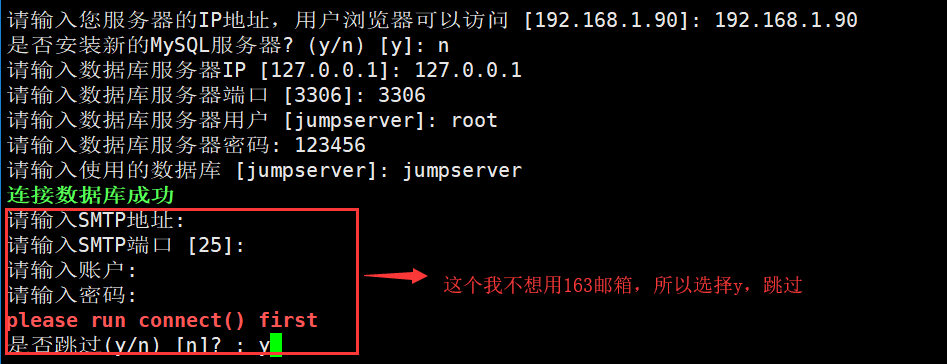
(3)执行安装脚本
python install.py


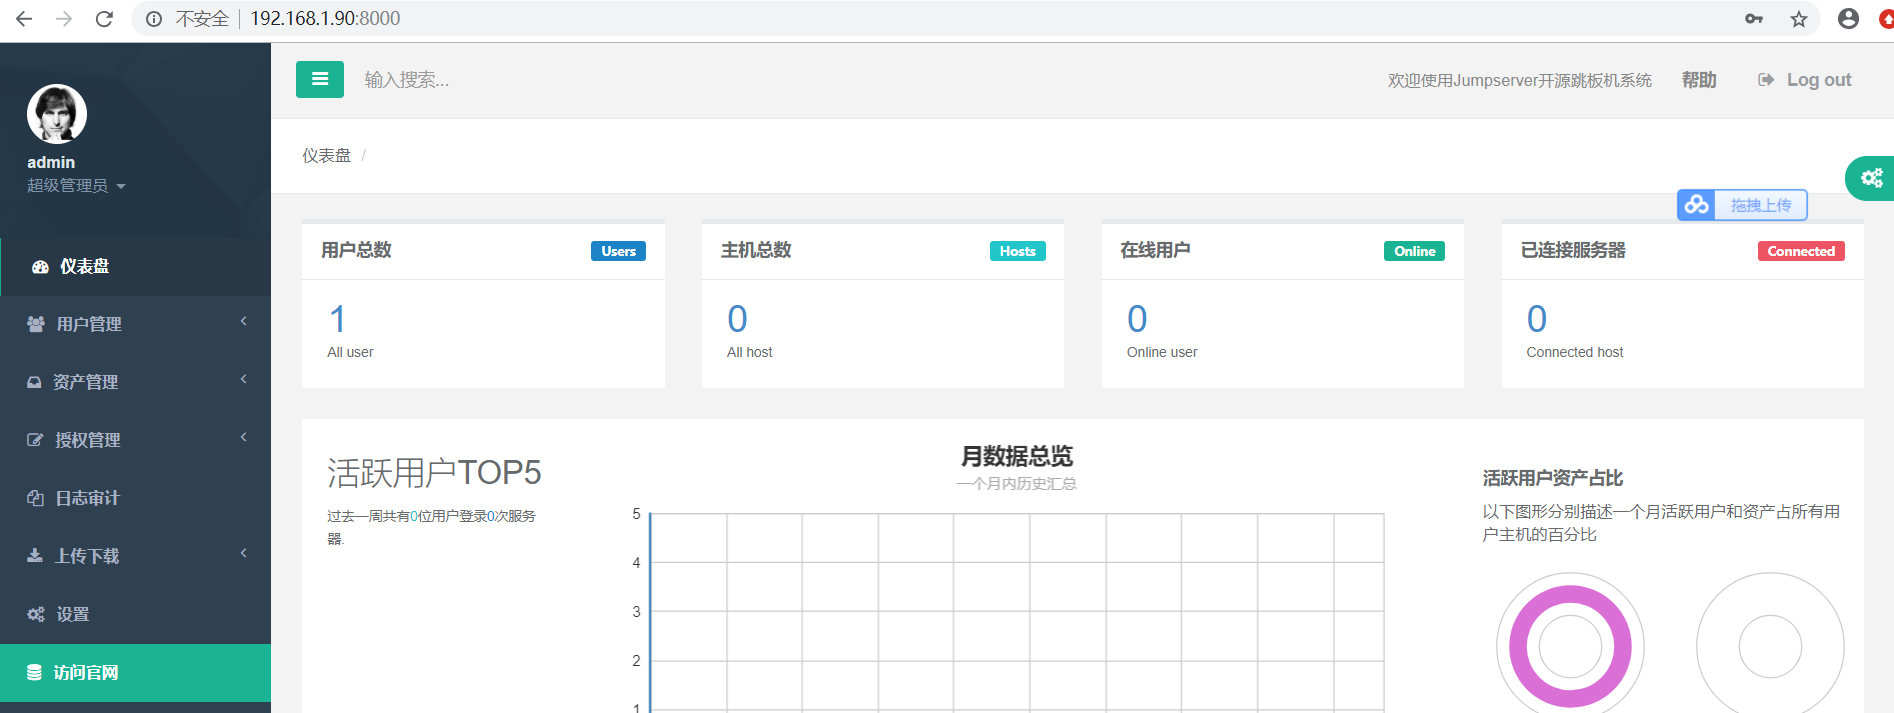
6、登录
安装成功,Web登录请访问http://ip:8000, 祝你使用愉快。
请访问 https://github.com/jumpserver/jumpserver/wiki 查看文档
7、使用
http://blog.51cto.com/13858192/2172369
8、手动重启jumpserver