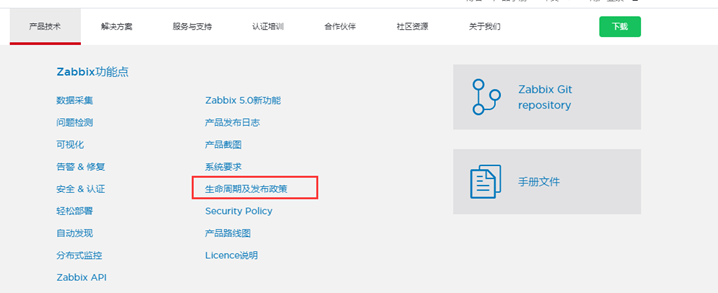
1.1 生命周期查看(这里使用的是长期支持版)

1.2 安装zabbix4.0
1.2.1 产品手册

1.2.2 安装(使用清华源安装)
sed -i 's#repo.zabbix.com#mirrors.tuna.tsinghua.edu.cn/zabbix#g' /etc/yum.repos.d/zabbix.repo
yum install zabbix-server-mysql zabbix-web-mysql
1.2.3 安装mysql
yum install -y mariadb-server -y
systemctl enable mariadb.service
systemctl start mariadb.service
create database zabbix character set utf8 collate utf8_bin;
grant all privileges on zabbix.* to zabbix@localhost identified by "zabbix";
导入数据
gzip -d /usr/share/doc/zabbix-server-mysql-4.0.20/create.sql.gz
mysql -uzabbix -p123456 zabbix < /usr/share/doc/zabbix-server-mysql-4.0.20/create.sql
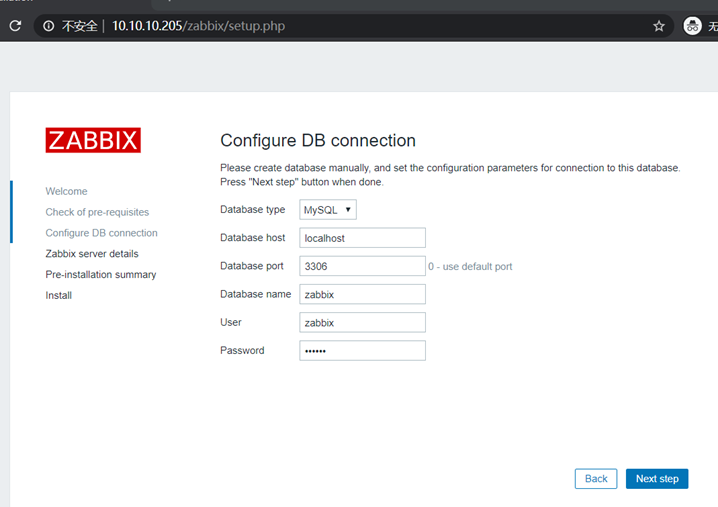
1.2.4 修改配置文件
vim /etc/zabbix/zabbix_server.conf
DBHost=localhost
DBName=Zabbix
DBUser=Zabbix
DBPassword=123456
启动服务
systemctl enable zabbix-server.service
systemctl start zabbix-server.service
配置zabbix-web
修改时区 vim /etc/httpd/conf.d/zabbix.conf
php_value date.timezone Asia/Shanghai
systemctl start httpd
systemctl enable httpd
1.2.5 页面配置
默认用户名Admin 密码:zabbix
1.2.6 添加监控主机
安装客户端
sed -i 's#repo.zabbix.com#mirrors.tuna.tsinghua.edu.cn/zabbix#g' /etc/yum.repos.d/zabbix.repo
yum install zabbix-agent -y
vim /etc/zabbix/zabbix_agentd.conf
Server=127.0.0.1 #服务端
ServerActive=127.0.0.1 #服务端 ,主动模式监控
systemctl start zabbix-agent.service
systemctl enable zabbix-agent.service
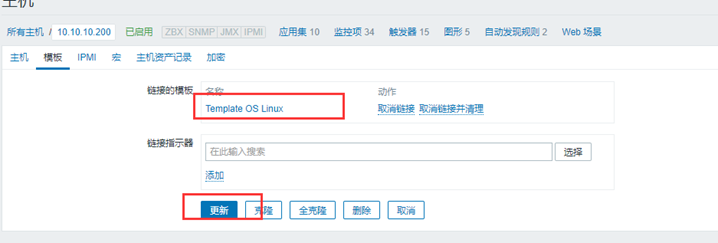
1.2.7 创建主机,添加模板


1.2.8 中文乱码解决
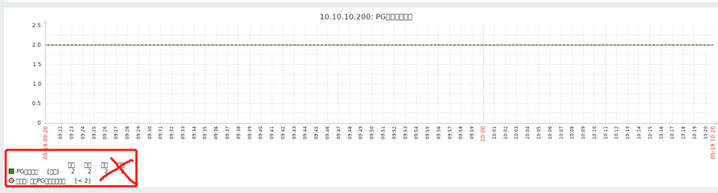
用windows替换字体即可,例如
C:WindowsFonts #找到自己喜欢的字体放到 Zabbix 服务端的/usr/share/zabbix/assets/fonts目录下
mv STZHONGS.TTF graphfont.ttf #等会服务端会自动刷新