SILC算法详解
一、原理介绍
SLIC算法是simple linear iterative cluster的简称,该算法用来生成超像素(superpixel)
算法步骤:
- 已知一副图像大小M*N,可以从RGB空间转换为LAB空间,LAB颜色空间表现的颜色更全面
- 假如预定义参数K,K为预生成的超像素数量,即预计将M*N大小的图像(像素数目即为M*N)分隔为K个超像素块,每个超像素块范围大小包含[(M*N)/K]个像素
- 假设每个超像素区域长和宽都均匀分布的话,那么每个超像素块的长和宽均可定义为S,S=sqrt(M*N/K)
- 遍历操作,将每个像素块的中心点的坐标(x,y)及其lab的值保存起来,加入到事先定义好的集合中
- 每个像素块的中心点默认是(S/2,S/2)进行获取的,有可能落在噪音点或者像素边缘(所谓像素边缘,即指像素突变处,比如从黑色过渡到白色的交界处),这里,利用差分方式进行梯度计算,调整中心点:
算法中,使用中心点的8领域像素点,计算获得最小梯度值的像素点,并将其作为新的中心点,差分计算梯度的公式:
Gradient(x,y)=dx(i,j) + dy(i,j);
dx(i,j) = I(i+1,j) - I(i,j);
    dy(i,j) = I(i,j+1) - I(i,j);

    遍历现中心点的8领域像素点,将其中计算得到最小Gradient值的像素点作为新的中心点
- 调整完中心点后即需要进行像素点的聚类操作
通过聚类的方式迭代计算新的聚类中心;
首先,需要借助K-means聚类算法,将像素点进行归类,通过变换的欧氏聚距离公式进行,公式如下(同时参考像素值和坐标值提取相似度):


通过两个参数m和S来协调两种距离的比例分配。参数S即是上面第③步计算得出的每个像素块的长度值,而参数M为LAB空间的距离可能最大值,其可取的范围建议为[1,40]
为了节省时间,只遍历每个超像素块中心点周边的2S*2S区域内的像素点,计算该区域内每个像素点距离哪一个超像素块的中心点最近,并将其划分到其中;完成一次迭代后,重新计算每个超像素块的中心点坐标,并重新进行迭代(注:衡量效率和效果后一般选择迭代10次)
二、代码实现
  1 import math
  2 from skimage import io, color
  3 import numpy as np
  4
  5 class Cluster(object):
  6
  7     cluster_index = 1
  8
  9     def __init__(self, row, col, l=0, a=0, b=0):
 10         self.update(row, col, l, a, b)
 11         self.pixels = []
 12         self.no = self.cluster_index
 13         Cluster.cluster_index += 1
 14
 15     def update(self, row, col, l, a, b):
 16         self.row = row
 17         self.col = col
 18         self.l = l
 19         self.a = a
 20         self.b = b
 21
 22
 23 class SLICProcessor(object):
 24     @staticmethod
 25     def open_image(path):
 26         rgb = io.imread(path)
 27         lab_arr = color.rgb2lab(rgb)
 28         return lab_arr
 29
 30     @staticmethod
 31     def save_lab_image(path, lab_arr):
 32         rgb_arr = color.lab2rgb(lab_arr)
 33         io.imsave(path, rgb_arr)
 34
 35     def make_cluster(self, row, col):
 36         row=int(row)
 37         col=int(col)
 38         return Cluster(row, col,
 39                        self.data[row][col][0],
 40                        self.data[row][col][1],
 41                        self.data[row][col][2])
 42
 43     def __init__(self, filename, K, M):
 44         self.K = K
 45         self.M = M
 46
 47         self.data = self.open_image(filename)
 48         self.rows = self.data.shape[0]
 49         self.cols = self.data.shape[1]
 50         self.N = self.rows * self.cols
 51         self.S = int(math.sqrt(self.N / self.K))
 52
 53         self.clusters = []
 54         self.label = {}
 55         self.dis = np.full((self.rows, self.cols), np.inf)
 56
 57     def init_clusters(self):
 58         row = self.S / 2
 59         col = self.S / 2
 60         while row < self.rows:
 61             while col < self.cols:
 62                 self.clusters.append(self.make_cluster(row, col))
 63                 col+= self.S
 64             col = self.S / 2
 65             row += self.S
 66
 67     def get_gradient(self, row, col):
 68         if col + 1 >= self.cols:
 69             col = self.cols - 2
 70         if row + 1 >= self.rows:
 71             row = self.rows - 2
 72
 73         gradient = (self.data[row + 1][col][0] +self.data[row][col+1][0]-2*self.data[row][col][0])+
 74                    (self.data[row + 1][col][1] +self.data[row][col+1][1]-2*self.data[row][col][1]) +
 75                    (self.data[row + 1][col][2] +self.data[row][col+1][2]-2*self.data[row][col][2])
 76
 77         return gradient
 78
 79     def move_clusters(self):
 80         for cluster in self.clusters:
 81             cluster_gradient = self.get_gradient(cluster.row, cluster.col)
 82             for dh in range(-1, 2):
 83                 for dw in range(-1, 2):
 84                     _row = cluster.row + dh
 85                     _col = cluster.col + dw
 86                     new_gradient = self.get_gradient(_row, _col)
 87                     if new_gradient < cluster_gradient:
 88                         cluster.update(_row, _col, self.data[_row][_col][0], self.data[_row][_col][1], self.data[_row][_col][2])
 89                         cluster_gradient = new_gradient
 90
 91     def assignment(self):
 92         for cluster in self.clusters:
 93             for h in range(cluster.row - 2 * self.S, cluster.row + 2 * self.S):
 94                 if h < 0 or h >= self.rows: continue
 95                 for w in range(cluster.col - 2 * self.S, cluster.col + 2 * self.S):
 96                     if w < 0 or w >= self.cols: continue
 97                     L, A, B = self.data[h][w]
 98                     Dc = math.sqrt(
 99                         math.pow(L - cluster.l, 2) +
100                         math.pow(A - cluster.a, 2) +
101                         math.pow(B - cluster.b, 2))
102                     Ds = math.sqrt(
103                         math.pow(h - cluster.row, 2) +
104                         math.pow(w - cluster.col, 2))
105                     D = math.sqrt(math.pow(Dc / self.M, 2) + math.pow(Ds / self.S, 2))
106                     if D < self.dis[h][w]:
107                         if (h, w) not in self.label:
108                             self.label[(h, w)] = cluster
109                             cluster.pixels.append((h, w))
110                         else:
111                             self.label[(h, w)].pixels.remove((h, w))
112                             self.label[(h, w)] = cluster
113                             cluster.pixels.append((h, w))
114                         self.dis[h][w] = D
115
116     def update_cluster(self):
117         for cluster in self.clusters:
118             sum_h = sum_w = number = 0
119             for p in cluster.pixels:
120                 sum_h += p[0]
121                 sum_w += p[1]
122                 number += 1
123                 _h =int( sum_h / number)
124                 _w =int( sum_w / number)
125                 cluster.update(_h, _w, self.data[_h][_w][0], self.data[_h][_w][1], self.data[_h][_w][2])
126
127     def save_current_image(self, name):
128         image_arr = np.copy(self.data)
129         for cluster in self.clusters:
130             for p in cluster.pixels:
131                 image_arr[p[0]][p[1]][0] = cluster.l
132                 image_arr[p[0]][p[1]][1] = cluster.a
133                 image_arr[p[0]][p[1]][2] = cluster.b
134             image_arr[cluster.row][cluster.col][0] = 0
135             image_arr[cluster.row][cluster.col][1] = 0
136             image_arr[cluster.row][cluster.col][2] = 0
137         self.save_lab_image(name, image_arr)
138
139     def iterates(self):
140         self.init_clusters()
141         self.move_clusters()
142         #考虑到效率和效果,折中选择迭代10次
143         for i in range(10):
144             self.assignment()
145             self.update_cluster()
146         self.save_current_image("output.jpg")
147
148
149 if __name__ == '__main__':
150     p = SLICProcessor('beauty.jpg', 200, 40)
151     p.iterates()
三、运行效果截图
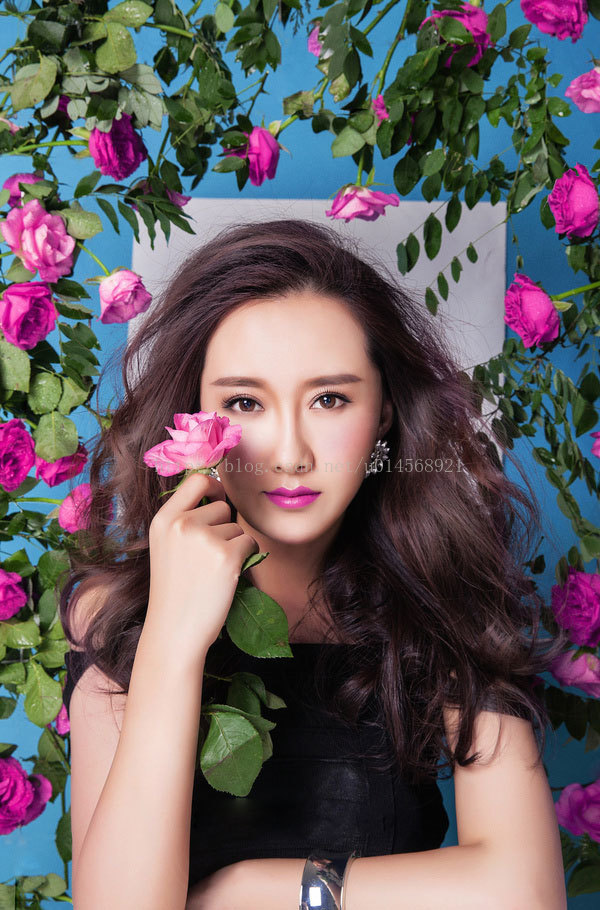
(原图)
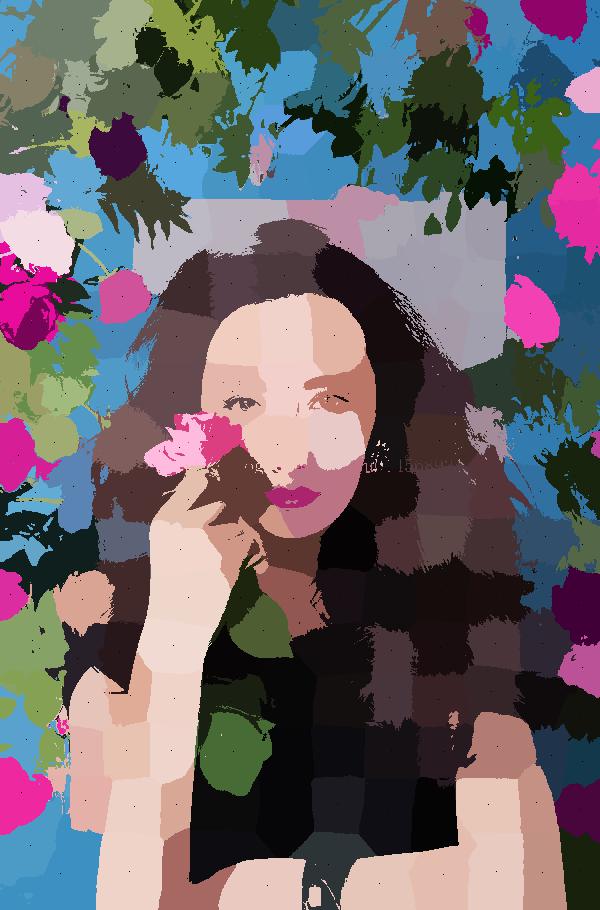
(效果图)
代码参考了https://github.com/laixintao/slic-python-implementation,且做了改进
作为一枚技术小白,写这篇笔记的时候参考了很多博客论文,在这里表示感谢,转载请注明出处......