各位看官大家好,博主每每在公司学习新知识写代码时都需要通过U盘带回家来继续每天的学习,觉得这样实在麻烦,于是今天就整合了一下github来完成代码的管理。
开始之前我们需要准备三样东西:1、intellij idea编译器 2、github账户 3、git安装包
话不多说,现在开始正题:
1、在电脑上安装好git
2、在idea的File-->Settings-->GitHub

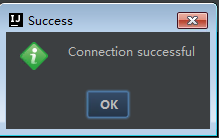
输入github账户和密码,点击Test可以测试账户的正确性

验证成功。
3、在idea中新建立一个工程,点击VCS-->Import into Version Control-->Share Project on GitHub,点击确定

当一切都朝着预料中的事情发展时,出现了错误
Can't finish GitHub sharing process
Successfully created project 'XXX' on GitHub, but initial commit failed:
*** Please tell me who you are. Run Git config --global user.email "you@example.com" git config --global user.name "Your Name" to set your account's default identity. Omit --global to set the identity only in this repository. fatal: empty ident name (for (null)>) not allowed during executing git -c core.quotepath=false commit -m "Initial commit" --
原因是自己的git中没有配置用户名和邮箱的原因
4、打开安装的git客户端中git-bash,输入:
1 git config --global user.email "you@example.com"
2 git config --global user.name "Your Name"
此时在完成上传操作就没有问题啦。
5、提交代码
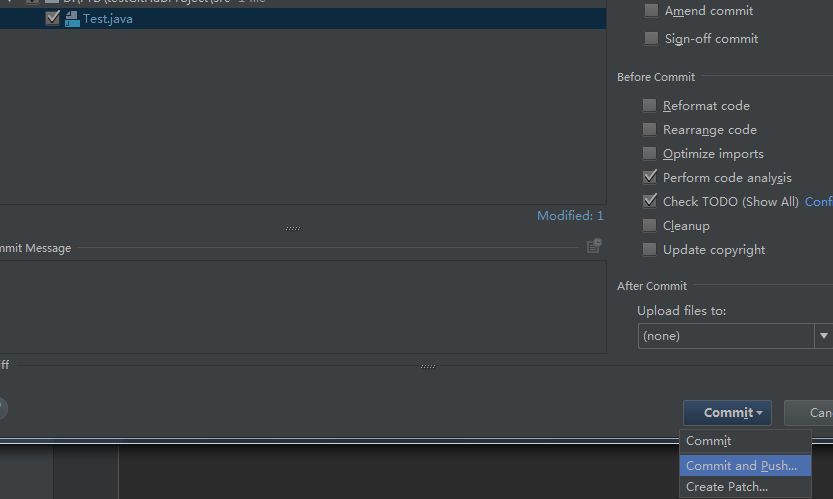
修改原工程后,可以通过VCS-Commit Changes,选择要提交的代码,输入commit messages,点击commit and push,此时在github上的工程也更新了。

6、下载代码。
通过File-->New-->Project from Version Control-->GitHub,输入github上工程的url,点击clone即可把工程克隆到指定目录。


同时可以通过VCS-->Update Project更新工程,值得注意的是最好先更新工程再提交否则容易冲突。
在intellij idea中可以通过version control中的local changes以及Log查看改过的记录和提交记录。
