1、创建Maven工程,在pom.xml文件上添加<packaging>war</packaging> 并且添加 spring-webmvc 的依赖
<?xml version="1.0" encoding="UTF-8"?>
<project xmlns="http://maven.apache.org/POM/4.0.0"
         xmlns:xsi="http://www.w3.org/2001/XMLSchema-instance"
         xsi:schemaLocation="http://maven.apache.org/POM/4.0.0 http://maven.apache.org/xsd/maven-4.0.0.xsd">
    <modelVersion>4.0.0</modelVersion>

    <groupId>org.javaboy</groupId>
    <artifactId>xmlssm</artifactId>
    <version>1.0-SNAPSHOT</version>
    <packaging>war</packaging>

<dependencies>
    <dependency>
        <groupId>org.springframework</groupId>
        <artifactId>spring-webmvc</artifactId>
        <version>5.1.6.RELEASE</version>
    </dependency>
</dependencies>
</project>
2、在resources文件下创建两个 .xml 配置文件,一个是对应 spring 的配置文件 applicationContext.xml ,另一个是对应 springmvc 的配置文件 spring-servlet.xml ;
applicationContext.xml 配置文件中要配置开启包扫描,开启过滤器,但开启的包扫描设置成不扫描controller层;
<?xml version="1.0" encoding="UTF-8"?>
<beans xmlns="http://www.springframework.org/schema/beans"
       xmlns:xsi="http://www.w3.org/2001/XMLSchema-instance"
       xmlns:context="http://www.springframework.org/schema/context"
       xsi:schemaLocation="http://www.springframework.org/schema/beans http://www.springframework.org/schema/beans/spring-beans.xsd http://www.springframework.org/schema/context http://www.springframework.org/schema/context/spring-context.xsd">
<!--Spring容器开启扫描,开启拦截器,扫描除了controller层以外的东西-->
    <context:component-scan base-package="org.javaboy" use-default-filters="true">
        <context:exclude-filter type="annotation" expression="org.springframework.stereotype.Controller"/>
    </context:component-scan>
</beans>
spring-servlet.xml 配置文件中要配置开启包扫描,不开启过滤器,但开启的包扫描只扫描controller层,并开启注解扫描;
<?xml version="1.0" encoding="UTF-8"?>
<beans xmlns="http://www.springframework.org/schema/beans"
       xmlns:xsi="http://www.w3.org/2001/XMLSchema-instance"
       xmlns:context="http://www.springframework.org/schema/context"
       xmlns:mvc="http://www.springframework.org/schema/mvc"
       xsi:schemaLocation="http://www.springframework.org/schema/beans http://www.springframework.org/schema/beans/spring-beans.xsd http://www.springframework.org/schema/context http://www.springframework.org/schema/context/spring-context.xsd http://www.springframework.org/schema/mvc http://www.springframework.org/schema/mvc/spring-mvc.xsd">
<!--springMVC开启扫描,只扫描controller层,不开启拦截器-->
    <context:component-scan base-package="org.javaboy" use-default-filters="false">
    <context:include-filter type="annotation" expression="org.springframework.stereotype.Controller"/>
</context:component-scan>
    <!--开启注解扫描-->
    <mvc:annotation-driven/>
</beans>
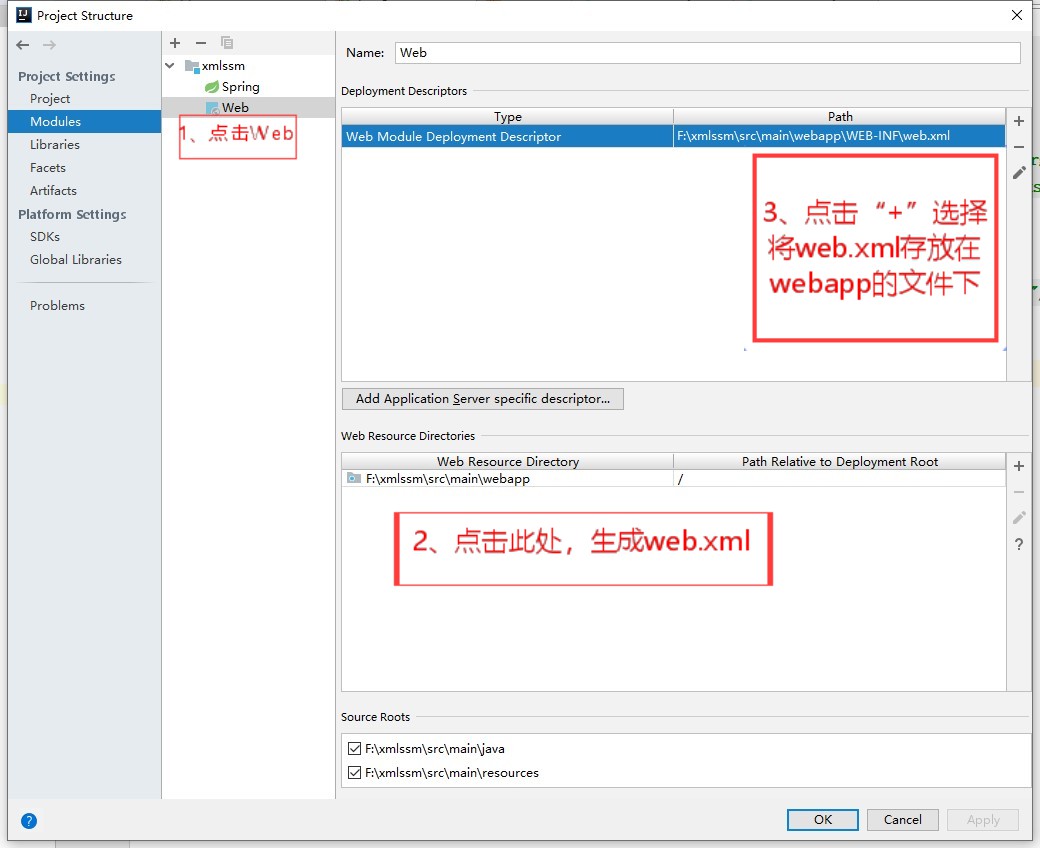
3、构建web.xml
4、在 web.xml 中配置Filter、Listener、Servlet等
<?xml version="1.0" encoding="UTF-8"?>
<web-app xmlns="http://xmlns.jcp.org/xml/ns/javaee"
         xmlns:xsi="http://www.w3.org/2001/XMLSchema-instance"
         xsi:schemaLocation="http://xmlns.jcp.org/xml/ns/javaee http://xmlns.jcp.org/xml/ns/javaee/web-app_4_0.xsd"
         version="4.0">

    <context-param>
        <param-name>contextConfigLocation</param-name>
        <param-value>classpath:applicationContext.xml</param-value>
    </context-param>

    <listener>
        <listener-class>org.springframework.web.context.ContextLoaderListener</listener-class>
    </listener>

    <servlet>
        <servlet-name>springmvc</servlet-name>
        <servlet-class>org.springframework.web.servlet.DispatcherServlet</servlet-class>
        <init-param>
            <param-name>contextConfigLocation</param-name>
            <param-value>classpath:spring-servlet.xml</param-value>
        </init-param>
    </servlet>
    <servlet-mapping>
        <servlet-name>springmvc</servlet-name>
        <url-pattern>/</url-pattern>
    </servlet-mapping>
</web-app>
5、创建controller
@RestController
public class HelloController {
    @Autowired
    HelloService helloService;

    @GetMapping(value = "/hello",produces = "text/html;charset=utf-8")
    public String hello(){
        return helloService.hello();
    }

}
6、创建service
@Service
public class HelloService {
    public String hello() {
        return "爪洼男孩";
    }
}
7、配置tomcat
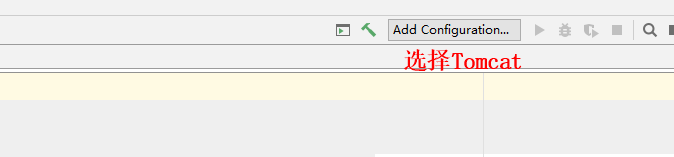

第一次配置时,需要选择图2中的 Configure... 选择 Tomcat 安装的位置
点击 Deployment 然后再点击右边的 “+” 然后再点击第一个,选择 war,最后OK
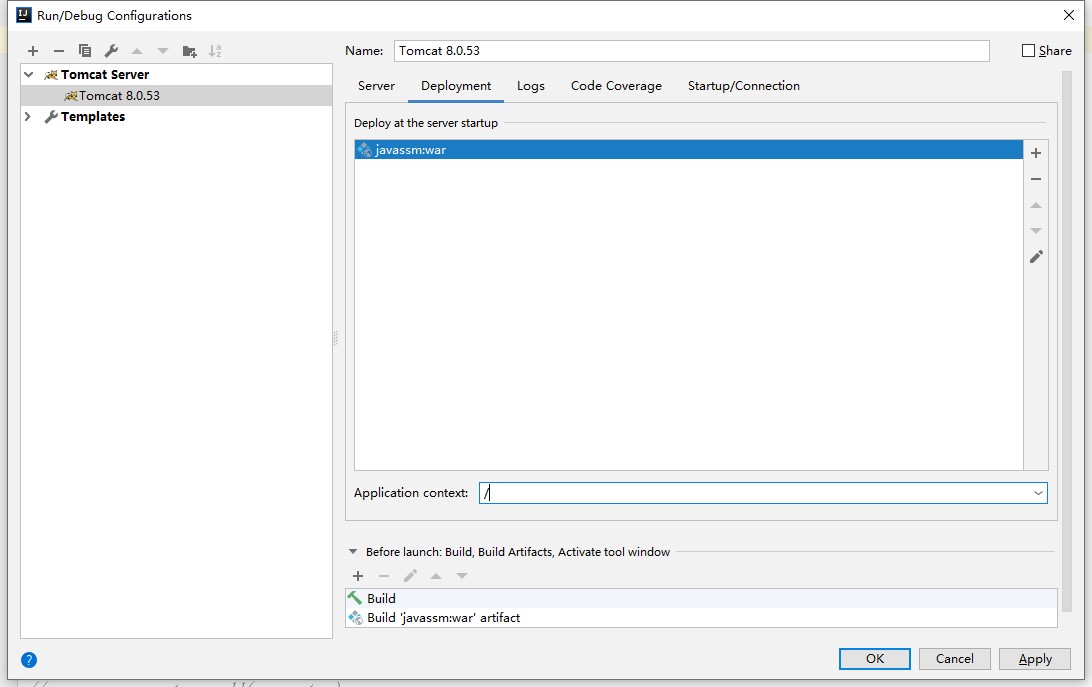
启动tomcat,访问http://localhost:8080/hello
此文章是通过个人搬砖汇总所得,用于个人复习。如有错误,麻烦指出,谢谢!