pandas和SQL数据分析实战
https://study.163.com/course/courseMain.htm?courseId=1006383008&share=2&shareId=400000000398149
https://www.cnblogs.com/dxxblog/p/8193967.html(转载)
既然是详解,那么我们就不能只知道怎么安装hive了,下面从hive的基本说起,如果你了解了,那么请直接移步安装与配置
hive是什么
hive安装和配置
hive的测试
hive
这里简单说明一下,好对大家配置hive有点帮助。hive是建立在hadoop上的,当然,你如果只搭建hive也没用什么错。说简单一点,hadoop中的mapreduce调用如果面向DBA的时候,那么问题也就显现了,因为不是每个DBA都能明白mapreduce的工作原理,如果为了管理数据而需要学习一门新的技术,从现实生活中来说,公司又需要花钱请更有技术的人来了。
开个玩笑,hadoop是为了存储数据和计算而推广的技术,而和数据挂钩的也就属于数据库的领域了,所以hadoop和DBA挂钩也就是情理之中的事情,在这个基础之上,我们就需要为了DBA创作适合的技术。
hive正是实现了这个,hive是要类SQL语句(HiveQL)来实现对hadoop下的数据管理。hive属于数据仓库的范畴,那么,数据库和数据仓库到底有什么区别了,这里简单说明一下:数据库侧重于OLTP(在线事务处理),数据仓库侧重OLAP(在线分析处理);也就是说,例如mysql类的数据库更侧重于短时间内的数据处理,反之。
无hive:使用者.....->mapreduce...->hadoop数据(可能需要会mapreduce)
有hive:使用者...->HQL(SQL)->hive...->mapreduce...->hadoop数据(只需要会SQL语句)
hive安装和配置
安装
一:下载hive——地址:http://mirror.bit.edu.cn/apache/hive/
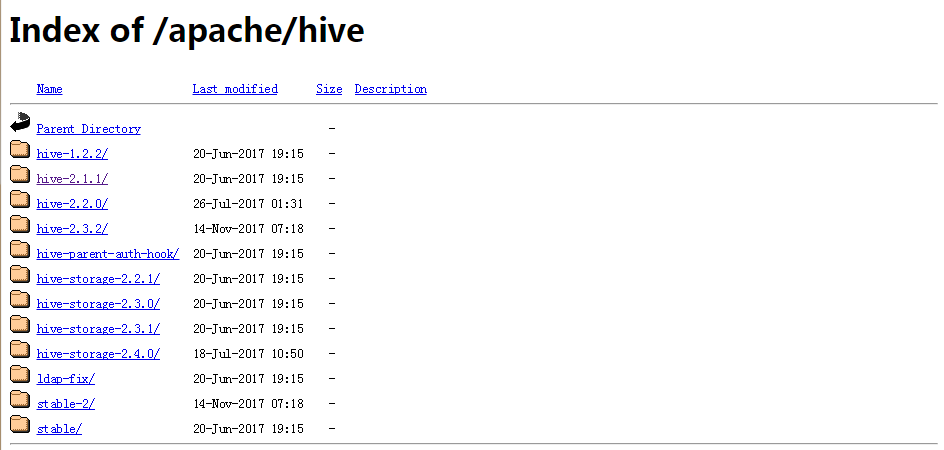
这里以hive-2.1.1为例子,如图:

将hive解压到/usr/local下:
[root@s100 local]# tar -zxvf apache-hive-2.1.1-bin.tar.gz -C /usr/local/

将文件重命名为hive文件:
[root@s100 local]# mv apache-hive-2.1.1-bin hive

修改环境变量/etc/profile:
[root@s100 local]# vim /etc/profile
1 #hive
2 export HIVE_HOME=/usr/local/hive
3 export PATH=$PATH:$HIVE_HOME/bin

执行source /etc.profile:
执行hive --version
[root@s100 local]# hive --version
有hive的版本显现,安装成功!
配置
[root@s100 conf]# cd /usr/local/hive/conf/
修改hive-site.xml:

这里没有,我们就以模板复制一个:
[root@s100 conf]# cp hive-default.xml.template hive-site.xml
[root@s100 conf]# vim hive-site.xml
1.配置hive-site.xml(第5点的后面有一个单独的hive-site.xml配置文件,这个如果有疑问可以用后面的配置文件,更容易明白)
主要是mysql的连接信息(在文本的最开始位置)

<?xml version="1.0" encoding="UTF-8" standalone="no"?>
<?xml-stylesheet type="text/xsl" href="configuration.xsl"?><!--
   Licensed to the Apache Software Foundation (ASF) under one or more
   contributor license agreements.  See the NOTICE file distributed with
   this work for additional information regarding copyright ownership.
   The ASF licenses this file to You under the Apache License, Version 2.0
   (the "License"); you may not use this file except in compliance with
   the License.  You may obtain a copy of the License at

       http://www.apache.org/licenses/LICENSE-2.0

   Unless required by applicable law or agreed to in writing, software
   distributed under the License is distributed on an "AS IS" BASIS,
   WITHOUT WARRANTIES OR CONDITIONS OF ANY KIND, either express or implied.
   See the License for the specific language governing permissions and
   limitations under the License.
--><configuration>
  <!-- WARNING!!! This file is auto generated for documentation purposes ONLY! -->
  <!-- WARNING!!! Any changes you make to this file will be ignored by Hive.   -->
  <!-- WARNING!!! You must make your changes in hive-site.xml instead.         -->
  <!-- Hive Execution Parameters -->

        <!-- 插入一下代码 -->
    <property>
        <name>javax.jdo.option.ConnectionUserName</name>用户名(这4是新添加的,记住删除配置文件原有的哦!)
        <value>root</value>
    </property>
    <property>
        <name>javax.jdo.option.ConnectionPassword</name>密码
        <value>123456</value>
    </property>
   <property>
        <name>javax.jdo.option.ConnectionURL</name>mysql
        <value>jdbc:mysql://192.168.1.68:3306/hive</value>
    </property>
    <property>
        <name>javax.jdo.option.ConnectionDriverName</name>mysql驱动程序
        <value>com.mysql.jdbc.Driver</value>
    </property>
        <!-- 到此结束代码 -->


  <property>
    <name>hive.exec.script.wrapper</name>
    <value/>
    <description/>
  </property>

2.复制mysql的驱动程序到hive/lib下面(这里已经拷贝好了)
[root@s100 lib]# ll mysql-connector-java-5.1.18-bin.jar
-rw-r--r-- 1 root root 789885 1月   4 01:43 mysql-connector-java-5.1.18-bin.jar
3.在mysql中hive的schema(在此之前需要创建mysql下的hive数据库)
1 [root@s100 bin]# pwd
2 /usr/local/hive/bin
3 [root@s100 bin]# schematool -dbType mysql -initSchema
4.执行hive命令
[root@localhost hive]# hive

成功进入hive界面,hive配置完成
5.查询mysql(hive这个库是在 schematool -dbType mysql -initSchema 之前创建的!)
 1 [root@localhost ~]# mysql -uroot -p123456
 2 Welcome to the MySQL monitor.  Commands end with ; or g.
 3 Your MySQL connection id is 10
 4 Server version: 5.1.73 Source distribution
 5
 6 Copyright (c) 2000, 2013, Oracle and/or its affiliates. All rights reserved.
 7
 8 Oracle is a registered trademark of Oracle Corporation and/or its
 9 affiliates. Other names may be trademarks of their respective
10 owners.
11
12 Type 'help;' or 'h' for help. Type 'c' to clear the current input statement.
13
14 mysql> use hive
15 Reading table information for completion of table and column names
16 You can turn off this feature to get a quicker startup with -A
17
18 Database changed
19 mysql> show tables;
20 +---------------------------+
21 | Tables_in_hive            |
22 +---------------------------+
23 | AUX_TABLE                 |
24 | BUCKETING_COLS            |
25 | CDS                       |
26 | COLUMNS_V2                |
27 | COMPACTION_QUEUE          |
28 | COMPLETED_COMPACTIONS     |
备注 (这里不计入正文不要重复配置hive-site.xml)
配置文件hive-site.xml
这里不得不说一下,如果你的 schematool -dbType mysql -initSchema 并没有执行成功怎么办,小博主昨天在这卡了一天,最后根据伟大的百度和hive官方文档,直接写了一个hive-site.xml配置文本:
<?xml version="1.0" encoding="UTF-8" standalone="no"?>
<?xml-stylesheet type="text/xsl" href="configuration.xsl"?>
<configuration>
        <property>
                <name>javax.jdo.option.ConnectionURL</name>
                <value>jdbc:mysql://localhost:3306/hahive</value>(mysql地址localhost)
        </property>

        <property>
                <name>javax.jdo.option.ConnectionDriverName</name>(mysql的驱动)
                <value>com.mysql.jdbc.Driver</value>
        </property>

        <property>
                <name>javax.jdo.option.ConnectionUserName</name>(用户名)
                <value>root</value>
        </property>

        <property>
                <name>javax.jdo.option.ConnectionPassword</name>(密码)
                <value>123456</value>
        </property>

        <property>
                <name>hive.metastore.schema.verification</name>
                <value>false</value>
        </property>
</configuration>
那我们做这些事干什么的呢,下面小段测试大家感受一下
hive测试:
备注:这里是第二个配置文件的演示:所以数据库名称是hahive数据库!
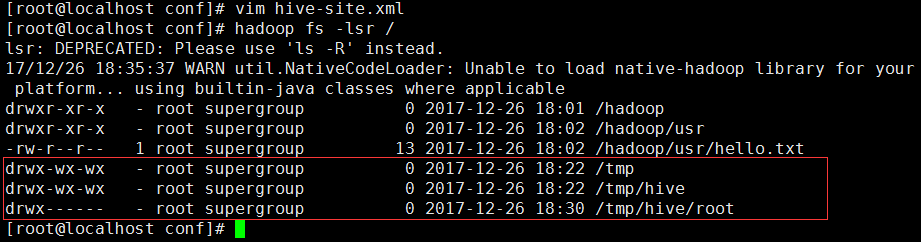
1.需要知道现在的hadoop中的HDFS存了什么
[root@localhost conf]# hadoop fs -lsr /
2.进入hive并创建一个测试库和测试表
[root@localhost conf]# hive
创建库:
1 hive> create database hive_1;
2 OK
3 Time taken: 1.432 seconds
显示库:
1 hive> show databases;
2 OK
3 default
4 hive_1
5 Time taken: 1.25 seconds, Fetched: 2 row(s)
创建库成功!
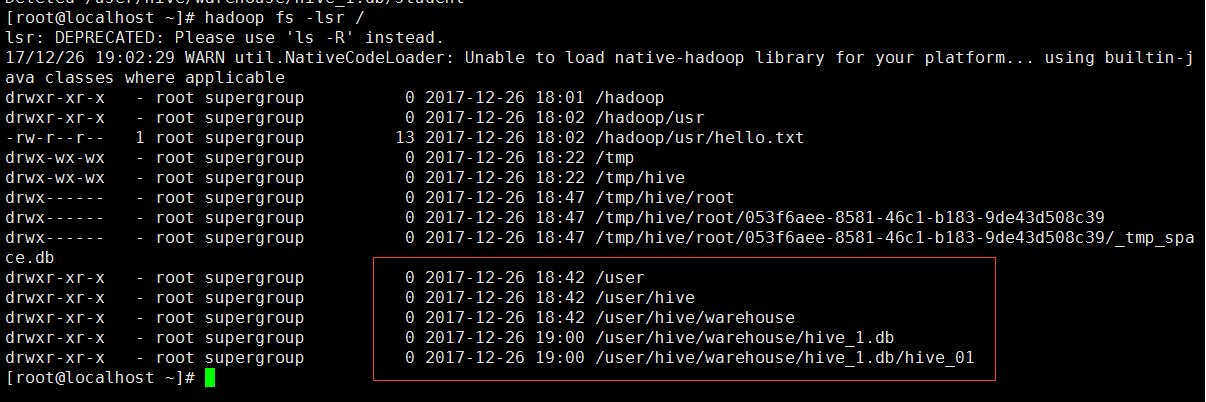
3.查询一下HDFS有什么变化

多了一个库hive_1
娜莫喔们的mysql下的hahive库有什么变化
|
1
|
mysql> use hahive; |
|
1
2
3
4
5
6
7
8
|
mysql> select * from DBS;+-------+-----------------------+------------------------------------------------+---------+------------+------------+| DB_ID | DESC | DB_LOCATION_URI | NAME | OWNER_NAME | OWNER_TYPE |+-------+-----------------------+------------------------------------------------+---------+------------+------------+| 1 | Default Hive database | hdfs://localhost/user/hive/warehouse | default | public | ROLE || 6 | NULL | hdfs://localhost/user/hive/warehouse/hive_1.db | hive_1 | root | USER |+-------+-----------------------+------------------------------------------------+---------+------------+------------+2 rows in set (0.00 sec) |

4.在hive_1下创建一个表hive_01
|
1
2
3
4
5
6
7
8
9
10
11
|
hive> use hive_1;OKTime taken: 0.754 secondshive> create table hive_01 (id int,name string);OKTime taken: 2.447 secondshive> show tables;OKhive_01 (表创建成功)Time taken: 0.31 seconds, Fetched: 2 row(s)hive> |
HDFS下的情况:
mysql下:
|
1
2
3
4
5
6
7
|
mysql> select * from TBLS;+--------+-------------+-------+------------------+-------+-----------+-------+----------+---------------+--------------------+--------------------+| TBL_ID | CREATE_TIME | DB_ID | LAST_ACCESS_TIME | OWNER | RETENTION | SD_ID | TBL_NAME | TBL_TYPE | VIEW_EXPANDED_TEXT | VIEW_ORIGINAL_TEXT |+--------+-------------+-------+------------------+-------+-----------+-------+----------+---------------+--------------------+--------------------+| 6 | 1514286051 | 6 | 0 | root | 0 | 6 | hive_01 | MANAGED_TABLE | NULL | NULL |+--------+-------------+-------+------------------+-------+-----------+-------+----------+---------------+--------------------+--------------------+2 rows in set (0.00 sec) |
娜莫在web端是什么样子的呢!

总的来说,hive其实就和mysql差不多呢!那么后面就不说了
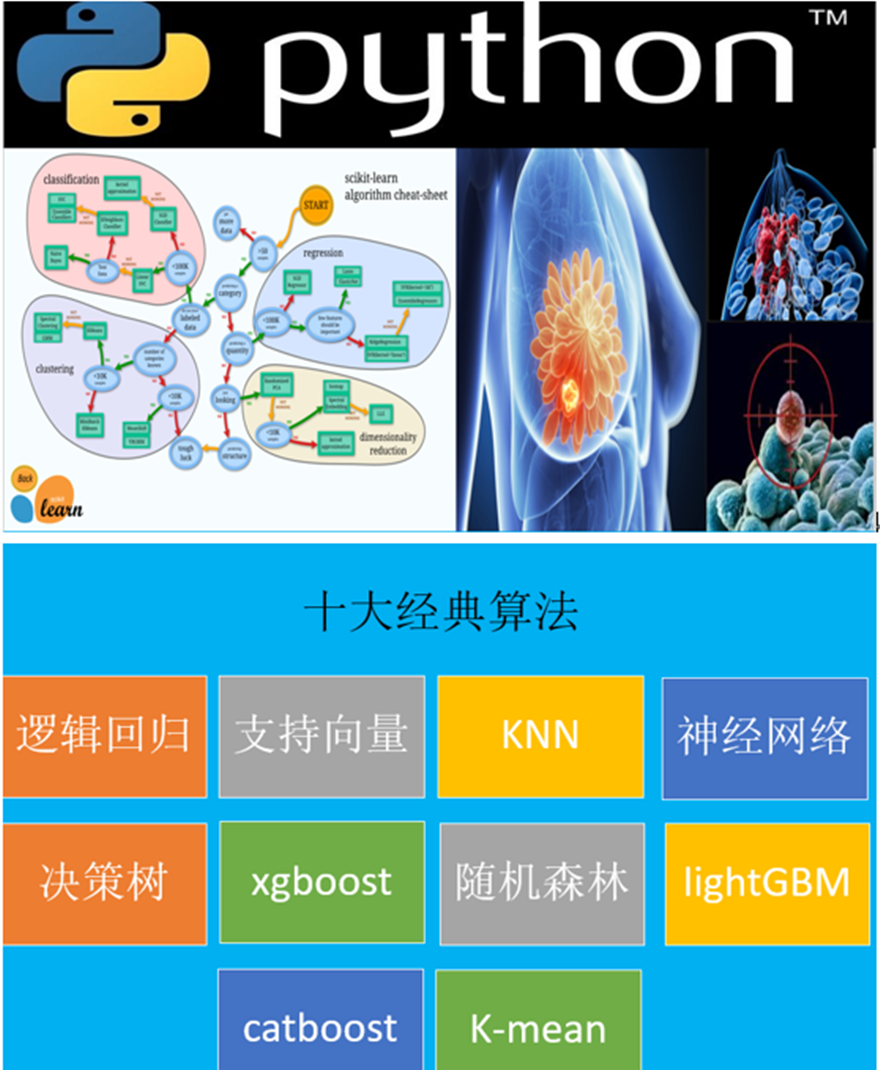
python机器学习-sklearn挖掘乳腺癌细胞( 博主亲自录制)
网易云观看地址
扫二维码,关注博主主页,学习更多Python知识
