访问:
http://IP/zabbix/
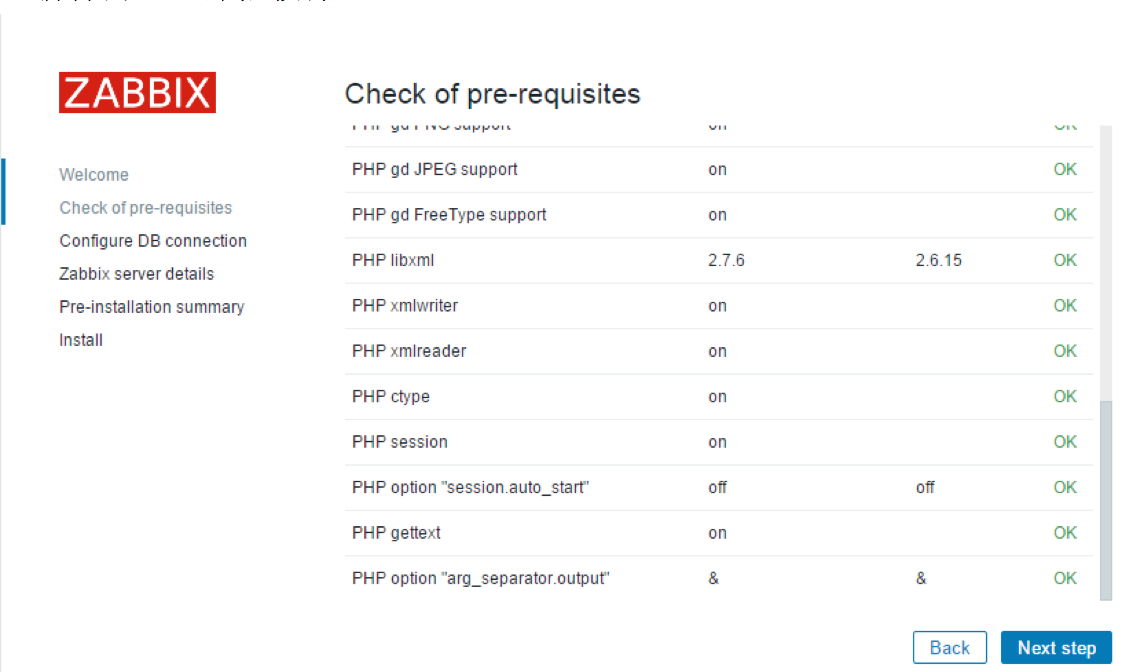
(1) You should see the first screen of the frontend installation wizard.

(2) 检查环境

查看到几处不符合要求,需修改该PHP文件配置文件参数:
# vim /etc/php.ini
post_max_size = 16M
max_execution_time = 300
max_input_time = 300
date.timezone = Asia/Shanghai
然后重启httpd和mysql,不重启mysql下面sql连接时还是会报错。
[root@console ~]# systemctl restart httpd.service
[root@console ~]# service mysqld restart
重新访问,全部依赖都通过:
(3) 输入之前在MYSQL后台设置的zabbix数据库信息:
DBName=zabbix
DBUser=zabbix
DBPassword=wisedu

报错:

解决:
[root@console ~]# mkdir /var/lib/mysql
[root@console ~]# ln -s /tmp/mysql.sock /var/lib/mysql/mysql.sock
点击下一步,还是报错:

解决:
mysql> grant all on zabbix.* to 'zabbix'@'console' identified by 'wisedu';
mysql> flush privileges;
如果以上方法试过后,还报下面的错误:
Error connecting to database: Can't connect to MySQL server on ''114.55.29.246''
请检查SELinux是否关闭。
[root@console ~]# /usr/sbin/sestatus -v
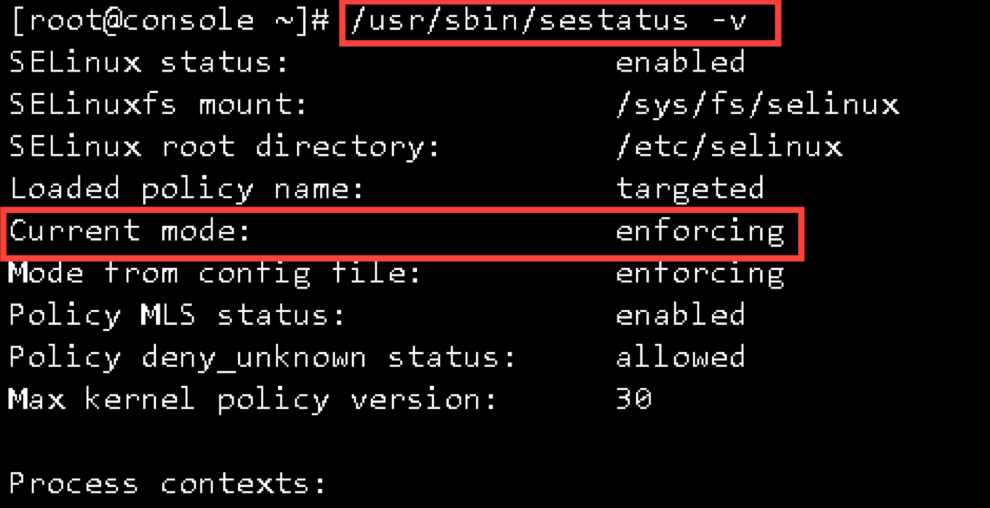
关闭SELinux:
[root@console ~]# setenforce 0
[root@console ~]# vim /etc/sysconfig/selinux


(4) 输入zabbix服务器端的详细信息

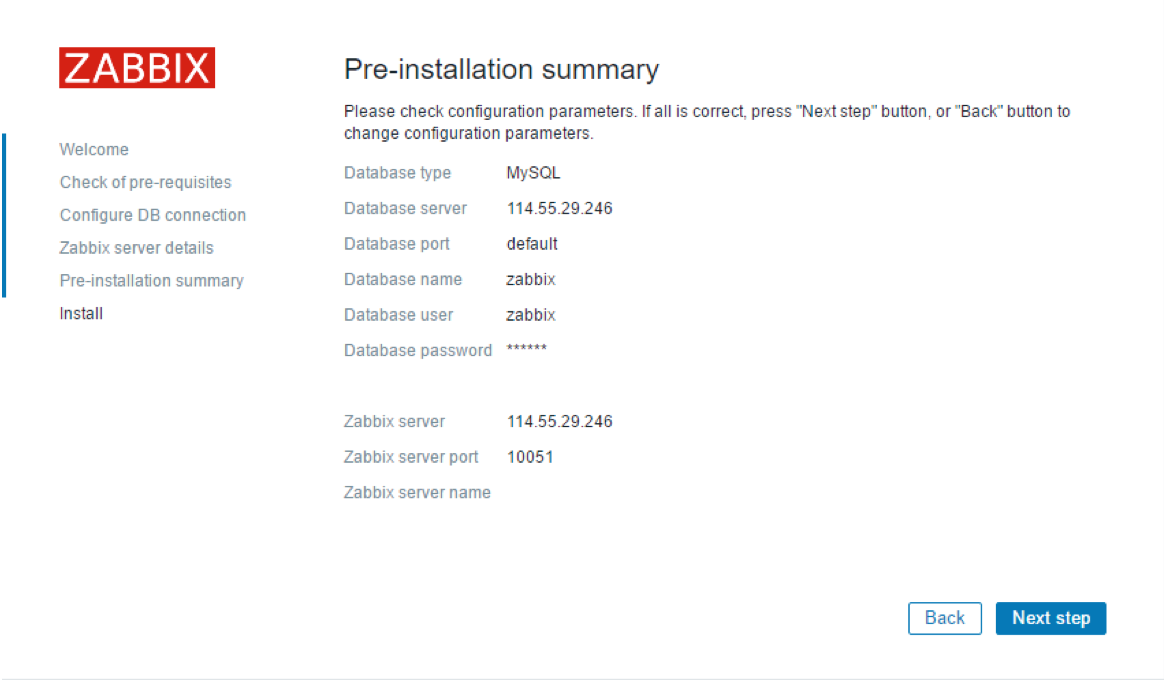
(5) 检查一下设置情况
(6) 下载配置文件,并把它放置在/var/www/html/zabbix/conf/ 目录下

Alternatively, you can install it manually:
Download the configuration file
Save it as "/var/www/html/zabbix/conf/zabbix.conf.php"
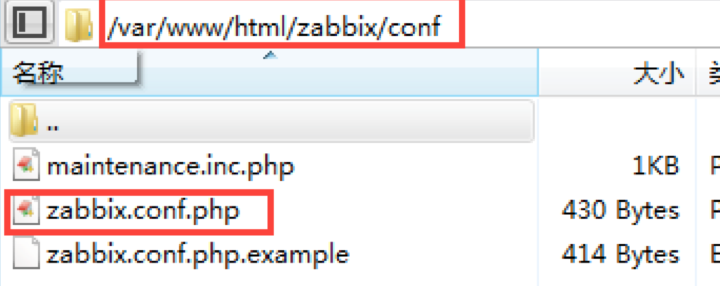
[root@console conf]# cd /var/www/html/zabbix/conf/
[root@console conf]# chown zabbix.zabbix zabbix.conf.php
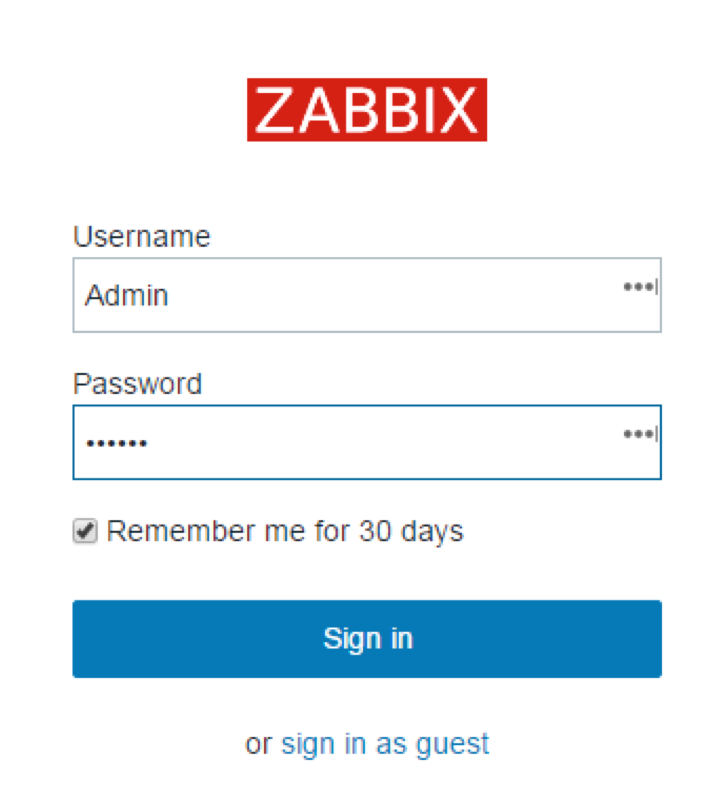
(7) 点击Finish

(8) Zabbix frontend is ready! The default user name is Admin, password zabbix.