1 准备阶段(docker)
1.1 卸载旧版本
如果电脑上已经存在docker,需要先卸载可能存在的旧版本:
1. 删除某软件,及其安装时自动安装的所有包
sudo apt-get autoremove docker docker-ce docker-engine docker.io containerd runc
2. 删除docker其他没有没有卸载
dpkg -l | grep docker
dpkg -l |grep ^rc|awk '{print $2}' |sudo xargs dpkg -P # 删除无用的相关的配置文件
1.2 下载docker安装包
1、去官网下载docker 安装二进制包,选择适合自己的版本。这里下载的是docker-19.03.3.tgz,在centos7中安装(cento6无法使用,提示linux版本内核版本太低)
下载地址:https://download.docker.com/linux/static/stable/x86_64/
2、复制docker-19.03.3.tgz到服务器上
2、安装和缺载
在docker-19.03.3.tgz目录创建文件
2.1 准备docker.service 系统配置文件
1、准备配置文件
vi docker.service


docker.service

[Unit]
Description=Docker Application Container Engine
Documentation=https://docs.docker.com
After=network-online.target firewalld.service
Wants=network-online.target

[Service]
Type=notify
# the default is not to use systemd for cgroups because the delegate issues still
# exists and systemd currently does not support the cgroup feature set required
# for containers run by docker
ExecStart=/usr/bin/dockerd
ExecReload=/bin/kill -s HUP $MAINPID
# Having non-zero Limit*s causes performance problems due to accounting overhead
# in the kernel. We recommend using cgroups to do container-local accounting.
LimitNOFILE=infinity
LimitNPROC=infinity
LimitCORE=infinity
# Uncomment TasksMax if your systemd version supports it.
# Only systemd 226 and above support this version.
#TasksMax=infinity
TimeoutStartSec=0
# set delegate yes so that systemd does not reset the cgroups of docker containers
Delegate=yes
# kill only the docker process, not all processes in the cgroup
KillMode=process
# restart the docker process if it exits prematurely
Restart=on-failure
StartLimitBurst=3
StartLimitInterval=60s

[Install]
WantedBy=multi-user.target
2.2 准备安装脚本和缺载脚本
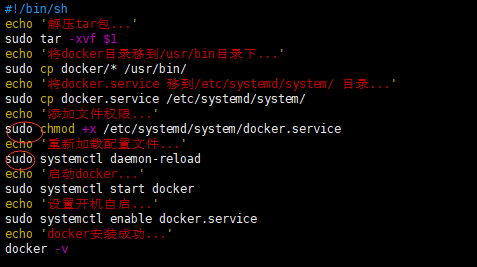
1、安装脚本 install.sh
vi install.sh
#!/bin/sh
echo '解压tar包...'
sudo tar -xvf $1
echo '将docker目录移到/usr/bin目录下...'
sudo cp docker/* /usr/bin/
echo '将docker.service 移到/etc/systemd/system/ 目录...'
sudo cp docker.service /etc/systemd/system/
echo '添加文件权限...'
sudo chmod +x /etc/systemd/system/docker.service
echo '重新加载配置文件...'
sudo systemctl daemon-reload
echo '启动docker...'
sudo systemctl start docker
echo '设置开机自启...'
sudo systemctl enable docker.service
echo 'docker安装成功...'
docker -v
2、卸载脚本 uninstall.sh
vi uninstall.sh
#!/bin/sh
echo '删除docker.service...'
sudo rm -f /etc/systemd/system/docker.service
echo '删除docker文件...'
sudo rm -rf /usr/bin/docker*
echo '重新加载配置文件'
sudo systemctl daemon-reload
echo '卸载成功...'
2.3 安装
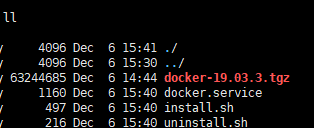
此时目录为:(只需要关注docker-19.03.3.tgz、docker.service、install.sh、uninstall.sh即可)
执行脚本
sh install.sh docker-19.03.3.tgz

2.4 缺载
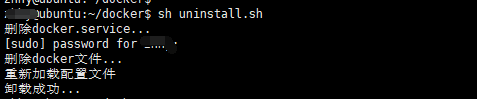
如果你想卸载docker,此时执行脚本 sh uninstall.sh 即可,执行过程如下:
sh uninstall.sh
3 docker-compose
3.1 下载地址 https://github.com/docker/compose/releases
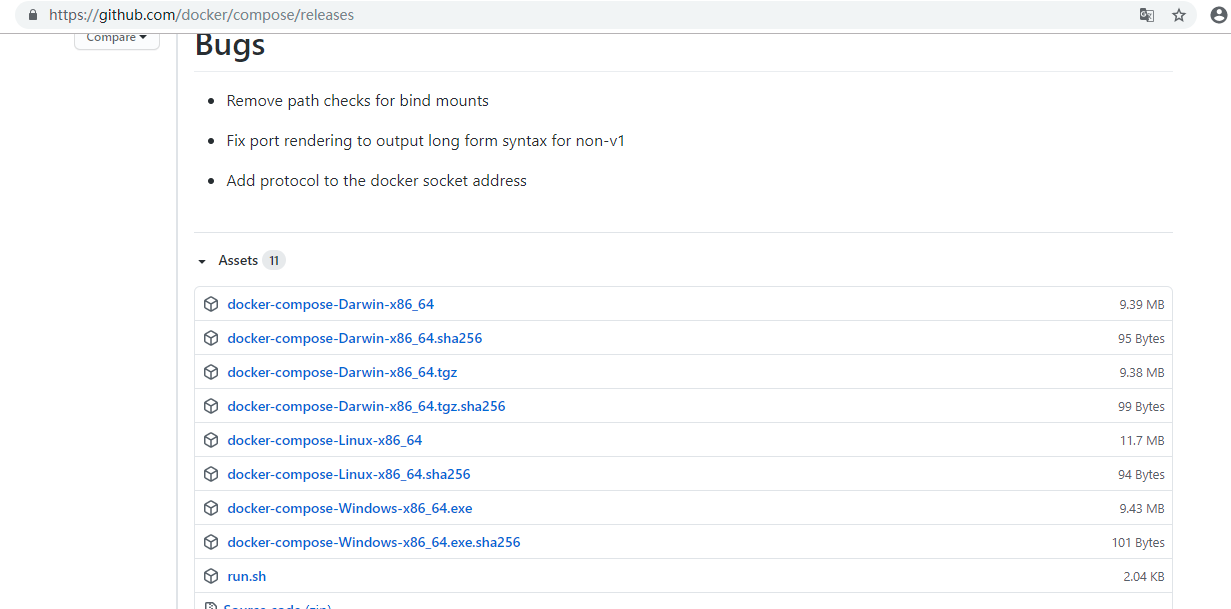
3.2上传到服务器,将文件转移至/usr/local/bin/
mv docker-compose-Linux-x86_64 /usr/local/bin/docker-compose
3.3添加权限
chmod +x /usr/local/bin/docker-compose
测试:docker-compose -v
