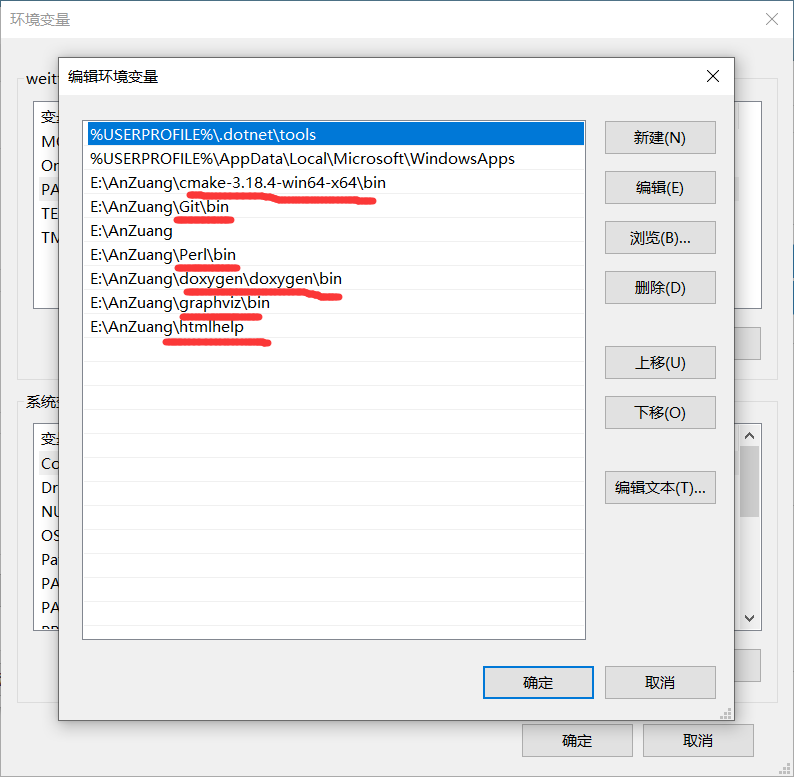
第一步:按照官网教程下载依赖软件,我下载的是如下标红线的软件。

第二步:将安装后的软件添加到环境变量。

第三步:在官网上选择稳定的版本(经过多个版本的测试 V1.0.0版本能够编译成.exe文件)下载:

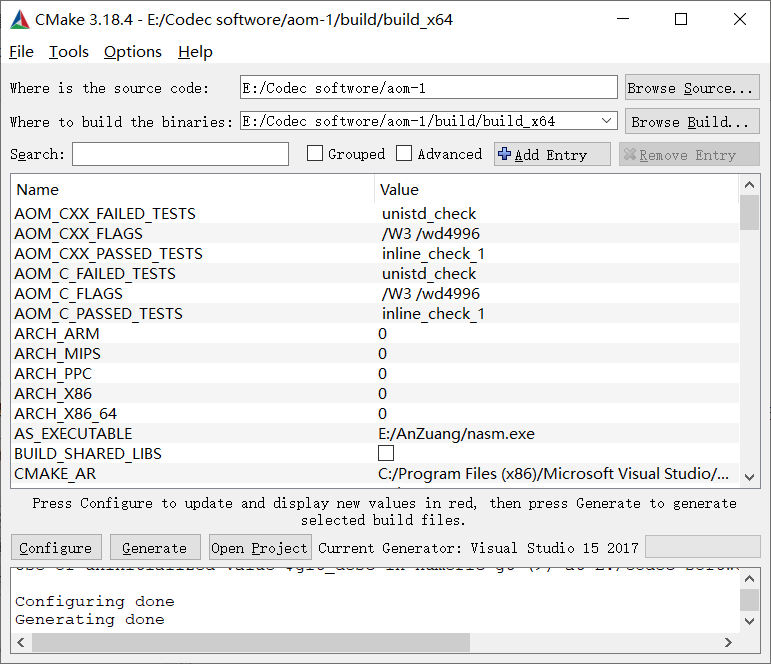
第四步:打开CMake软件,在build的目录需要自己创建build_x64,用来保存CMake后的文件,在配置中我选择的是2017版的VS,配置Configure(选X64),编译后点Generate,再点一次Generate红色会消失。

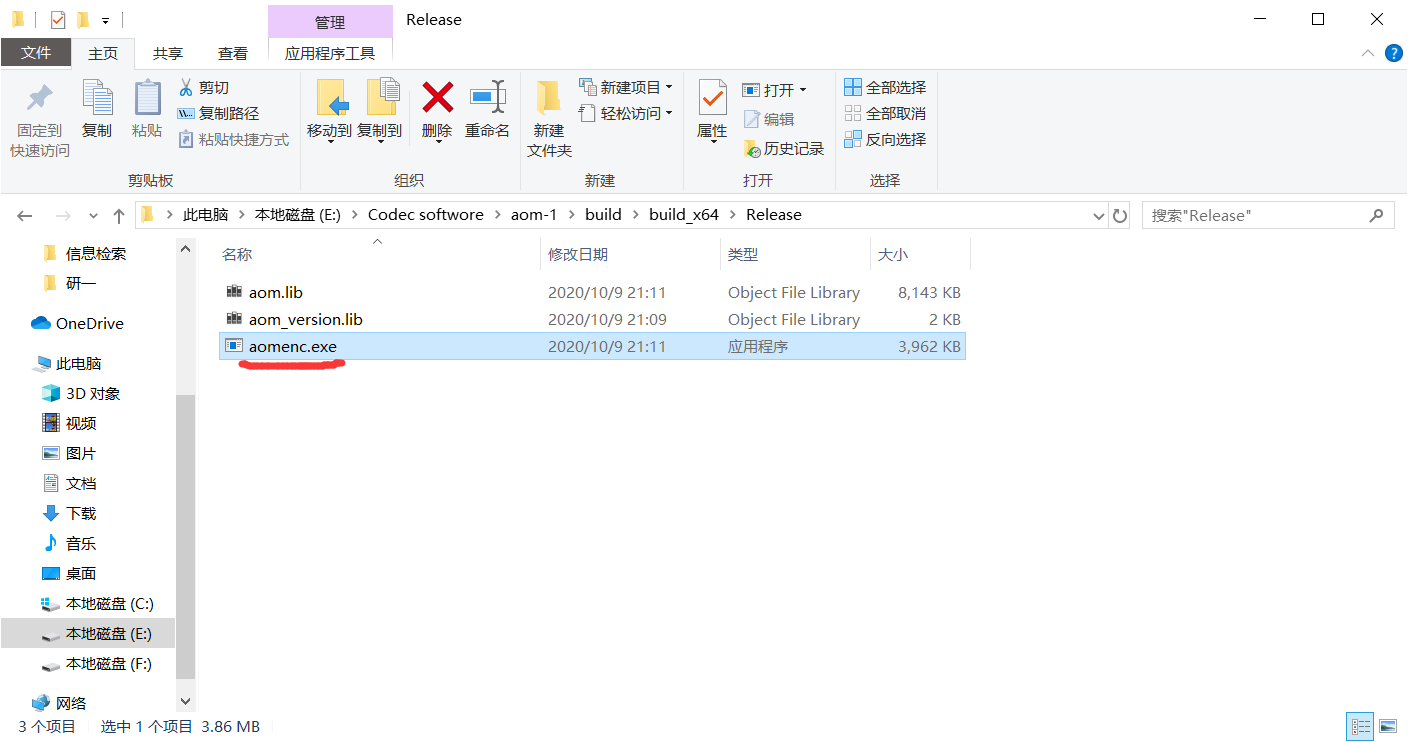
第五步:在build目录里面打开AOM.sln文件,然后设置aomenc(千万不要选错)为启动项,选择Release,点击生成aomenc.exe编码器。


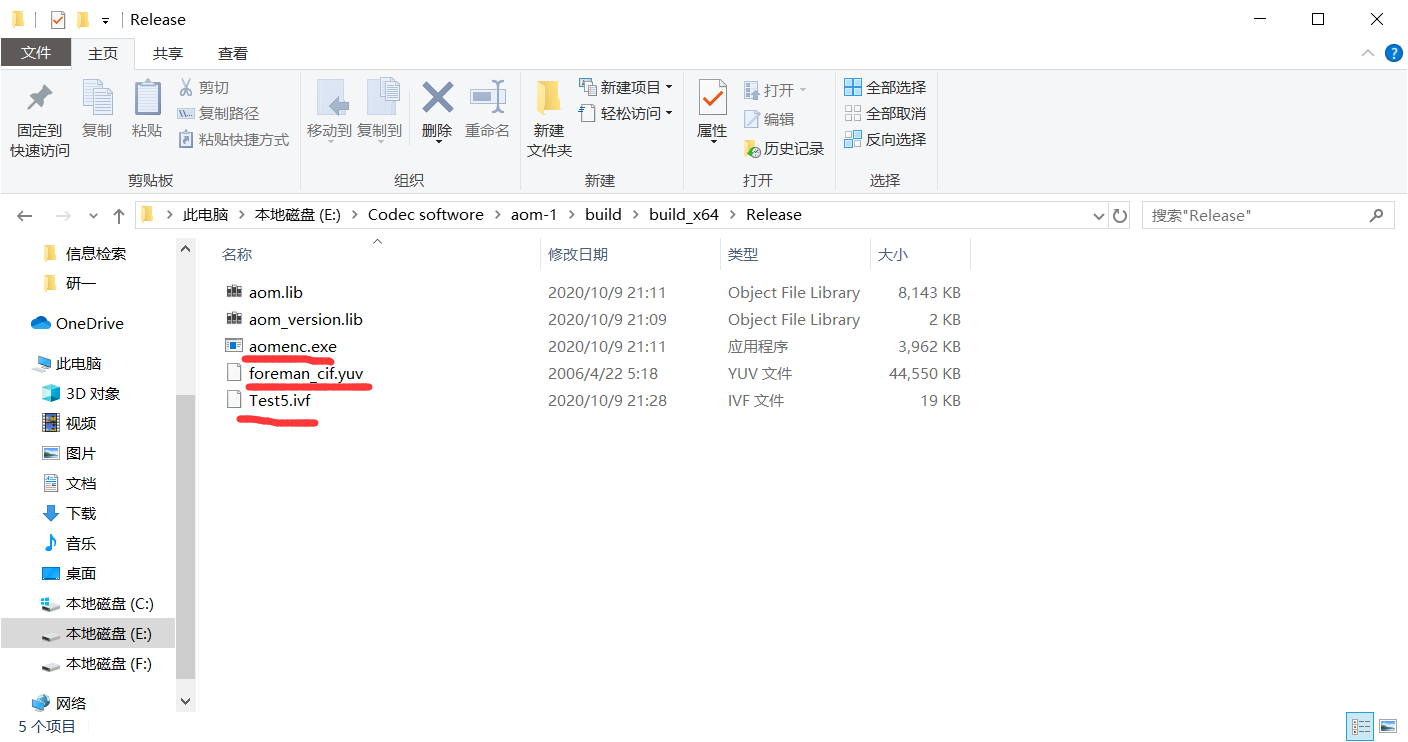
第六步:在cmd命令行或者Matlab使用aomenc.exe,加上配置参数,就可以完成测试。
aomenc.exe --width=352 --height=288 --end-usage=cq --min-q=27 --max-q=35 --min-gf-interval=4 --max-gf-interval=4 --cpu-used=4 --threads=16 --limit=12 -o Test5.ivf foreman_cif.yuv


Matlab 调试:
aomenc.exe --width=352 --height=288 --cpu-used=4 --threads=16 --max-q=40 --min-q=20 --limit=2 --kf-max-dist=1 --lag-in-frames=1 --kf-min-dist=1 --max-gf-interval=2 --target-bitrate=1500 --bias-pct=0 --bit-depth=8 --obu --psnr -o F:\sequence\foreman_cif\Test5.obu F:\sequence\foreman_cif\foreman_cif.yuv >>F:\sequence\foreman_cif\av1.txt 2>&1
%这些命令参数可以在cmd里面用aomenc.exe --help >libaom_commant_help.txt命令重定向导出

command = ['aomenc.exe' ...
    ' --width='  num2str(width) ... %图像像素宽
    ' --height=' num2str(height) ... %图像像素高
    ' --cpu-used='  num2str(4) ... %运行速度设置(0..5 good模式, 6..8 realtime模式)
    ' --threads='  num2str(16) ... %最大线程数
    ' --max-q='  num2str(40)  ... %最大QP
    ' --min-q='  num2str(20) ... %最小QP
    ' --limit=' num2str(framenumber) ...%待编码的帧数
    ' --kf-max-dist=' num2str(IntraPeriod) ... %最大关键帧间隔
    ' --kf-min-dist=' num2str(IntraPeriod) ... %最小关键帧间隔
    ' --lag-in-frames='  num2str(1) ... %我是看见别人的 GOPSize和这个值相同 ??还不懂
    ' --max-gf-interval=' num2str(2) ...%
    ' --target-bitrate=' num2str(1500) ... % Bitrate (kbps) 目标码率
    ' --bias-pct=' num2str(0) ... % CBR/VBR bias (0=CBR, 100=VBR) 恒定码率控制和可变码率控制
    ' --bit-depth=' num2str(8) ... %bit 深度
    ' --psnr --obu' ...
    ' -o ' encoder_new_folder '\str.bin ' seq_dir... %输出文件 和 输入文件
    ' >' encoder_new_folder '\libaom_result.txt' ]; %重定向

disp('begin libaom');
disp(command);
tic;%计时开始
dos(command);
toc;%计时结束
t=toc;%保存时间
disp('end libaom');
存在问题:
1、还不能编译最新版本的libaom编码器;
2、和HM、VTM不同,libaom编码器不输出重构的.yuv文件;
可以用解码器生成
AOM1_0_decoder --i420 -o rec.yuv str.bin
3、没有具体AI、LDP、RA的配置。