我们已经完成了前两层的开发,现在 只剩下我们的controller层了,对于这一层,我们需要创建一个动作类CustomerAction,另外就是我们的strutss.xml以及我们的applicationContext-web.xml,还有我们的web.xml中,我们需要配置我们的配置我们的struts的核心过滤器StrutsPrepareAndExecutorFilter,除此之外,就是spring的监听器以及对spring中的参数的配置
我们是maven项目,我们需要引入我们的service,下面是我们的pom.xml
<project xmlns="http://maven.apache.org/POM/4.0.0" xmlns:xsi="http://www.w3.org/2001/XMLSchema-instance" xsi:schemaLocation="http://maven.apache.org/POM/4.0.0 http://maven.apache.org/xsd/maven-4.0.0.xsd">
  <modelVersion>4.0.0</modelVersion>
  <parent>
    <groupId>com.itheima</groupId>
    <artifactId>ssh_parent</artifactId>
    <version>0.0.1-SNAPSHOT</version>
  </parent>
  <artifactId>ssh_controller</artifactId>
  <packaging>war</packaging>
  <dependencies>
      <dependency>
          <groupId>com.itheima</groupId>
          <artifactId>ssh_service</artifactId>
          <version>0.0.1-SNAPSHOT</version>
      </dependency>
  </dependencies>
</project>
开始写我们的CustomerAction
package com.itheima.web.action;

import java.util.List;

import com.itheima.entity.Customer;
import com.itheima.service.CustomerService;
import com.opensymphony.xwork2.ActionSupport;

public class CustomerAction extends ActionSupport {
    private CustomerService customerService;

    private List<Customer> customers;

    public List<Customer> getCustomers() {
        return customers;
    }

    public void setCustomers(List<Customer> customers) {
        this.customers = customers;
    }

    public void setCustomerService(CustomerService customerService) {
        this.customerService = customerService;
    }

    public String findAllCustomer(){
        customers = customerService.findAllCustomer();
        return this.SUCCESS;
    }
    public String saveCustomerUI(){
        return this.SUCCESS;
    }
}
然后写我们的applicationContext-web.xml
<?xml version="1.0" encoding="UTF-8"?>
<beans xmlns="http://www.springframework.org/schema/beans"
    xmlns:xsi="http://www.w3.org/2001/XMLSchema-instance" xmlns:aop="http://www.springframework.org/schema/aop"
    xmlns:context="http://www.springframework.org/schema/context" xmlns:tx="http://www.springframework.org/schema/tx"
    xsi:schemaLocation="
        http://www.springframework.org/schema/beans http://www.springframework.org/schema/beans/spring-beans.xsd
        http://www.springframework.org/schema/tx http://www.springframework.org/schema/tx/spring-tx.xsd
        http://www.springframework.org/schema/context http://www.springframework.org/schema/context/spring-context.xsd
        http://www.springframework.org/schema/aop http://www.springframework.org/schema/aop/spring-aop.xsd">
     <import resource="classpath:applicationContext-service.xml"/>
    <bean id="customerAction" class="com.itheima.web.action.CustomerAction">
        <property name="customerService" ref="customerService"></property>
    </bean>
</beans>
随后是我们的struts.xml文件
<?xml version="1.0" encoding="UTF-8" ?>
<!DOCTYPE struts PUBLIC
    "-//Apache Software Foundation//DTD Struts Configuration 2.3//EN"
    "http://struts.apache.org/dtds/struts-2.3.dtd">
<struts>
    <package name="customer" namespace="/customer" extends="struts-default">
        <action name="findAllCustomer" class="customerAction" method="findAllCustomer">
            <result name="success">/jsp/customer/list.jsp</result>
        </action>
        <action name="saveCustomerUI" class="customerAction" method="saveCustomerUI">
            <result name="success">/jsp/customer/add.jsp</result>
        </action>
    </package>
</struts>
这样的话,就剩下我们的web.xml文件了
<?xml version="1.0" encoding="UTF-8"?>
<web-app xmlns:xsi="http://www.w3.org/2001/XMLSchema-instance" xmlns="http://java.sun.com/xml/ns/javaee" xsi:schemaLocation="http://java.sun.com/xml/ns/javaee http://java.sun.com/xml/ns/javaee/web-app_2_5.xsd" version="2.5">
  <display-name>ssh_controller</display-name>
  <welcome-file-list>
    <welcome-file>index.html</welcome-file>
    <welcome-file>index.htm</welcome-file>
    <welcome-file>index.jsp</welcome-file>
    <welcome-file>default.html</welcome-file>
    <welcome-file>default.htm</welcome-file>
    <welcome-file>default.jsp</welcome-file>
  </welcome-file-list>
  <!-- 配置struts的过滤器 -->
  <filter>
      <filter-name>struts</filter-name>
      <filter-class>org.apache.struts2.dispatcher.ng.filter.StrutsPrepareAndExecuteFilter</filter-class>
  </filter>
  <filter-mapping>
      <filter-name>struts</filter-name>
      <url-pattern>/*</url-pattern>
  </filter-mapping>
  <!-- 配置spring的监听器 -->
  <listener>
      <listener-class>org.springframework.web.context.ContextLoaderListener</listener-class>
  </listener>
  <!-- 监听器启动的参数 -->
  <context-param>
      <param-name>contextConfigLocation</param-name>
      <param-value>classpath:applicationContext-web.xml</param-value>
  </context-param>
</web-app>
这样的话,我们的controller层也OK了,现在我们可以使用我们的maven命令运行我们的项目tomcat:run
点键我们的父工程,即右键ssh_parent,->Run AS->Maven builder..在出来的页面中输入我们的命令即可
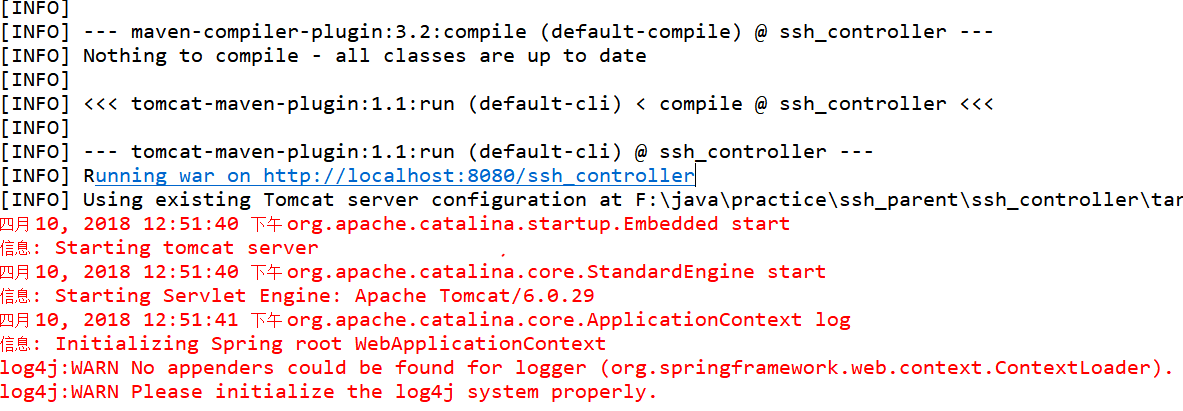
这样的话,我们在浏览器访问我们的路径http://localhost:8080/ssh_controller,我们的页面还是使用之前的页面
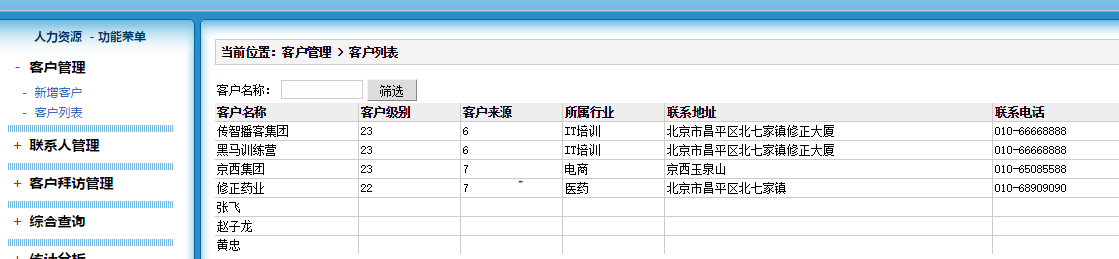
这样我们的一个完整的ssh结合maven就整合完成了!