前言
微服务要实现集中管理微服务配置、不同环境不同配置、运行期间也可动态调整、配置修改后可以自动更新的需求,Spring Cloud Config同时满足了以上要求。Spring Cloud Config 分为Config Server和Config Client两部分,是一个可以横向扩展,集中式的配置服务器。spring boot config支持三种存储方式:本地资源、SVN、GIT。
这里只介绍GIT的方式。
Spring Cloud Config 原理图如图所示:

一、新建一个maven项目:config-server
pom.xml如下:
<project xmlns="http://maven.apache.org/POM/4.0.0"
    xmlns:xsi="http://www.w3.org/2001/XMLSchema-instance"
    xsi:schemaLocation="http://maven.apache.org/POM/4.0.0 http://maven.apache.org/xsd/maven-4.0.0.xsd">
    <modelVersion>4.0.0</modelVersion>
    <groupId>com.skyworth.tvmanage</groupId>
    <artifactId>config-server</artifactId>
    <version>0.0.1-SNAPSHOT</version>

    <!-- 必须要引入 springboot parent ,帮我们实现了很多jar包的依赖管理 -->
    <parent>
        <groupId>org.springframework.boot</groupId>
        <artifactId>spring-boot-starter-parent</artifactId>
        <version>2.0.2.RELEASE</version>
        <relativePath /> <!-- lookup parent from repository -->
    </parent>

    <dependencyManagement>
        <dependencies>
            <!-- https://mvnrepository.com/artifact/org.springframework.cloud/spring-cloud-dependencies -->
            <dependency>
                <groupId>org.springframework.cloud</groupId>
                <artifactId>spring-cloud-dependencies</artifactId>
                <version>Finchley.RELEASE</version>
                <type>pom</type>
                <scope>import</scope>
            </dependency>
        </dependencies>
    </dependencyManagement>

    <!-- 版本集中配置 -->
    <properties>
        <project.build.sourceEncoding>UTF-8</project.build.sourceEncoding>
        <project.reporting.outputEncoding>UTF-8</project.reporting.outputEncoding>
    </properties>

    <dependencies>

        <!-- springboot 自动集成了mvc,直接引用web组件即可 -->
        <dependency>
            <groupId>org.springframework.boot</groupId>
            <artifactId>spring-boot-starter-web</artifactId>
        </dependency>
        <dependency>
            <groupId>org.springframework.boot</groupId>
            <artifactId>spring-boot-starter-test</artifactId>
            <scope>test</scope>
        </dependency>

        <!-- eureka client -->
        <dependency>
            <groupId>org.springframework.cloud</groupId>
            <artifactId>spring-cloud-starter-netflix-eureka-client</artifactId>
        </dependency>

        <!-- config server -->
        <dependency>
            <groupId>org.springframework.cloud</groupId>
            <artifactId>spring-cloud-config-server</artifactId>
        </dependency>

        <!-- bus ribbitmq-->
        <dependency>
            <groupId>org.springframework.cloud</groupId>
            <artifactId>spring-cloud-starter-bus-amqp</artifactId>
        </dependency>
        <dependency>
            <groupId>org.springframework.cloud</groupId>
            <artifactId>spring-cloud-config-monitor</artifactId>
        </dependency>

    </dependencies>
</project>
application.yml :
server:
  port: 8888
spring:
  application:
    name: config-server
  cloud:
    config:
      server:
        git:
          #服务的git仓库地址
          uri: https://gitee.com/willpan_z/tvmanage
          #用户名和密码
          username: ****
          password: ****
          #本地git配置路径
          basedir: F:eclipse-workspaceconfig
      #分支
      label: tvmanage-config
eureka:
  instance:
    hostname: config-server
    prefer-ip-address: true
  client:
    serviceUrl:
      defaultZone: http://skyworth:skyworth1@eureka-server:8761/eureka/,http://skyworth:skyworth2@eureka-server2:8762/eureka/,http://skyworth:skyworth3@eureka-server3:8763/eureka/
#暴露bus-refresh接口用于更新git上的配置
management:
  endpoints:
    web:
      exposure:
        include: bus-refresh
include: bus-refresh 表示暴露 endpoints 的 /actuator/bus-refresh接口 出去,默认是“health”,“info”

在启动类Application上开启配置中心的注解:@EnableConfigServer:
@SpringBootApplication
@EnableDiscoveryClient
@EnableConfigServer
public class Application {
    public static void main(String[] args) {
        SpringApplication.run(Application.class, args);
    }
}
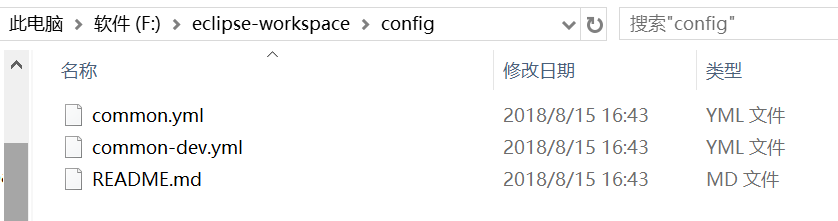
启动服务,先模拟测试一下,在git上直接新建一个common.yml,输入http://localhost:8888/tvmanage-config/common-a.yml,
访问成功(注:tvmanage-config为码云上分支的名称,如果没有放在分支下,去掉即可)
配置服务中心可以从远程程序获取配置信息,http请求地址和资源文件映射如下:,可参考
· /{application}/{profile}[/{label}]
· /{application}-{profile}.yml
· /{label}/{application}-{profile}.yml
· /{application}-{profile}.properties
· /{label}/{application}-{profile}.properties
另外从config-server的控制台可以看出,当yml文件从远端git下载后,会在本地也备份一份,当然这个本地路径是可以配置的,
配置命令:spring.cloud.config.server.git.basedir: F:eclipse-workspaceconfig

config client 端配置
pom.xml依赖:
<!-- eureka -->
        <dependency>
            <groupId>org.springframework.cloud</groupId>
            <artifactId>spring-cloud-starter-netflix-eureka-client</artifactId>
        </dependency>

        <!-- config -->
        <dependency>
            <groupId>org.springframework.cloud</groupId>
            <artifactId>spring-cloud-config-client</artifactId>
        </dependency>

        <!-- bus ribbitmq-->
        <dependency>
            <groupId>org.springframework.cloud</groupId>
            <artifactId>spring-cloud-starter-bus-amqp</artifactId>
        </dependency>
        <!-- actuator -->
        <dependency>
            <groupId>org.springframework.boot</groupId>
            <artifactId>spring-boot-starter-actuator</artifactId>
        </dependency>

    </dependencies>
在resources目录下新建文件bootstrap.yml(这里有个坑是,eureka的注册不能写在远端,因为要先在eureka注册后,才能通过eureka服务去找远端yml)内容:
#前缀路径
#server:
#  servlet:
#    context-path: /tvmanage # 访问地址:http://localhost:8090/tvmanage/
server:
  port: 8082
spring:
  application:
    name: management-equip
  cloud:
    config:
      discovery:
        enabled: true
        service-id: CONFIG-SERVER
      #对应的配置服务中的应用名称
      name: common
      #对应config server中配置文件的{label 分支}
      label: tvmanage-config
      #对应config server中配置文件的{profile 环境}
      profile: dev
#服务注册
eureka:
  instance:
    hostname: equip
    prefer-ip-address: true
  client:
    serviceUrl:
      defaultZone: http://skyworth:skyworth1@eureka-server:8761/eureka/,http://skyworth:skyworth2@eureka-server2:8762/eureka/,http://skyworth:skyworth3@eureka-server3:8763/eureka/
启动类没有特别需要加的东西。
测试
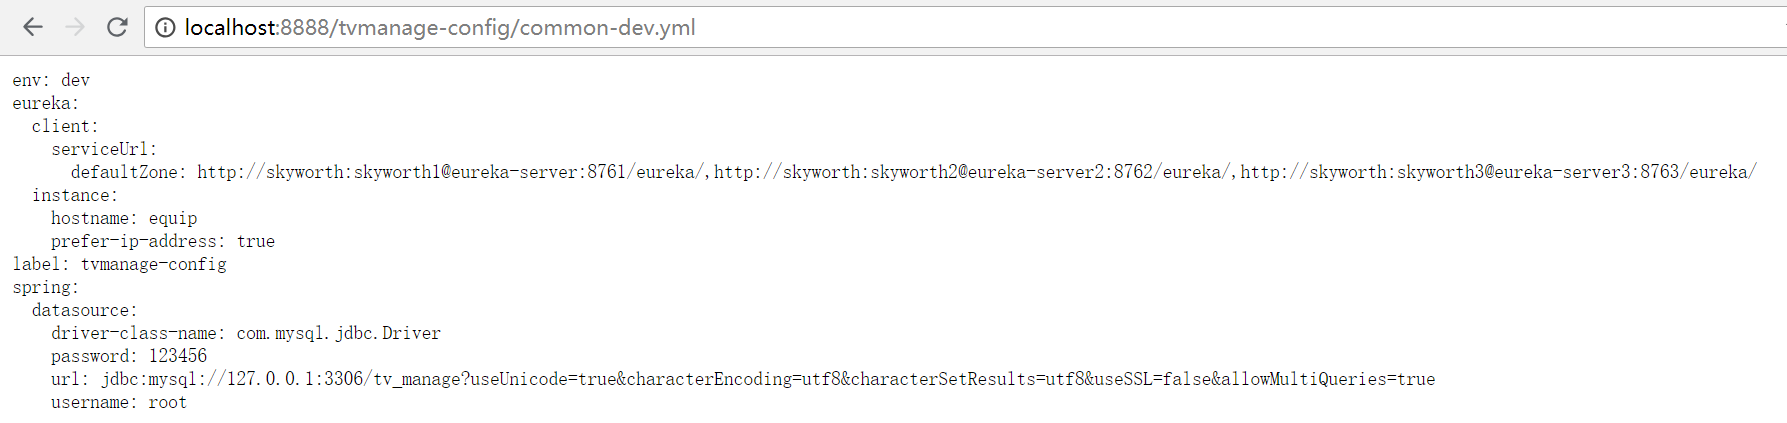
依次启动eureka-server,config-server,equip-server,打开浏览器访问:http://localhost:8888/tvmanage-config/common-dev.yml,返回内容:
配置中心的自动刷新(spring cloud bus + RibbitMQ + WebHooks)
先说说更新原理:

GIT上的webhook更新调用config server的/monitor(spring-cloud-config-monitor)触发RefreshRemoteApplicationEvent事件,
然后spring cloud bus的StreamListener监听RemoteApplicationEvent,通过mq发布到每个config client,
然后client接收RemoteApplicationEvent事件来实现refresh。
注:这里简单说一下spring cloud bus 和spring cloud stream ,2者都是用来消息代理的,bus主要利用广播机制实现自动刷新配置,stream主要用于服务间的消息调用。
其实,bus也是基于stream的,它使用了一部分stream的功能。
spring cloud bus实现自动刷新配置的方式有2种:
1. 第一种,bus 的refresh操作发生在client端,然后client端通知消息总线bus这个更新信息,bus再通知其他client端更新
2. 第二种,bus的refresh操作发生在config server端,config server通知bus,再通知其他client端去更新
这里我们使用第二种方式,原理图如下:

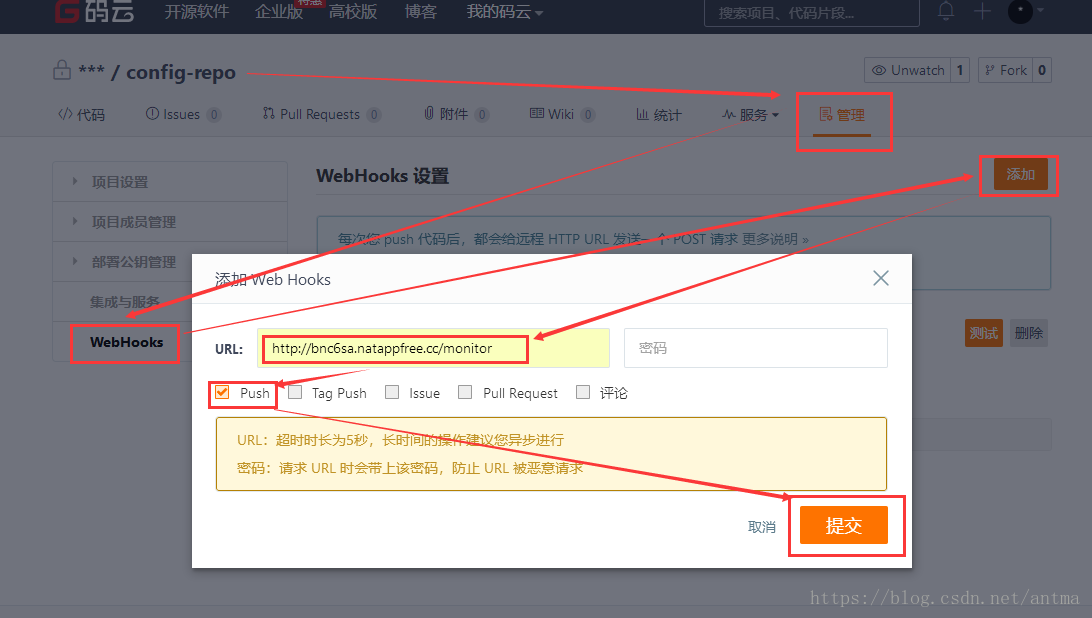
这里的远端GIT使用的是Gitee(码云),其 WebHooks 配置方法(本地测试的话,还需要一个内网穿透,这里使用的是natapp,就不多说了):

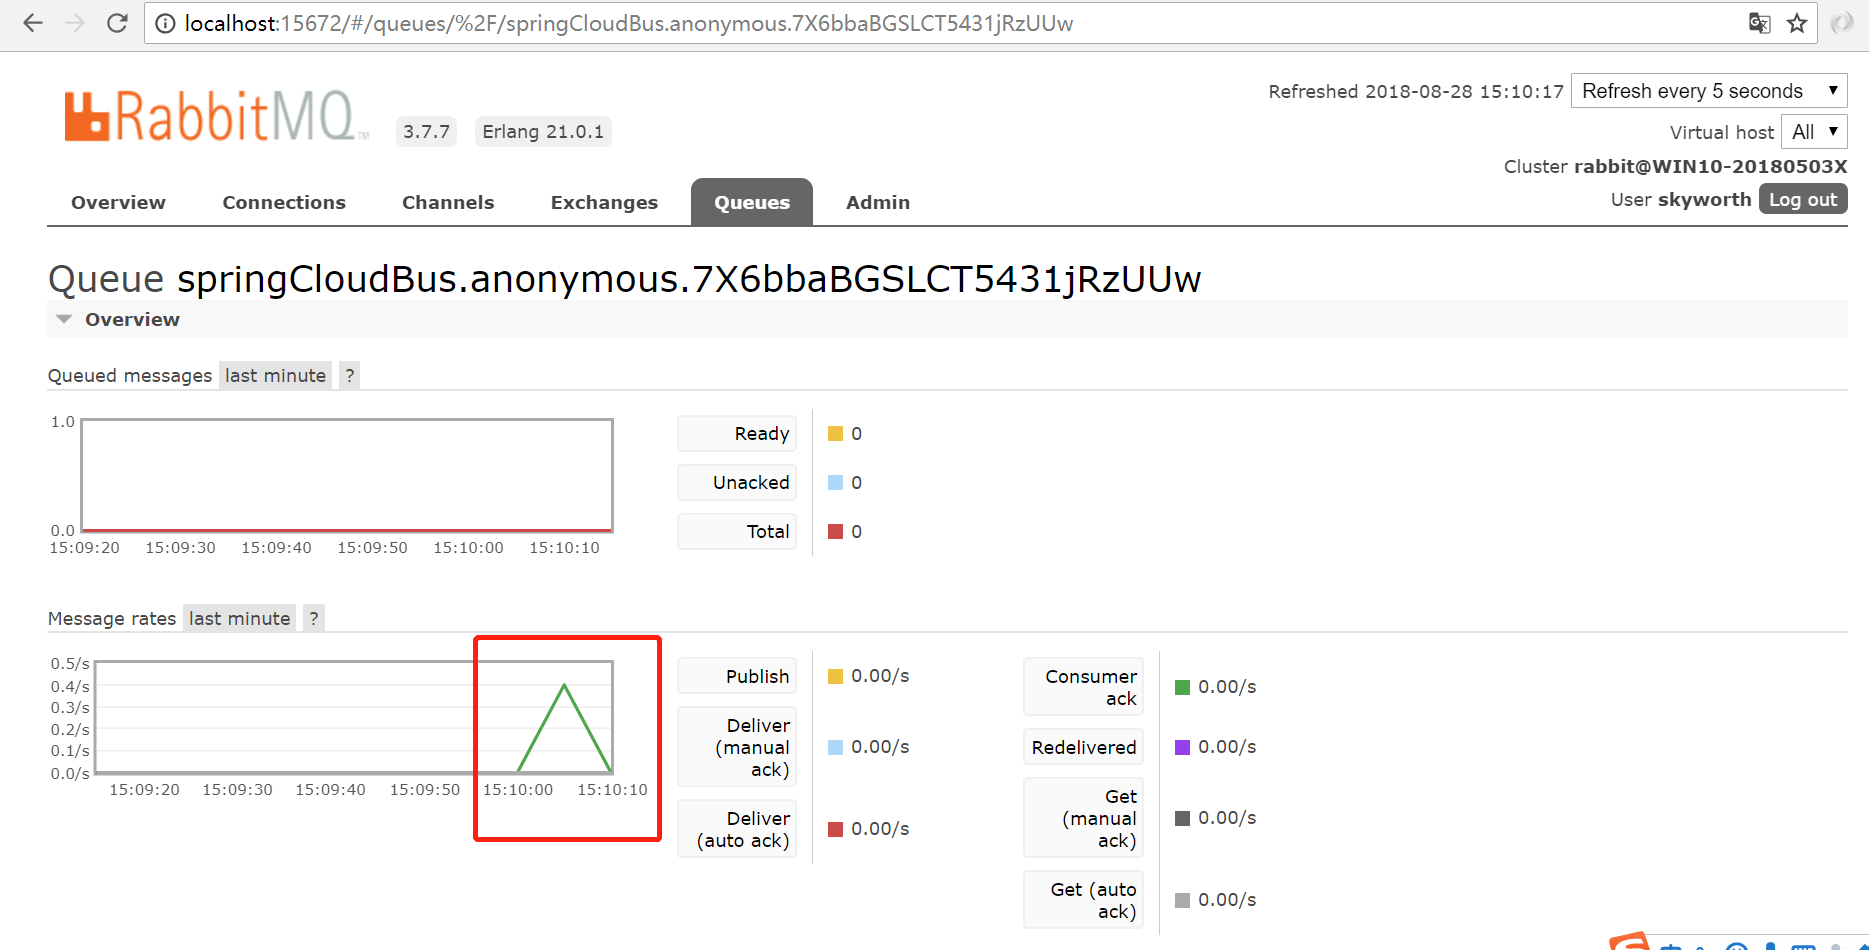
这里设置好了,启动相关服务(eureka server,config server),点击测试一下。
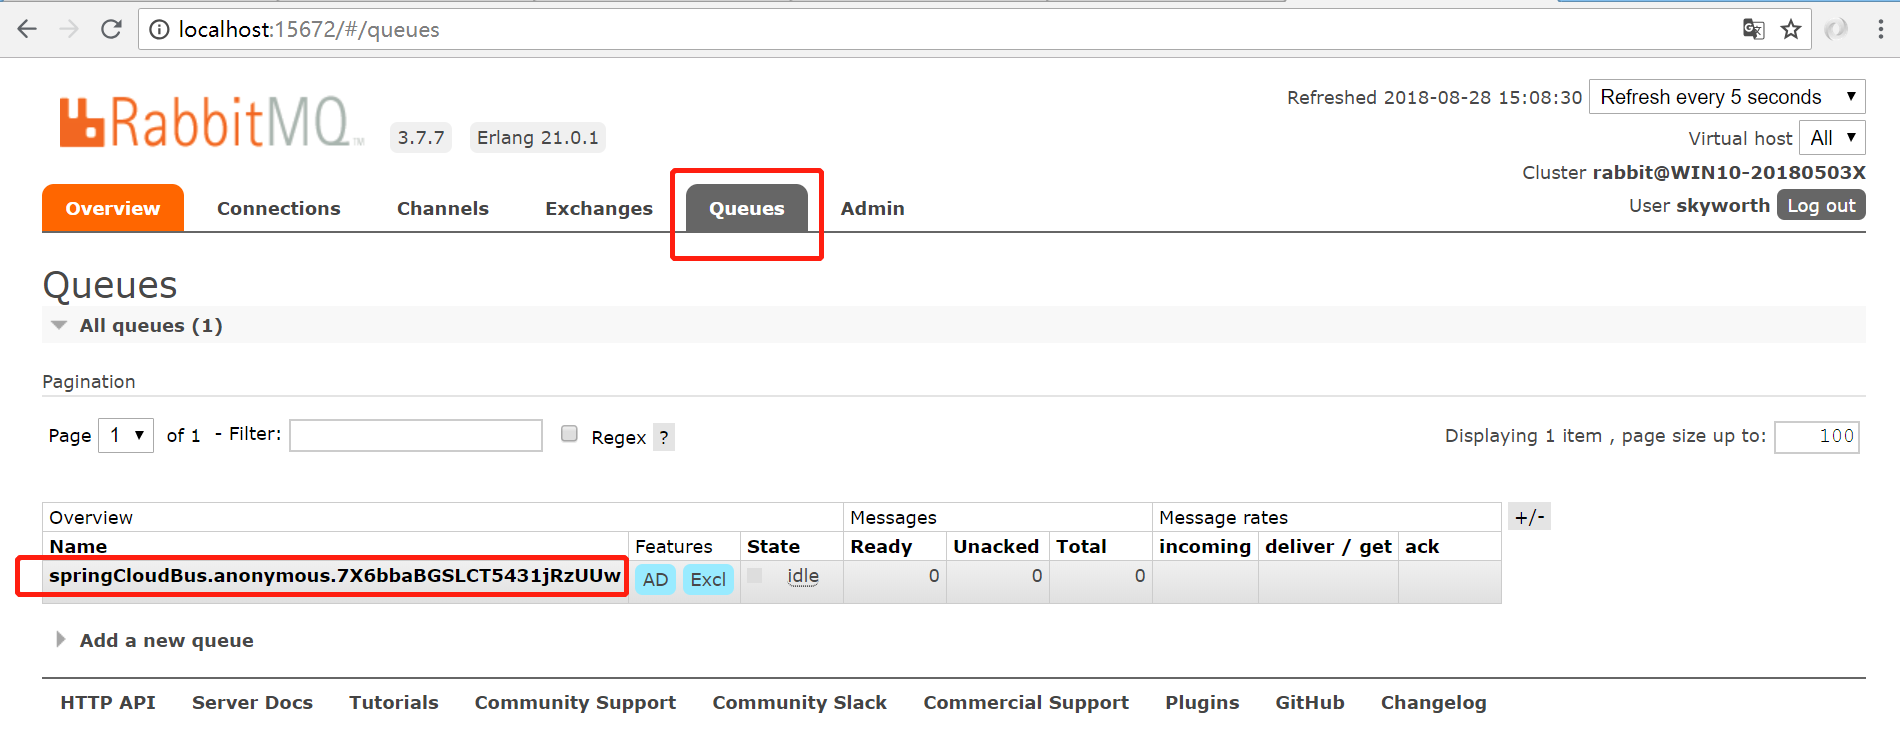
当启动好config server后,我们打开RibbitMQ:http://localhost:15672 可以看到cloud bus 自动生成了一个队列,点击测试后会有一个消息过来。
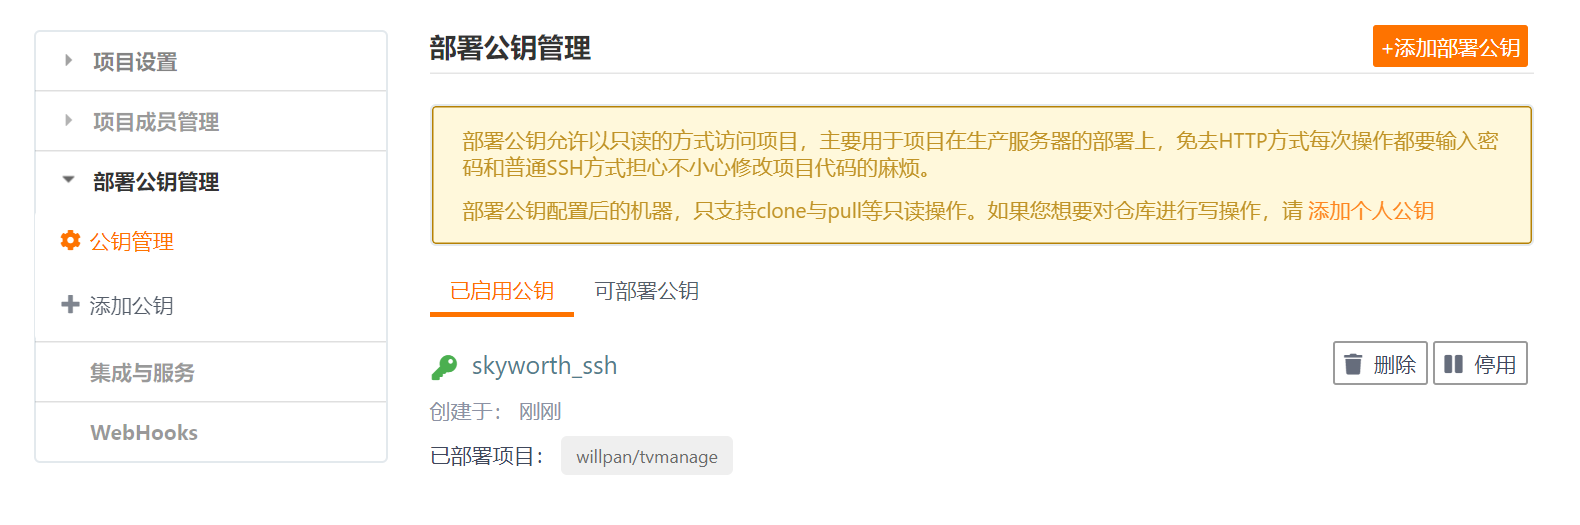
一般为了安全,在git传输文件的时候都会进行ssh加密传输,这里简单说一下公匙的应用。
首先使用git bush 生成公匙,输入 ssh -keygen
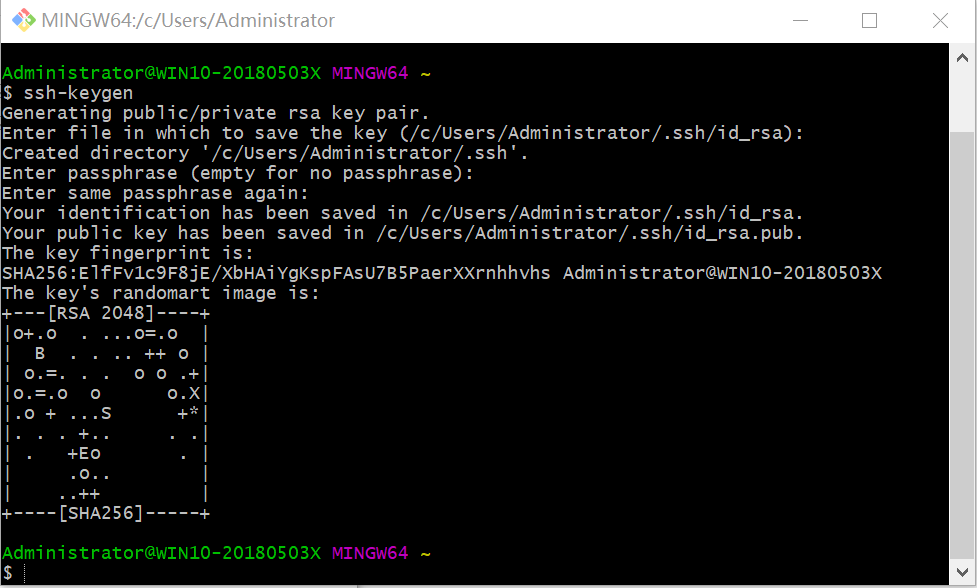
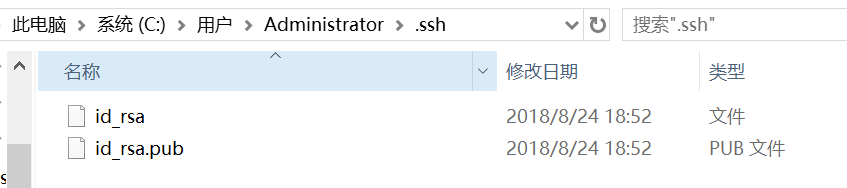
然后根据信息找到公匙生成的位置,打开id_rsa.pub,复制其中的内容
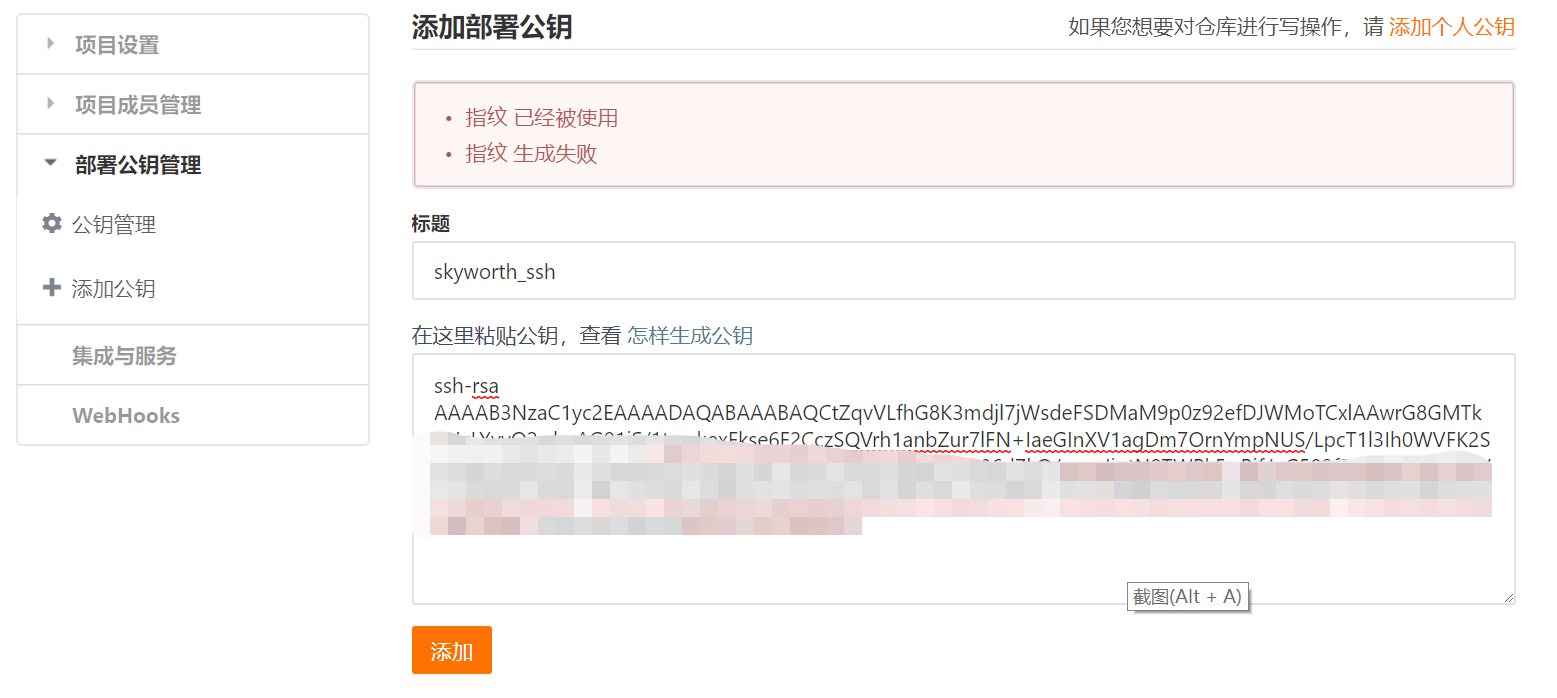
最后在Gitee上找到公匙的管理,添加复制进去就OK了
config client 测试自动刷新配置
在配置文件yml中增加一个自定义属性:
girl:
  age: 20
  name: lili
然后在config client 的controller中或者启动类中获取这个自定义属性(注意增加@RefreshScope 局部刷新注解):
@RestController
@RequestMapping("/tvmanage/equip")
@RefreshScope
public class EquipController {

    @Value("${girl.age}")
    private String girl_age;

    @RequestMapping("hi")
    public String hi(){
        return "hello ,"+ girl_age;
    }
}
然后,我们把yml中 age改为21,客户端直接访问hi()方法,http://localhost:8081/tvmanage/equip/hi ,自动刷新成功
