1. 安装 cli
npm install -g @vue/cli
vue create winyh-ui
2.安装 antd-design-vue
cnpm i ant-design-vue --save
3.配置按需加载
cnpm i babel-plugin-import --save-dev

修改根目录的 babel.config.js, 配置 babel-plugin-import
module.exports = {
  presets: [
    '@vue/cli-plugin-babel/preset'
  ],
  plugins: [
    [
      "import",
      { libraryName: "ant-design-vue", libraryDirectory: "es", style: true }
    ]
  ]
}
4.配置less
运行报错:

Module not found: Error: Can't resolve 'less-loader'

解决办法:

cnpm i less less-loader --save-dev

根目录创建 vue.config.js 文件,配置如下
module.exports = {
    css: {
        loaderOptions: {
            less: {
                javascriptEnabled: true
            }
        }
    }
}
5.项目中引用
src/main.js 文件中
import Vue from 'vue'
import { Button, Select } from 'ant-design-vue';
import App from './App'
Vue.component(Button.name, Button)
Vue.component(Select.name, Select)
/* 或写为
* Vue.use(Button)
* Vue.use(Select)
*/
Vue.config.productionTip = false
new Vue({
render: h => h(App)
}).$mount("#app");
组件中就可以使用:
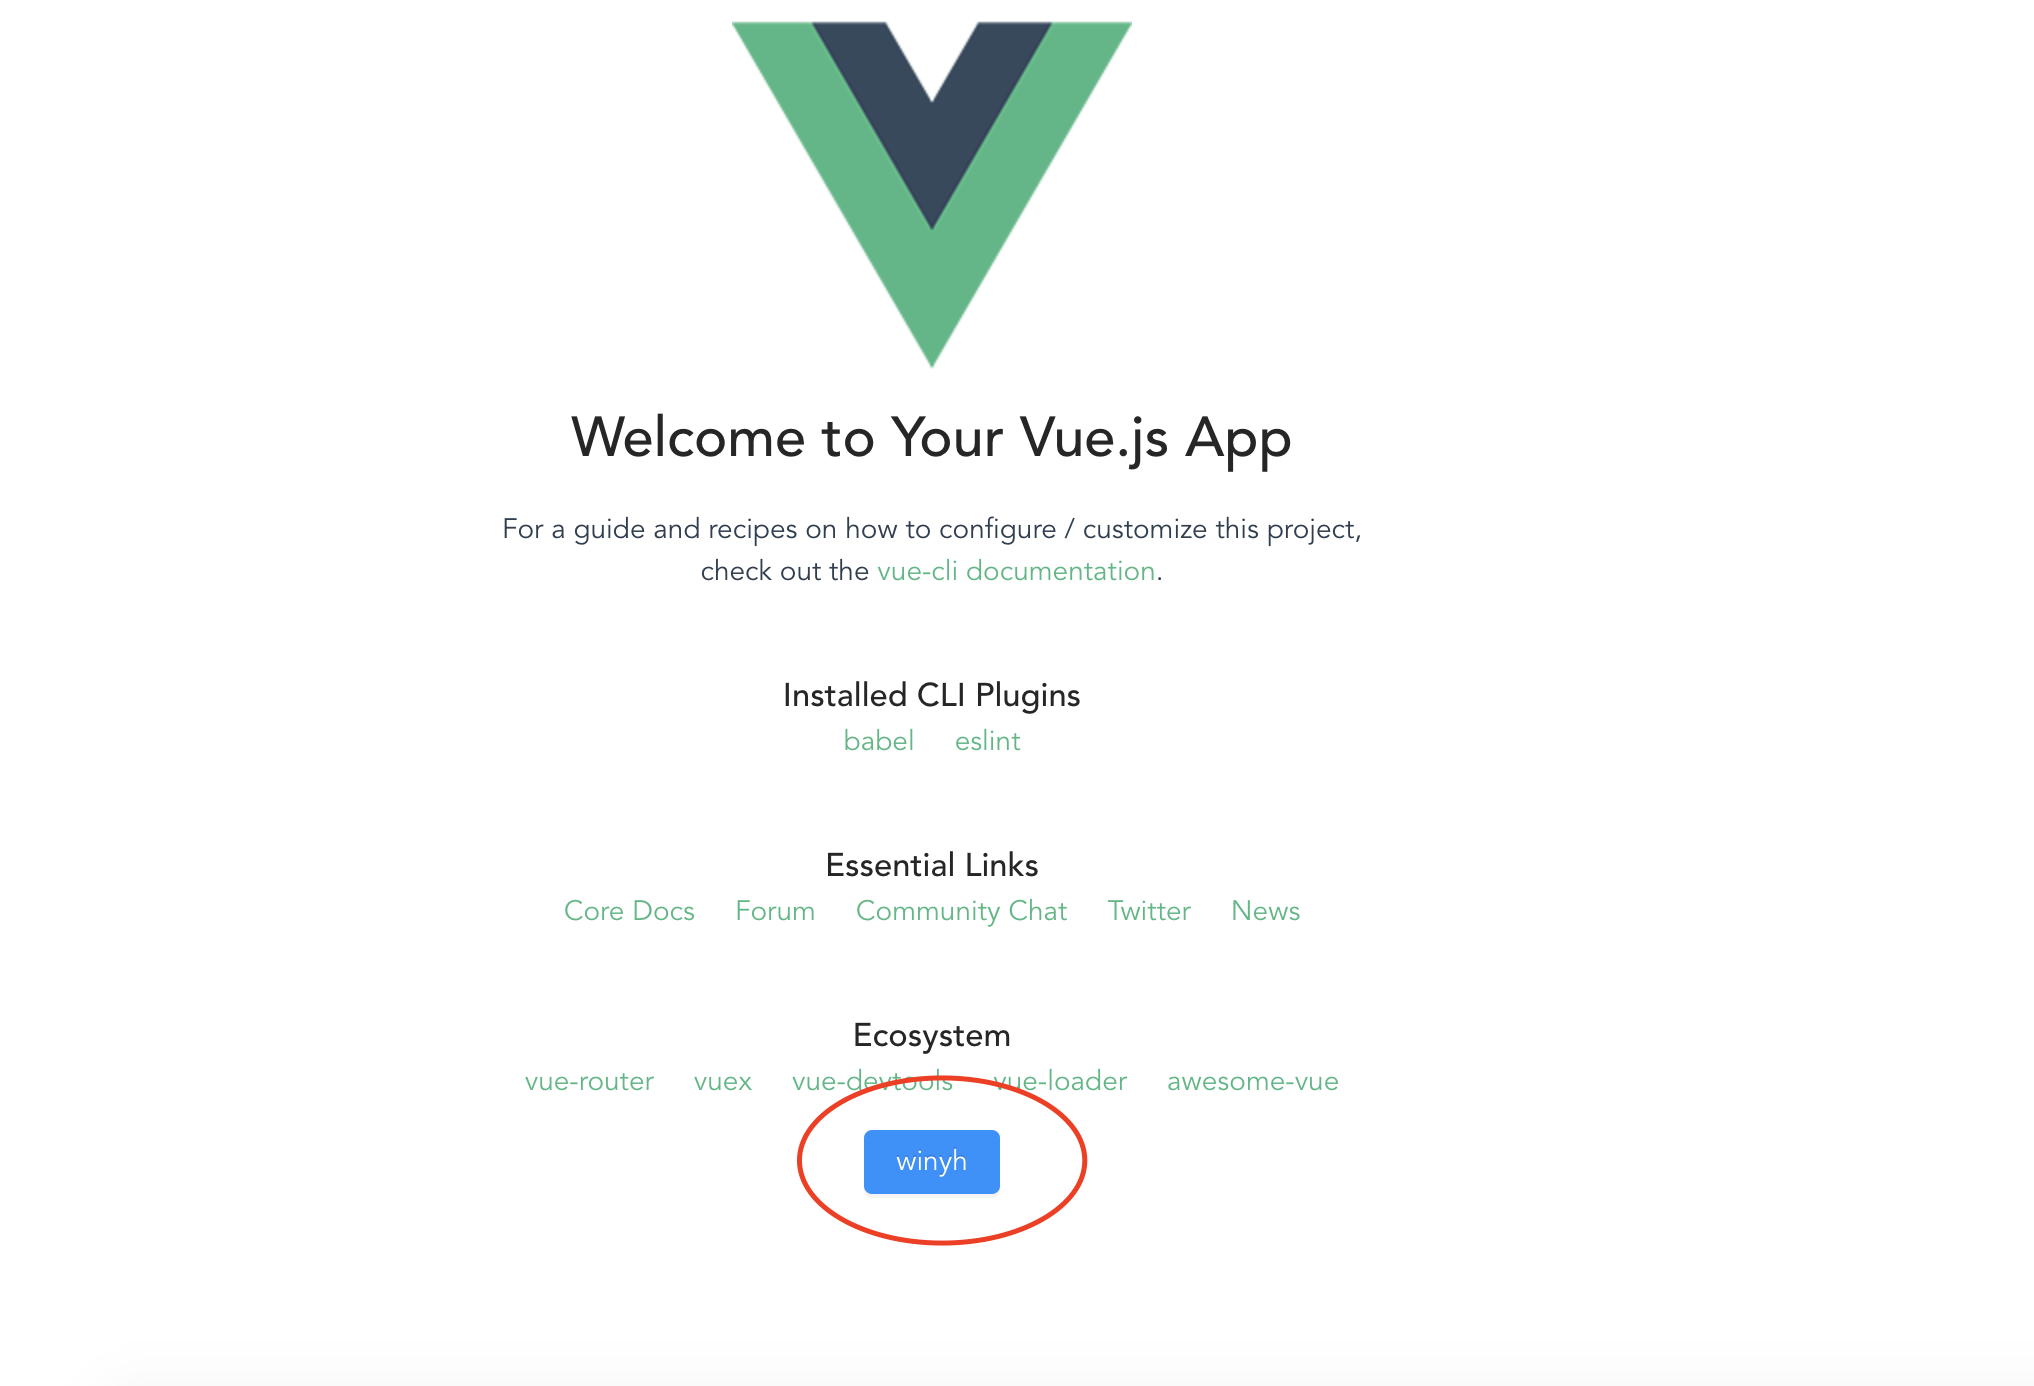
<a-button type="primary">winyh</a-button>
6.启动项目
npm run serve
预览效果
7.封装组件
新建 packages 目录,packages 目录下新建 index.js 文件对外集中抛出配置。
每个组件在 packages 目录下以 单个目录的形式存在,例如 row 组件结构。
row/src/main.vue 组件封装 (组件封装中必须设置 name 选项,为组件的对外唯一标签)
row/index.js 对外抛出当前封装的组件
// button/src/main.vue

<template>
    <div>
        <a-button>winyh<a-button>
    </div>
</template>

<script>
export default {
    name:"PButton",
}
</script>

<style lang="less">

</style>
// row/index.js

import PButton from './src/main.vue'

// 为组件提供 install 方法
PButton.install = function (Vue) {
    Vue.component(PButton.name, Row)
}

// 导出组件
export default PButton
// packages/index.js

import PRow from './row'

// 组件集合,用于遍历
const components = [
    PRow
]

// 定义 install 方法
const install = function (Vue) {
    if (install.installed) return
    // 遍历注册全局组件
    components.map(component =>
        Vue.component(component.name, component)
    )
}

// 判断是否是直接引入文件
if (typeof window !== 'undefined' && window.Vue) {
    install(window.Vue)
}

export default {
    install,// 导出的对象必须具备一个 install 方法
    ...components, // 组件列表
}
组件封装完毕
8.使用
import Vue from 'vue'
import { Button } from 'ant-design-vue'
import App from './App.vue'

// 导入组件库
import PButton from '../packages'
// 使用组件库
Vue.use(PButton)

[Button].forEach(item =>
  Vue.use(item)
);

/*
* 也可以这样使用
* Vue.component(Button.name, Button)
* Vue.component(Select.name, Select)
*/

Vue.config.productionTip = false

new Vue({
  render: h => h(App),
}).$mount('#app')
在上一步用使用 Vue.use() 全局注册后,即可在任意页面直接使用了,而不需另外引入
<template>
  <div id="app">
    <PButton>winyh</PButton>
  </div>
</template>

<script>
export default {
  name: 'app',
}
</script>

<style>
</style>
9.打包
vue-cli 库打包命令 官方介绍
vue-cli-service build --target lib --name myLib [entry]

这个入口可以是一个 .js 或一个 .vue 文件。如果没有指定入口,则会使用 src/App.vue,改为  packages/index.js
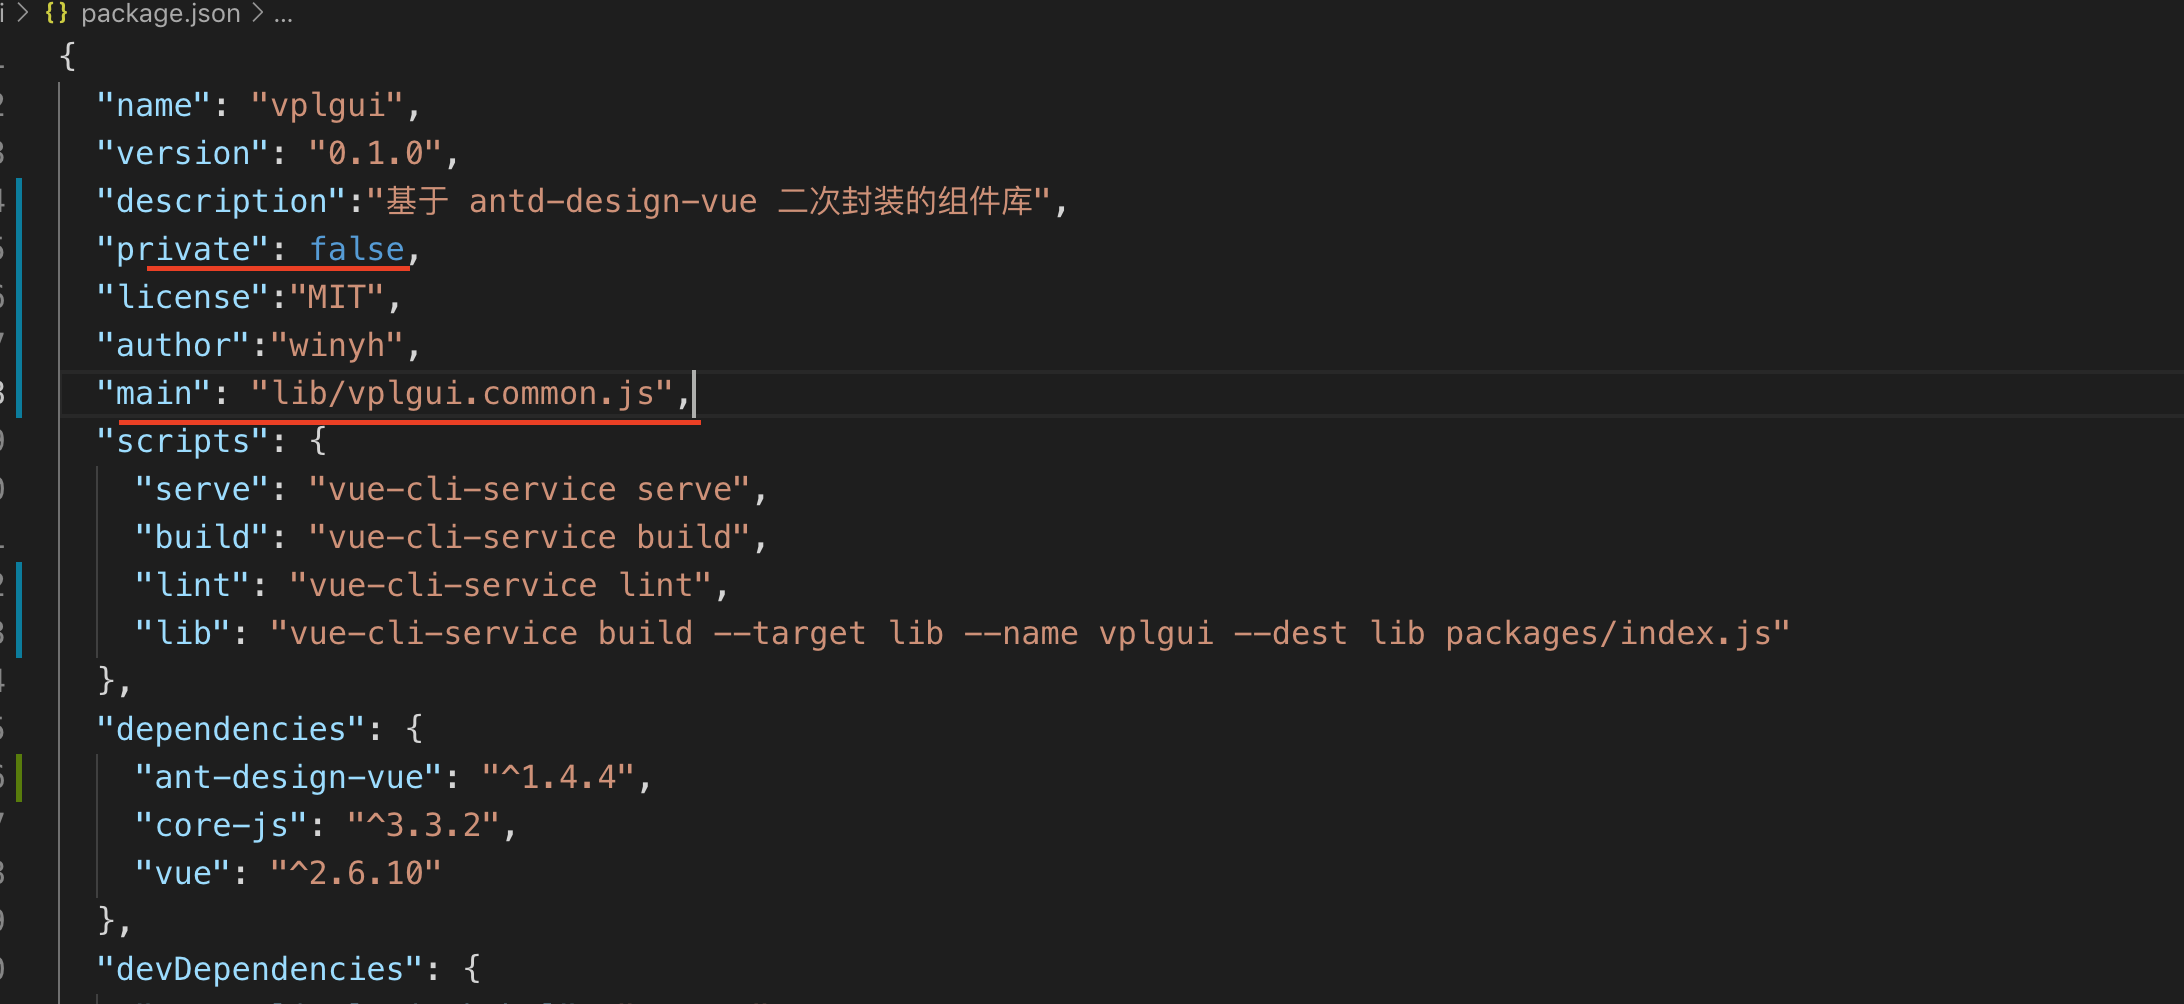
配置package.json
name: 包名,该名字是唯一的。可在 npm 官网搜索名字,如果存在则需换个名字。version: 版本号,每次发布至 npm 需要修改版本号,不能和历史版本号相同。description: 描述。main: "lib/vplgui.common.js", 入口文件,应指向编译后的包文件(路径要和上面构建出来的目录和文件名对应上,如果不配置,我们在其他项目中就不用import XX from '包名'来引用了)keyword:关键字,以空格分离希望用户最终搜索的词。("keywords": [ "vue", "maucash", "code", "maucash code" ])author:作者- files : 指定打包后包中存在的文件夹 ("files": [ "dist", "src" ])
private:是否私有,需要修改为 false 才能发布到 npm- homepage : "https://github.com/winyh/XXX", 项目主页
- repository: 指定代码所在的仓库地址"repository": { "type": "git", "url": "git@github.com:winyh/vplgui.git" }
license: 开源
添加 .npmignore
// 语法跟 .gitignore 一样

.DS_Store
node_modules/
packages/
public/
vue.config.js
babel.config.js

# Log files
npm-debug.log*
yarn-debug.log*
yarn-error.log*

# Editor directories and files
.idea
.vscode
添加 lib 脚本
{
"scripts": {
    "serve": "vue-cli-service serve",
    "build": "vue-cli-service build",
    "lint": "vue-cli-service lint",
  + "lib": "vue-cli-service build --target lib --name vplgui --dest lib packages/index.js"
  },
}
--target: 构建目标,默认为应用模式。这里修改为lib启用库模式。--dest: 输出目录,默认dist。这里我们改成lib。[entry]: 最后一个参数为入口文件,默认为src/App.vue。这里我们指定编译packages/组件库目录。- --name :组件库名称。
执行 npm run lib 打包编译。(会生成 lib 文件夹)
10.NPM中文文档
https://www.npmjs.cn/
10.发布
npm login

npm adduser

npm publish
注意事项:每次发布时都需要递进更新版本号!