1. 下载并显示图像
In [0]: #此处网址可以随意代换
!wget https://images2015.cnblogs.com/blog/140867/201601/140867-20160111162610585-190024450.png
In [0]: #io.imread调用上面saving to后面的文件名
import matplotlib
import numpy as np
import matplotlib.pyplot as plt

import skimage
from skimage import data
from skimage import io
colony = io.imread('140867-20160111162610585-190024450.png')
print(type(colony))
print(colony.shape)
In [0]: #即可显示图片
# Plot all channels of a real image
plt.subplot(121)
plt.imshow(colony[:,:,:])
plt.title('3-channel image')
plt.axis('off')

# Plot one channel only
plt.subplot(122)
plt.imshow(colony[:,:,0])
plt.title('1-channel image')
plt.axis('off');

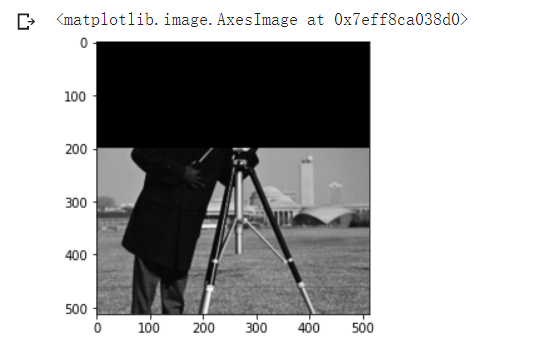
2. 读取并改变图像像素值
In [0]:
# Get the pixel value at row 10, column 10 on the 10th row and 20th column
camera = data.camera()
print(camera[10, 20])

# Set a region to black
camera[30:100, 10:100] = 0
plt.imshow(camera, 'gray')

# 将前200行设置为黑色
camera = data.camera()
camera[:200] = 0
plt.imshow(camera, 'gray')
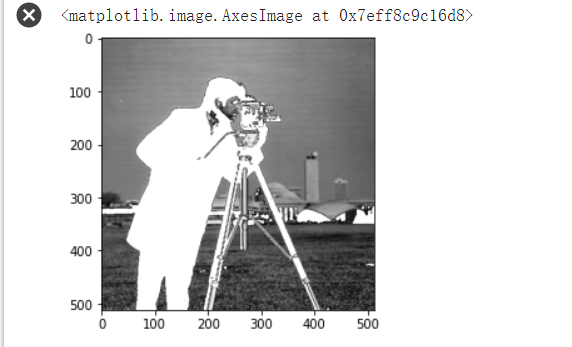
# 将较暗像素设置为白色(255)
camera = data.camera()
mask = camera < 80
camera[mask] = 255
plt.imshow(camera, 'gray')
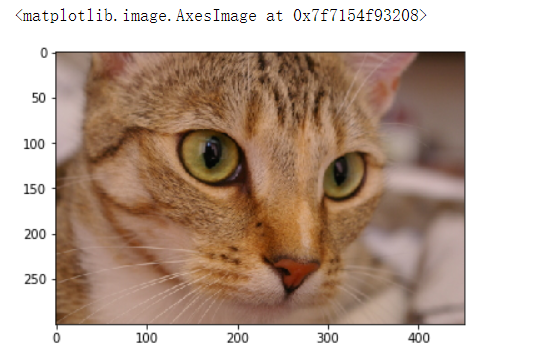
# 改变图片颜色
cat = data.chelsea()
plt.imshow(cat)
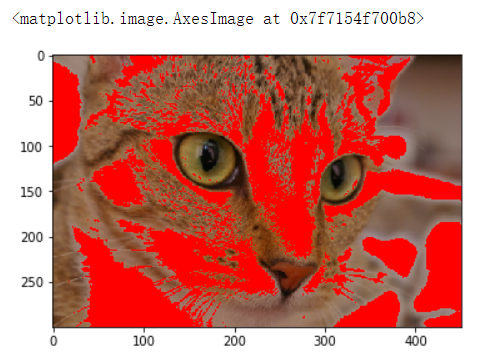
# 将较暗像素设置为红色(255)
red_cat = cat.copy() reddish = cat[:, :, 0] > 160 red_cat[reddish] = [255, 0, 0] plt.imshow(red_cat)
# Change RGB color to BGR for openCV
BGR_cat = cat[:, :, ::-1]
plt.imshow(BGR_cat)

3. 转换图像数据类型
- img_as_float Convert to 64-bit floating point.
- img_as_ubyte Convert to 8-bit uint.
- img_as_uint Convert to 16-bit uint.
- img_as_int Convert to 16-bit int.
from skimage import img_as_float, img_as_ubyte
float_cat = img_as_float(cat)
uint_cat = img_as_ubyte(float_cat)
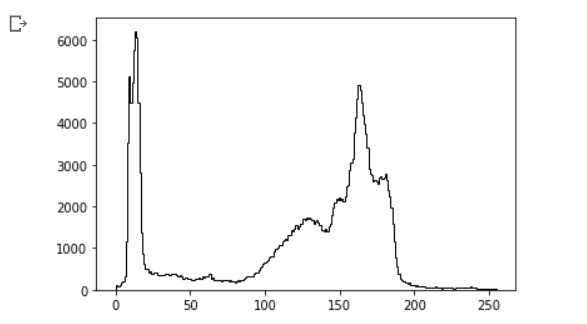
4. 显示图像直方图
img = data.camera()
plt.hist(img.ravel(), bins=256, histtype='step', color='black');
5. 图像分割
# 利用群体图像进行分割
colony = io.imread('yeast_colony_array.jpg')

# 绘制直方图
img = skimage.color.rgb2gray(colony)
plt.hist(img.ravel(), bins=256, histtype='step', color='black');

# Use thresholding
plt.imshow(img>0.5)
