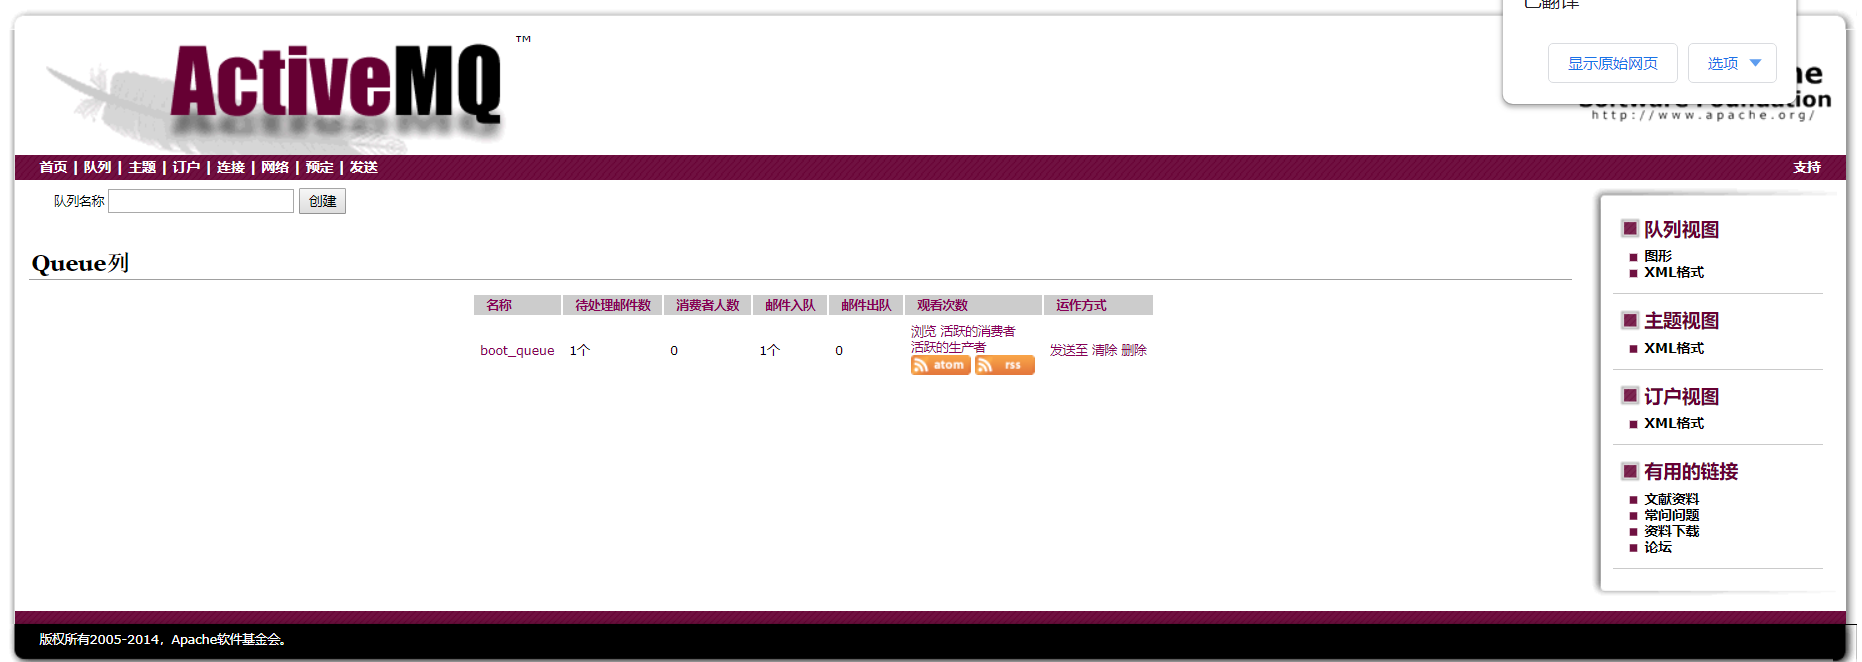
点对点(P2P)
结构
创建生产者和消费者两个springboot工程

导入依赖
    <dependency>
            <groupId>org.springframework.boot</groupId>
            <artifactId>spring-boot-starter-activemq</artifactId>
        </dependency>
生产者
步骤一:application.properties文件
spring.activemq.broker-url=tcp://127.0.0.1:61616
spring.activemq.user=admin
spring.activemq.password=admin
server.port=8080
步骤二:创建生产者类
package com.wn.p2p;

import org.apache.activemq.command.ActiveMQQueue;
import org.springframework.jms.core.JmsTemplate;
import org.springframework.stereotype.Component;

import javax.annotation.Resource;

@Component
public class P2Pprovider {
    //注入JMSTemplate
    @Resource
    private JmsTemplate jmsTemplate;

    public void setMessage(){
        //开启持久化操作
        jmsTemplate.setDeliveryMode(2);
        jmsTemplate.setExplicitQosEnabled(true);
        jmsTemplate.setDeliveryPersistent(true);
        //点对点创建队列
        ActiveMQQueue queue=new ActiveMQQueue("boot_queue");
        jmsTemplate.convertAndSend(queue,"消息123");
    }
}
步骤三:创建controller
package com.wn.p2p;

import org.springframework.web.bind.annotation.RequestMapping;
import org.springframework.web.bind.annotation.RestController;

import javax.annotation.Resource;

@RestController
public class P2PController {
    @Resource
    private P2Pprovider p2Pprovider;

    @RequestMapping("/setMessage")
    public String setMessage(){
        p2Pprovider.setMessage();
        return "success";
    }
}
步骤四:启动

这里可以试一下让ActiveMQ服务器宕机,然后让服务器重启,看看数据有没有做持久化的操作
结论:当服务器宕机,重启服务器之后,没有被消费的消息依然在数据库中,这样就做到了持久化操作。
消费者
步骤一:application.properties文件
spring.activemq.broker-url=tcp://127.0.0.1:61616
spring.activemq.user=admin
spring.activemq.password=admin
server.port=8081
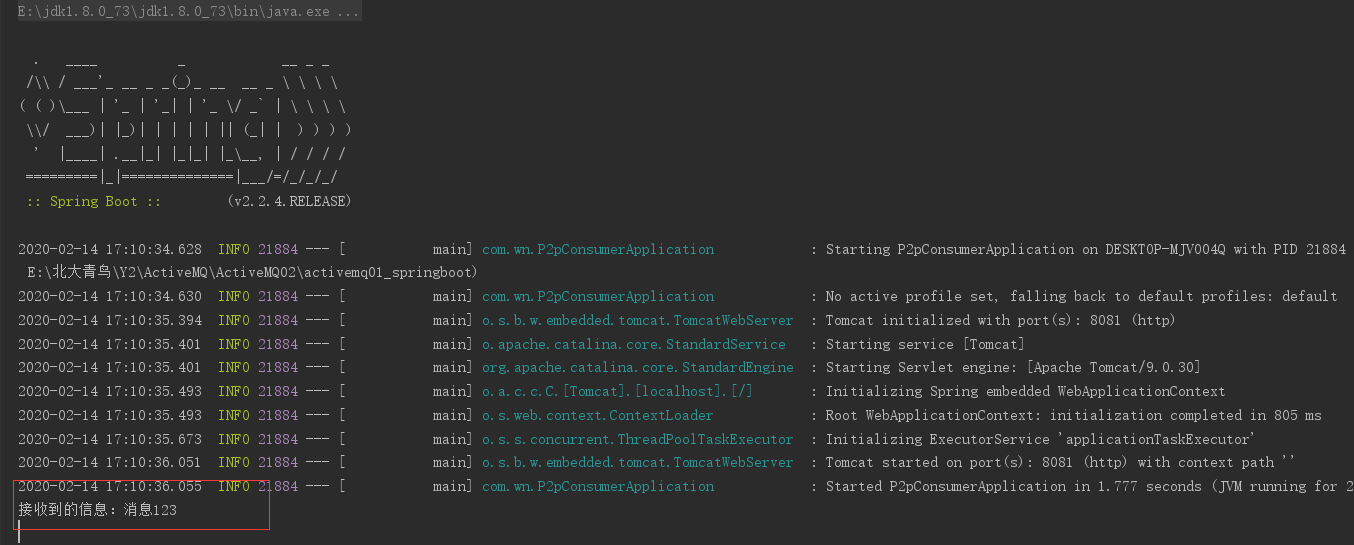
步骤二:创建消费者类
package com.wn;

import org.springframework.boot.SpringApplication;
import org.springframework.boot.autoconfigure.SpringBootApplication;
import org.springframework.jms.annotation.JmsListener;

import javax.jms.JMSException;
import javax.jms.TextMessage;

@SpringBootApplication
public class P2pConsumerApplication {

    public static void main(String[] args) {
        SpringApplication.run(P2pConsumerApplication.class, args);
    }

    @JmsListener(destination = "boot_queue")
    public void getMessage(TextMessage message) throws JMSException {
        System.out.println("接收到的信息:"+message.getText());
    }
}
步骤三:启动

结论:被消费的消息,将不会做持久化操作,就会从队列中清除。
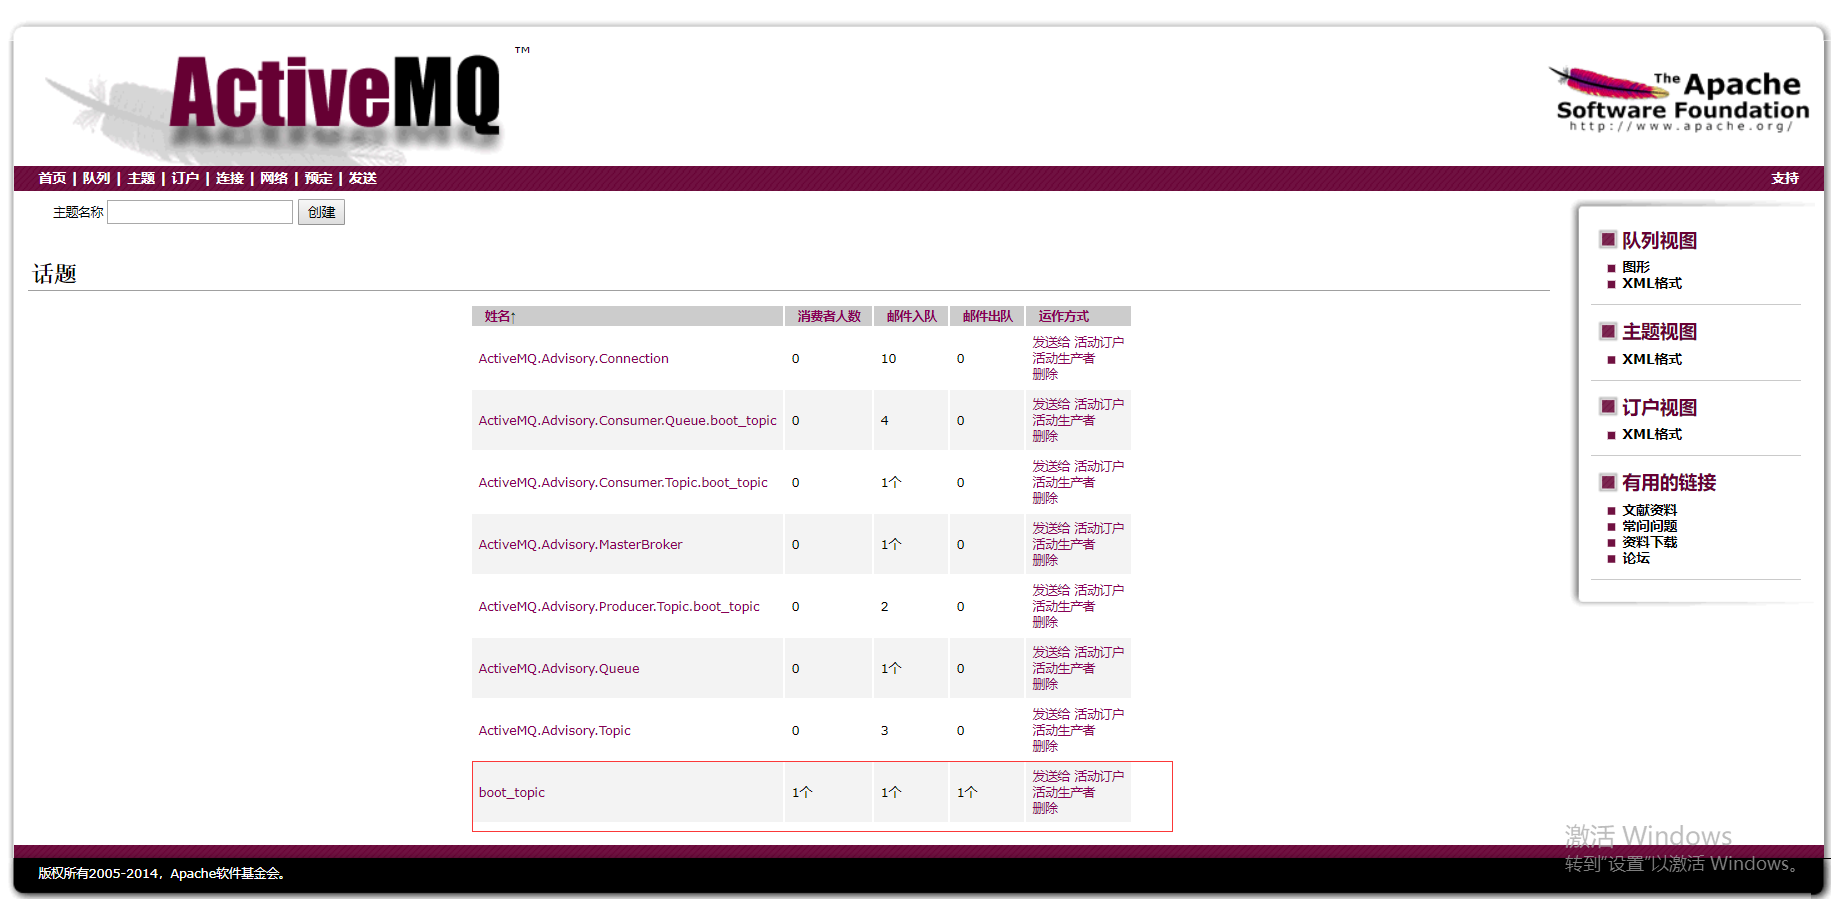
发布/订阅(Pub/Sub)
结构

导入依赖
    <dependency>
            <groupId>org.springframework.boot</groupId>
            <artifactId>spring-boot-starter-activemq</artifactId>
        </dependency>
消费者
步骤一:application.properties文件
spring.activemq.broker-url=tcp://127.0.0.1:61616
spring.activemq.user=admin
spring.activemq.password=admin
server.port=8082

#topic配置
#spring.jms.pub-sub-domain=true
步骤二:创建消费者类
package com.wn;

import org.springframework.boot.SpringApplication;
import org.springframework.boot.autoconfigure.SpringBootApplication;
import org.springframework.context.annotation.Bean;
import org.springframework.jms.annotation.JmsListener;
import org.springframework.jms.config.DefaultJmsListenerContainerFactory;
import org.springframework.jms.config.JmsListenerContainerFactory;
import org.springframework.jms.listener.DefaultMessageListenerContainer;

import javax.jms.ConnectionFactory;
import javax.jms.JMSException;
import javax.jms.TextMessage;

@SpringBootApplication
public class PubSubConsumerApplication {

    public static void main(String[] args) {
        SpringApplication.run(PubSubConsumerApplication.class, args);
    }

   //不进行数据消费的,但是数据可以持久化
    @Bean(name = "topicListenerFactory")
    public JmsListenerContainerFactory<DefaultMessageListenerContainer> topicListenerFactory(ConnectionFactory connectionFactory){
        DefaultJmsListenerContainerFactory factory = new DefaultJmsListenerContainerFactory();

        factory.setSubscriptionDurable(true);// Set this to "true" to register a durable subscription,

        factory.setClientId("A");

        factory.setConnectionFactory(connectionFactory);
        return factory;

    }

    //消费者消费消息
    @JmsListener(destination = "boot_topic",containerFactory = "topicListenerFactory")
    public void getMessage(TextMessage message) throws JMSException {
        System.out.println("接收到消息:"+message.getText());
    }
}
生产者
步骤一:applicationContext.properties文件
spring.activemq.broker-url=tcp://127.0.0.1:61616
spring.activemq.user=admin
spring.activemq.password=admin
server.port=8083
spring.jms.pub-sub-domain=true
步骤二:创建生产者类
package com.wn.pub_sub;

import org.apache.activemq.command.ActiveMQTopic;
import org.springframework.jms.core.JmsTemplate;
import org.springframework.stereotype.Component;

import javax.annotation.Resource;

@Component
public class Pub_Sub_Provider {

    @Resource
    private JmsTemplate jmsTemplate;

    public void setMessage(){
        //创建主题
        ActiveMQTopic topic=new ActiveMQTopic("boot_topic");;
        //发送消息
        jmsTemplate.convertAndSend(topic,"消息456");
    }

}
步骤三:创建controller
package com.wn.pub_sub;

import org.springframework.web.bind.annotation.RequestMapping;
import org.springframework.web.bind.annotation.RestController;

import javax.annotation.Resource;

@RestController
public class Pub_Sub_Controller {
    @Resource
    private Pub_Sub_Provider provider;

    @RequestMapping("/setMessage")
    public String setMessage(){
        provider.setMessage();
        return "success";
    }
}
步骤四:启动