系统环境
[root@web01 ~]# cat /etc/redhat-release
CentOS Linux release 7.7.1908 (Core)
[root@web01 ~]# uname -r
3.10.0-1062.18.1.el7.x86_64
LNMP服务用
一、Nginx的安装
1.1.1 下载编译安装Nginx
1)下载Nginx到到本我服务器
[root@web01 ~]# mkdir -p /server/tools/
[root@web01 ~]# cd /server/tools/
[root@web01 /server/tools]# wget http://nginx.org/download/nginx-1.16.0.tar.gz
--2020-05-09 21:06:13--  http://nginx.org/download/nginx-1.16.0.tar.gz
Resolving nginx.org (nginx.org)... 95.211.80.227, 62.210.92.35, 2001:1af8:4060:a004:21::e3
Connecting to nginx.org (nginx.org)|95.211.80.227|:80... connected.
HTTP request sent, awaiting response... 200 OK
Length: 1032345 (1008K) [application/octet-stream]
Saving to: ‘nginx-1.16.0.tar.gz’

100%[===========================================================================================>] 1,032,345   7.08KB/s   in 1m 54s

2020-05-09 21:08:08 (8.85 KB/s) - ‘nginx-1.16.0.tar.gz’ saved [1032345/1032345]

[root@web01 /server/tools]# ls
nginx-1.16.0.tar.gz
2)yum下载依赖环境
[root@web01 /server/tools]# yum install pcre pcre-devel openssl openssl-devel make gcc gcc-c++ -y
3)创建www用户
[root@web01 /server/tools]# useradd -M -s /sbin/nologin www
[root@web01 /server/tools]# id www
uid=888(www) gid=888(www) groups=888(www)
4)解压Nginx并编译安装
[root@web01 /server/tools]# tar zxf nginx-1.16.0.tar.gz
[root@web01 /server/tools]# cd nginx-1.16.0/
[root@web01 /server/tools/nginx-1.16.0]# ./configure --help #编译帮助命令
[root@web01 /server/tools/nginx-1.16.0]# ./configure --prefix=/application/nginx-1.16.0 --user=www --group=www --with-http_ssl_module --with-http_stub_status_module --with-pcre
[root@web01 /server/tools/nginx-1.16.0]# make && make install
5)做个软连接去掉版本号
[root@web01 /server/tools/nginx-1.16.0]# ln -s /application/nginx-1.16.0/ /application/nginx
[root@web01 /server/tools/nginx-1.16.0]# ls /application/nginx
conf  html  logs  sbin
[root@web01 /server/tools/nginx-1.16.0]# ls -l /application/nginx
lrwxrwxrwx 1 root root 26 May  9 21:29 /application/nginx -> /application/nginx-1.16.0/
- 查看你版本和编译的参数
[root@web01 /server/tools/nginx-1.16.0]# cd /application/nginx
[root@web01 /application/nginx]# sbin/nginx -V
nginx version: nginx/1.16.0
built by gcc 4.8.5 20150623 (Red Hat 4.8.5-39) (GCC)
built with OpenSSL 1.0.2k-fips  26 Jan 2017
TLS SNI support enabled
configure arguments: --prefix=/application/nginx-1.16.0 --user=www --group=www --with-http_ssl_module --with-http_stub_status_module --with-pcre
- 启动Nginx服务
[root@web01 /application/nginx]# sbin/nginx
[root@web01 /application/nginx]# ps -ef|grep nginx
root      27669      1  0 21:33 ?        00:00:00 nginx: master process sbin/nginx
www       27670  27669  0 21:33 ?        00:00:00 nginx: worker process
root      27672  24853  0 21:33 pts/0    00:00:00 grep --color=auto nginx
[root@web01 /application/nginx]# ss -luntp|grep 80
tcp    LISTEN     0      511       *:80                    *:*                   users:(("nginx",pid=27670,fd=6),("nginx",pid=27669,fd=6))
[root@web01 /application/nginx]# lsof -i :80
COMMAND   PID USER   FD   TYPE DEVICE SIZE/OFF NODE NAME
nginx   27669 root    6u  IPv4 210139      0t0  TCP *:http (LISTEN)
nginx   27670  www    6u  IPv4 210139      0t0  TCP *:http (LISTEN)
- 访问Nginx网页
[root@web01 /application/nginx]# curl 172.16.1.7
<!DOCTYPE html>
<html>
<head>
<title>Welcome to nginx!</title>
<style>
    body {
         35em;
        margin: 0 auto;
        font-family: Tahoma, Verdana, Arial, sans-serif;
    }
</style>
</head>
<body>
<h1>Welcome to nginx!</h1>
<p>If you see this page, the nginx web server is successfully installed and
working. Further configuration is required.</p>

<p>For online documentation and support please refer to
<a href="http://nginx.org/">nginx.org</a>.<br/>
Commercial support is available at
<a href="http://nginx.com/">nginx.com</a>.</p>

<p><em>Thank you for using nginx.</em></p>
</body>
</html>
#当然你也可以在浏览器上访问:http:ip地址
9)Nginx的关闭和重启
#关闭
[root@web01 /application/nginx]# sbin/nginx -s stop
#重启
[root@web01 /application/nginx]# sbin/nginx -s reload
10) nginx的配置文件
[root@web01 /application/nginx]# tree
.
├── client_body_temp
├── conf
│   ├── fastcgi.conf
│   ├── fastcgi.conf.default
│   ├── fastcgi_params
│   ├── fastcgi_params.default
│   ├── koi-utf
│   ├── koi-win
│   ├── mime.types
│   ├── mime.types.default
│   ├── nginx.conf
│   ├── nginx.conf.default
│   ├── scgi_params
│   ├── scgi_params.default
│   ├── uwsgi_params
│   ├── uwsgi_params.default
│   └── win-utf
├── fastcgi_temp
├── html
│   ├── 50x.html
│   └── index.html
├── logs
│   ├── access.log
│   ├── error.log
│   └── nginx.pid
├── nginx-1.16.0 -> /application/nginx-1.16.0/
├── proxy_temp
├── sbin
│   ├── nginx
│   └── nginx.old
├── scgi_temp
└── uwsgi_temp
二、Mysql数据库的安装
1.创建用户
[root@web01 ~]# useradd -M -s /sbin/nologin mysql
[root@web01 ~]# id mysql
uid=1001(mysql) gid=1001(mysql) groups=1001(mysql)
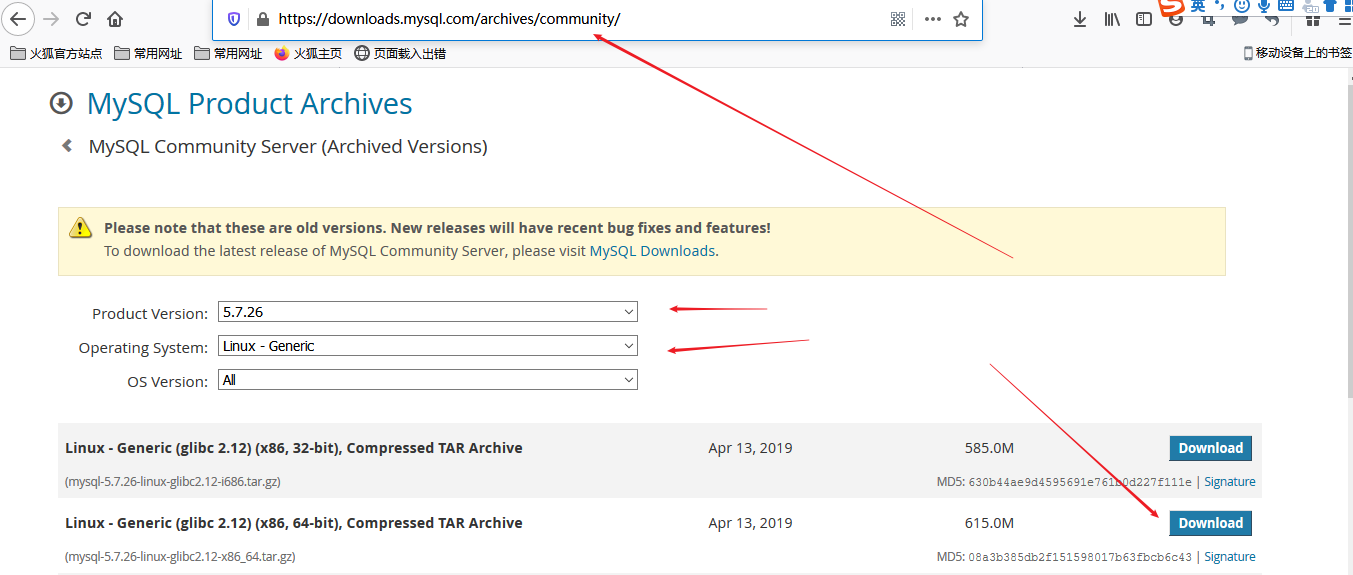
2.上传mysql安装包
下载地址:https://downloads.mysql.com/archives/community/
[root@web01 /server/tools]# rz -E
rz waiting to receive.
[root@web01 /server/tools]# ll
total 630768
-rw-r--r-- 1 root  root  644869837 Oct 28  2019 mysql-5.7.26-linux-glibc2.12-x86_64.tar.gz
drwxr-xr-x 9 mysql mysql       186 May  9 21:25 nginx-1.16.0
-rw-r--r-- 1 root  root    1032345 Apr 23  2019 nginx-1.16.0.tar.gz
3.解压安装
[root@web01 /server/tools]# tar zxf mysql-5.7.26-linux-glibc2.12-x86_64.tar.gz
[root@web01 /server/tools]# ll
total 630768
drwxr-xr-x 9 root  root        129 May 11 22:22 mysql-5.7.26-linux-glibc2.12-x86_64
-rw-r--r-- 1 root  root  644869837 Oct 28  2019 mysql-5.7.26-linux-glibc2.12-x86_64.tar.gz
drwxr-xr-x 9 mysql mysql       186 May  9 21:25 nginx-1.16.0
-rw-r--r-- 1 root  root    1032345 Apr 23  2019 nginx-1.16.0.tar.gz
#因为mysql是二进制安装,所以解压就可以用
4.移动到第三方软件目录下
[root@web01 /server/tools]# mv mysql-5.7.26-linux-glibc2.12-x86_64 /application/mysql-5.7.26
[root@web01 /server/tools]# ll /application/mysql-5.7.26
total 36
drwxr-xr-x  2 root root   4096 May 11 22:22 bin
-rw-r--r--  1 7161 31415 17987 Apr 13  2019 COPYING
drwxr-xr-x  2 root root     55 May 11 22:22 docs
drwxr-xr-x  3 root root   4096 May 11 22:21 include
drwxr-xr-x  5 root root    230 May 11 22:22 lib
drwxr-xr-x  4 root root     30 May 11 22:21 man
-rw-r--r--  1 7161 31415  2478 Apr 13  2019 README
drwxr-xr-x 28 root root   4096 May 11 22:22 share
drwxr-xr-x  2 root root     90 May 11 22:22 support-files
- 做个软链接
[root@web01 /server/tools]# ln -s /application/mysql-5.7.26 /application/mysql
[root@web01 /server/tools]# ls -ls /application/mysql
0 lrwxrwxrwx 1 root root 25 May 11 22:33 /application/mysql -> /application/mysql-5.7.26
6.创建件配置文件
[root@web01 /server/tools]# vim /etc/my.cnf
[root@web01 /server/tools]# cat /etc/my.cnf
[mysqld]
basedir = /application/mysql/
datadir = /application/mysql/data
socket = /tmp/mysql.sock
server_id = 1
port = 3306
log_error = /application/mysql/data/mysql.err
pid-file = /application/mysql/mysql.pid

[mysql]
socket = /tmp/mysql.sock
7.创建数据存放目录data
[root@web01 /server/tools]# mkdir /application/mysql/data
[root@web01 /server/tools]# chown mysql.mysql /application/mysql
8.初始化数据库
[root@web01 /application/mysql]# /application/mysql/bin/mysqld --initialize-insecure --user=mysql --group=mysql  --basedir=/application/mysql/ --datadir=/application/mysql/data/
#注意不要执行第二遍。否则会报错
- 报错
[root@web01 /application/mysql]# /application/mysql/bin/mysqld --initialize-insecure --user=mysql  --basedir=/application/mysql/ --datadir=/application/mysql/data/
2020-05-11T15:16:51.309166Z 0 [Warning] TIMESTAMP with implicit DEFAULT value is deprecated. Please use --explicit_defaults_for_timestamp server option (see documentation for more details).
2020-05-11T15:16:51.311402Z 0 [ERROR] --initialize specified but the data directory has files in it. Aborting.
2020-05-11T15:16:51.311793Z 0 [ERROR] Aborting
#解决方法
[root@web01 /application/mysql]# rm -rf data/*
再初始化一遍
10 用system来管理mysql
[root@web01 /application/mysql]# cp /usr/lib/systemd/system/sshd.service /usr/lib/systemd/system/mysqld.service
[root@web01 /application/mysql/data]# cat /usr/lib/systemd/system/mysqld.service
[Unit]
Description=MYSQL server
Documentation=https://dev.mysql.com/doc/refman/
After=network.target
After=syslog.target


[Service]
User=mysql
Group=mysql
EnvironmentFile=/etc/my.cnf
ExecStart=/application/mysql/bin/mysqld --defaults-file=/etc/my.cnf
ExecReload=/bin/kill -HUP `cat /application/mysql/mysql.pid`
limitNOFILE=5000

[Install]
WantedBy=multi-user.target
11.启动成功
[root@web01 /application/mysql]# systemctl start mysqld
[root@web01 /application/mysql]# systemctl status mysqld
● mysqld.service - MYSQL server
   Loaded: loaded (/usr/lib/systemd/system/mysqld.service; disabled; vendor preset: disabled)
   Active: active (running) since Tue 2020-05-12 00:36:14 CST; 12s ago
     Docs: https://dev.mysql.com/doc/refman/
 Main PID: 2103 (mysqld)
   CGroup: /system.slice/mysqld.service
           └─2103 /application/mysql/bin/mysqld --defaults-file=/etc/my.cnf

May 12 00:36:14 web01 systemd[1]: [/usr/lib/systemd/system/mysqld.service:14] Unknown lvalue 'limitNOFILE' in section 'Service'
May 12 00:36:14 web01 systemd[1]: Started MYSQL server.
[root@web01 /application/mysql]# systemctl enable mysqld
Created symlink from /etc/systemd/system/multi-user.target.wants/mysqld.service to /usr/lib/systemd/system/mysqld.service.
- 检查mysql是否启动成功
[root@web01 /application/mysql]# netstat -luntp|grep mysqld
tcp6       0      0 :::3306                 :::*                    LISTEN      2608/mysqld
- 配置环境变量
[root@web01 /application/mysql]# echo "export PATH=/application/mysql/bin:$PATH" >>/etc/profile
[root@web01 /application/mysql]# tail -1 /etc/profile
export PATH=/application/mysql/bin:/application/nginx/sbin:/usr/local/sbin:/usr/local/bin:/usr/sbin:/usr/bin:/root/bin:/root/bin
[root@web01 /application/mysql]# . /etc/profile
- 进入mysql并利用mysqladmin设置用户和密码
[root@web01 ~]# mysql
Welcome to the MySQL monitor.  Commands end with ; or g.
Your MySQL connection id is 3
Server version: 5.7.26 MySQL Community Server (GPL)

Copyright (c) 2000, 2019, Oracle and/or its affiliates. All rights reserved.

Oracle is a registered trademark of Oracle Corporation and/or its
affiliates. Other names may be trademarks of their respective
owners.

Type 'help;' or 'h' for help. Type 'c' to clear the current input statement.

mysql>exit
Bye

#退出设置用户和密码
[root@web01 ~]# mysqladmin -u root password '密码'
mysqladmin: [Warning] Using a password on the command line interface can be insecure.
Warning: Since password will be sent to server in plain text, use ssl connection to ensure password safety.
- 再次登录就需要指定用户和密码了
[root@web01 ~]# mysql -uroot -p
Enter password:
Welcome to the MySQL monitor.  Commands end with ; or g.
Your MySQL connection id is 9
Server version: 5.7.26 MySQL Community Server (GPL)

Copyright (c) 2000, 2019, Oracle and/or its affiliates. All rights reserved.

Oracle is a registered trademark of Oracle Corporation and/or its
affiliates. Other names may be trademarks of their respective
owners.

Type 'help;' or 'h' for help. Type 'c' to clear the current input statement.

mysql>
三、PHP的下载安装
3.1.1 PHP的的安装
1.环境依赖安装
[root@web01 ~]# yum install zlib-devel libxml2-devel libjpeg-devel libjpeg-turbo-devel libiconv-devel freetype-devel libpng-devel gd-devel libcurl-devel libxslt-devel libxslt-devel mcrypt mhash re2c bison libmcrypt-devel -y
Loaded plugins: fastestmirror
Loading mirror speeds from cached hostfile
 * epel: mirror2.totbb.net
Package zlib-devel-1.2.7-18.el7.x86_64 already installed and latest version
No package libiconv-devel available.
- 下载字符编码的库文件
下载地址:http://www.gnu.org/software/libiconv/

旧版本:https://ftp.gnu.org/gnu/libiconv/
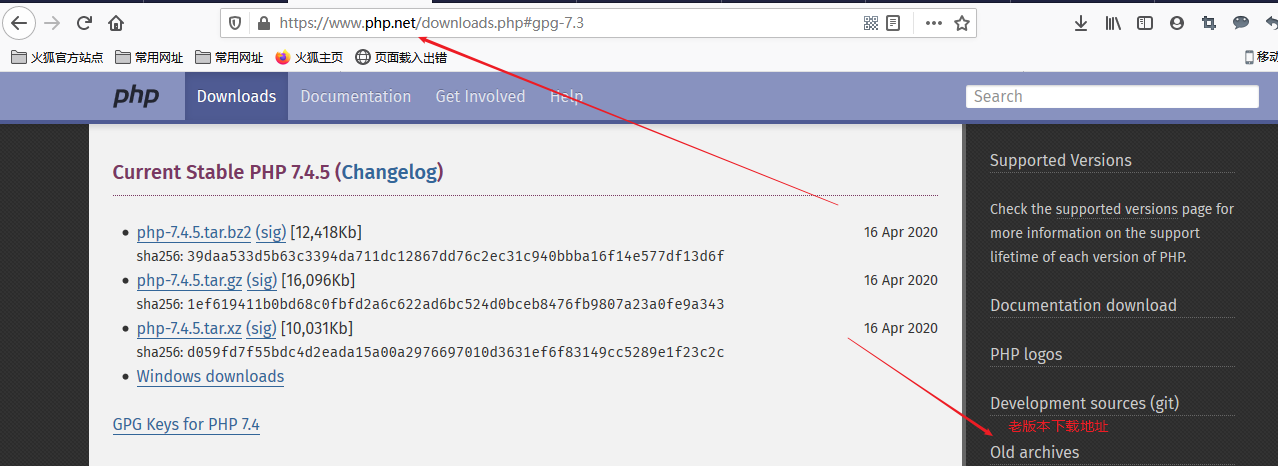
3.PHP下载
官网:https:www.php.net
4.编译安装字符编码库文件
[root@web01 ~]# cd /server/tools/
[root@web01 /server/tools]# ls
libiconv-1.16.tar.gz  mysql-5.7.26-linux-glibc2.12-x86_64.tar.gz  nginx-1.16.0  nginx-1.16.0.tar.gz  php-7.3.5.tar.gz
[root@web01 /server/tools]# tar zxf libiconv-1.16.tar.gz
[root@web01 /server/tools]# cd libiconv-1.16/
[root@web01 /server/tools/libiconv-1.16]# ./configure  --prefix=/application/libiconv
[root@web01 /server/tools/libiconv-1.16]# make && make install
5.编译安装PHP
[root@web01 /server/tools]# tar zxf php-7.3.5.tar.gz
[root@web01 /server/tools]# cd php-7.3.5/
[root@web01 /server/tools/php-7.3.5]# ./configure
--prefix=/application/php-7.3.5
--enable-mysqlnd
--with-mysqli=mysqlnd
--with-pdo-mysql=mysqlnd
--with-iconv-dir=/application/libiconv
--enable-xml
--disable-rpath
--enable-bcmath
--enable-shmop
--enable-sysvsem
--enable-inline-optimization
--with-curl
--enable-mbregex
--enable-fpm
--enable-mbstring
--with-gd
--with-openssl
--with-mhash
--enable-pcntl
--enable-sockets
--with-xmlrpc
--enable-soap
--enable-short-tags
--enable-static
--with-xsl
--with-fpm-user=www
--with-fpm-group=www
--enable-ftp
--enable-opcache=no
--with-freetype-dir
--with-jpeg-dir
--with-png-dir
--with-zlib
--with-libxml-dir=/usr
--enable-xml
--disable-rpath
--enable-bcmath
--enable-shmop
--enable-sysvsem
--enable-inline-optimization
--with-curl
--enable-mbregex
--enable-fpm
--enable-mbstring
--with-gd
--with-openssl
--with-mhash
--enable-pcntl
--enable-sockets
--with-xmlrpc
--enable-soap
--enable-short-tags
--enable-static
--with-xsl
--with-fpm-user=www
--with-fpm-group=www
--enable-ftp
--enable-opcache=no
[root@web01 /server/tools/php-7.3.5]# make && make install
6.创建软连接
[root@web01 /server/tools/php-7.3.5]# ln -s /application/php-7.3.5/  /application/php
[root@web01 /server/tools/php-7.3.5]# ls -ld /application/php
lrwxrwxrwx 1 root root 23 May 14 00:03 /application/php -> /application/php-7.3.5/
7.配置php.ini(PHP解析器配置文件)
#这个配置文件在PHP的解压源码包里面
[root@web01 /application/php/etc]# ll /server/tools/php-7.3.5/php.ini*
-rw-r--r-- 1 root root 71648 Apr 30  2019 /server/tools/php-7.3.5/php.ini-development   #开发环境
-rw-r--r-- 1 root root 71920 Apr 30  2019 /server/tools/php-7.3.5/php.ini-production    #生产环境
[root@web01 /application/php/etc]# cp  /server/tools/php-7.3.5/php.ini-production /application/php/lib/php.ini
[root@web01 /application/php/etc]# ll /application/php/lib/php.ini
-rw-r--r-- 1 root root 71920 May 14 00:43 /application/php/lib/php.ini
- 配置PHP FPM
[root@web01 /application/php/etc]# ll
total 12
-rw-r--r-- 1 root root 1321 May 13 23:58 pear.conf
-rw-r--r-- 1 root root 5417 May 13 23:58 php-fpm.conf.default
drwxr-xr-x 2 root root   30 May 13 23:58 php-fpm.d
[root@web01 /application/php/etc]# cp php-fpm.conf.default php-fpm.conf
[root@web01 /application/php/etc]# ll
total 20
-rw-r--r-- 1 root root 1321 May 13 23:58 pear.conf
-rw-r--r-- 1 root root 5417 May 14 00:49 php-fpm.conf
-rw-r--r-- 1 root root 5417 May 13 23:58 php-fpm.conf.default
drwxr-xr-x 2 root root   30 May 13 23:58 php-fpm.d
[root@web01 /application/php/etc]# cd php-fpm.d/
[root@web01 /application/php/etc/php-fpm.d]# ll
total 20
-rw-r--r-- 1 root root 19240 May 13 23:58 www.conf.default
[root@web01 /application/php/etc/php-fpm.d]# cp www.conf.default www.conf
[root@web01 /application/php/etc/php-fpm.d]# ll
total 40
-rw-r--r-- 1 root root 19240 May 14 00:50 www.conf
-rw-r--r-- 1 root root 19240 May 13 23:58 www.conf.default
9.启动PHP
[root@web01 /application/php/etc/php-fpm.d]# /application/php/sbin/php-fpm
[root@web01 /application/php/etc/php-fpm.d]# netstat -luntp|grep php
tcp        0      0 127.0.0.1:9000          0.0.0.0:*               LISTEN      8943/php-fpm: maste   #9000端口启动成功
10.配置开机自启动
[root@web01 /application/php/etc/php-fpm.d]# echo "/application/php/sbin/php-fpm" >>/etc/rc.local
[root@web01 /application/php/etc/php-fpm.d]# chmod +x /etc/rc.d/rc.local
11.配置nginx转发PHP请求
[root@web01 /application/php/etc/php-fpm.d]# cat /application/nginx/conf/extra/03_blog.conf
      server {

     listen       8;
     server_name  blog.etiantian.org;

     location / {
     root      html/blog;
     index    index.html index.htm;

       }
        location ~ .php$ {
            root           html/blog;
            fastcgi_pass   127.0.0.1:9000;
            fastcgi_index  index.php;
            fastcgi_param  SCRIPT_FILENAME  $document_root$fastcgi_script_name; #这里要修改一下将/scripts修改为$document_root
            include        fastcgi_params;
        }

      error_page   500 502 503 504  /50x.html;
        location = /50x.html {
            root   html;
        }
     access_log  logs/access_blog.log  main;
    }
#因为我的环境的是每个虚拟主机是一个独立的配置文件,所以配置需要看个人环境,不要被误导。
12.检查语法并启动nginx
[root@web01 /application/php/etc/php-fpm.d]# nginx -t
nginx: the configuration file /application/nginx-1.16.0/conf/nginx.conf syntax is ok
nginx: configuration file /application/nginx-1.16.0/conf/nginx.conf test is successful
[root@web01 /application/php/etc/php-fpm.d]# nginx
[root@web01 /application/php/etc/php-fpm.d]# netstat -luntp|grep nginx
tcp        0      0 0.0.0.0:80              0.0.0.0:*               LISTEN      9120/nginx: master
13.编写测试文件检查是否成功
[root@web01 /application/php/etc/php-fpm.d]# vim /application/nginx/html/blog/index.php
[root@web01 /application/php/etc/php-fpm.d]# cat /application/nginx/html/blog/index.php
<?php
phpinfo();
?>
14.出现如下图片代表部署成功
