1.动态生成报告
2.夹具作用域
3.参数化
4.用例筛选
5.失败重跑
pytest的run文件,生成动态的测试报告

pytest夹具的作用域
共享 fixture
1,将所有的夹具全部放到 一个固定的模块文件, conftest.py
2, 所有导入夹具的操作就可以省略, pytest运行时会自动在 conftest.py 中查找。


非常灵活的作用域管理
- function
- class
- module
- package
- session
autouse 自动使用,每个测试用例都会使用,无需加装饰器
import pytest


@pytest.fixture()
def fixt():
    print("每次测试都会执行的")
    # yield 之前就是 setUp 前置条件
    yield
    # 这个是 tearDown
    # yield 之后就是 后置清理
    print("每个测试用例之后后后都执行")


@pytest.fixture(scope='function', autouse=True)
def function_fixture():
    print("function")
    yield
    print("function finished")

@pytest.fixture(scope='class', autouse=True)
def class_fixture():
    print("class")
    yield
    print("class finished")


@pytest.fixture(scope='module', autouse=True)
def module_fixture():
    print("module")
    yield
    print("module finished")
pytest的参数化
## pytest 参数化和 fixture
和 unittest 是不兼容的,使用了pytest的参数化,
就不能继承unittest。

实战当中会有两种模式:
1,unittest 编写用例。  使用unittest ddt 和 夹具 setUp
2, pytest 运行。

模式2:
全部用 pytest, 完全舍弃 unittest
import pytest

data = [1,2,3]

class TestParams:
    @pytest.mark.parametrize('info', data)
    def test_params(self, info):
        print(info)
        assert 1 + 1 == 2
pytest的用例筛选
## pytest 筛选
步骤0: 提前把标记名注册到 pytest
步骤1: 在测试类或者方法上做一个标签,标记,
步骤2: 在运行用例时,通过标记执行。

支持  and or  not 逻辑运算。
pytest -m "success and login"
会执行标记了success 和login的用例
好像不能使用单引号
class TestMarker():

    @pytest.mark.success
    @pytest.mark.login
    def test_mark(self):
        assert 1 + 1 == 2

    @pytest.mark.success
    def test_mark1(self):
        assert 1 + 1 == 3
解决标记警告的问题:
注册标记
方法1:
新增pytest.ini文件
[pytest]
markers =
    success
    login
方法2:
新增pyproject.toml文件
[tool.pytest.ini_options]
markers = [
    'success'
]
pytest的失败重跑:
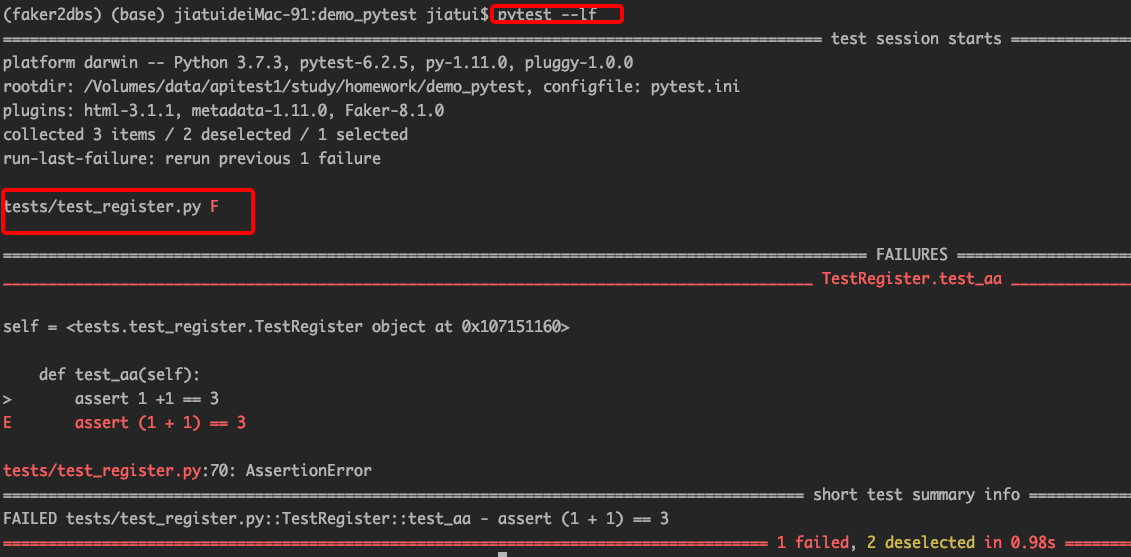
第一种方法使用 --lf 重跑失败的用例

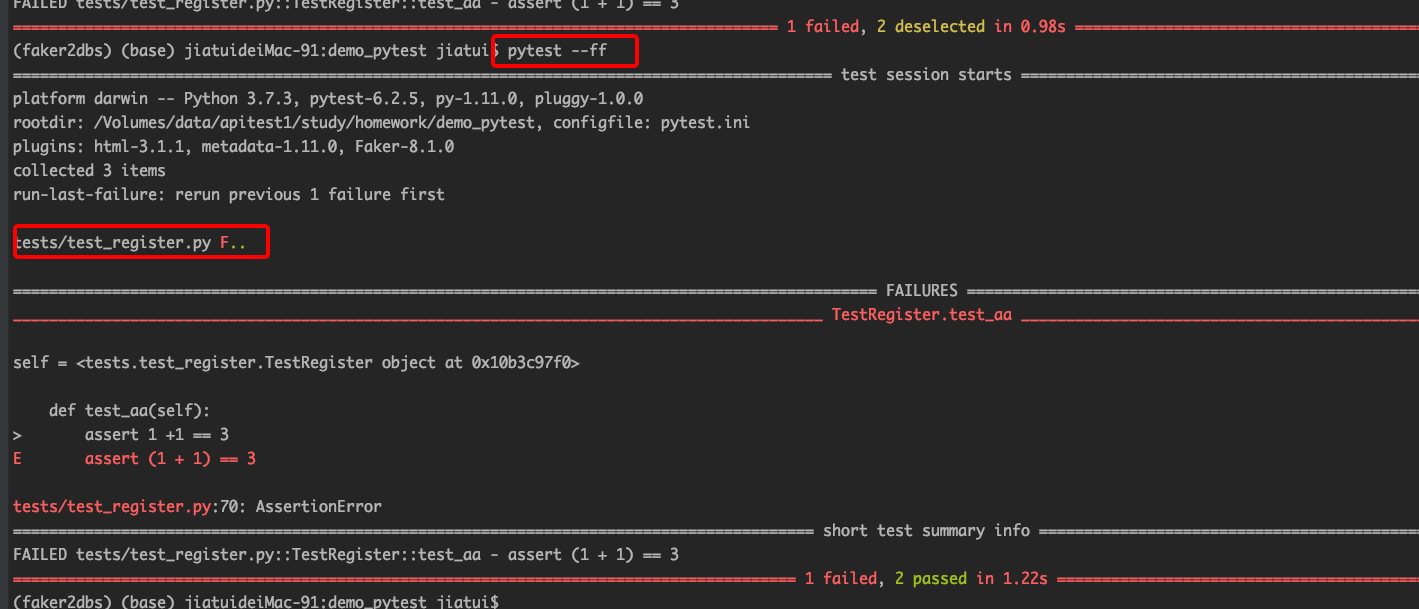
第二种方法,使用--ff重跑所有的用例,失败的用例优先执行

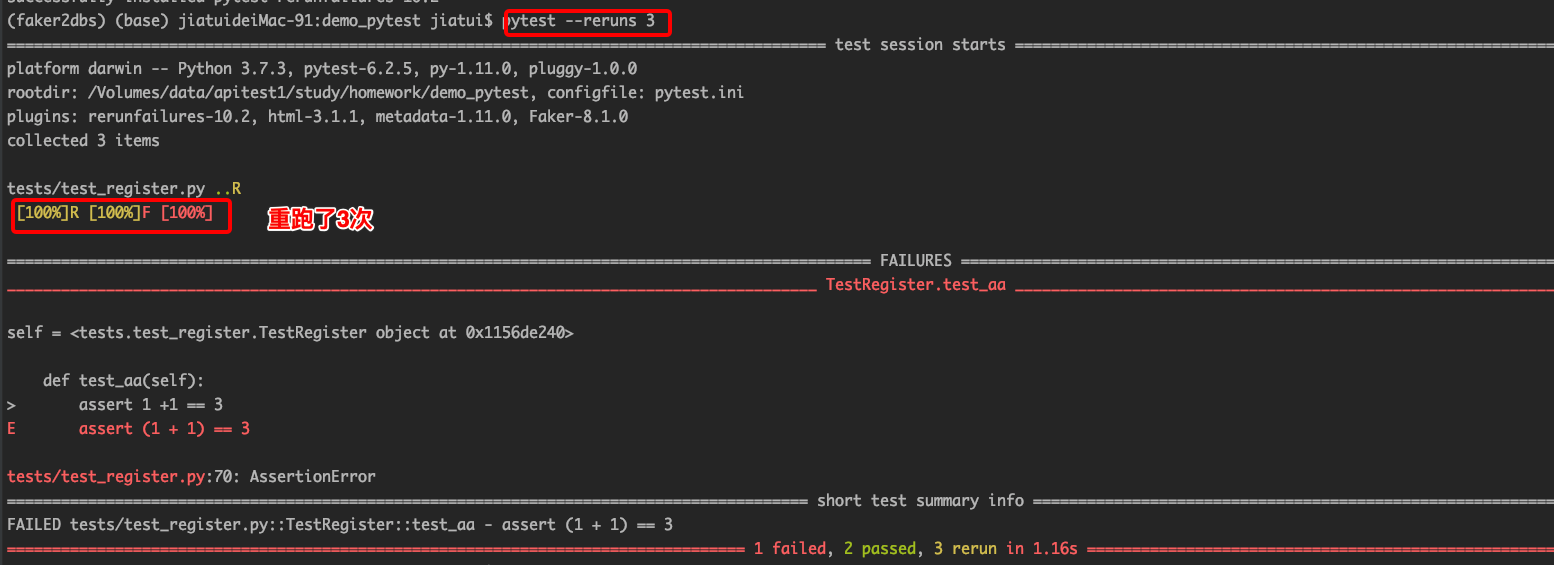
以上两种方法不够自动化,引入 pip install pytest-rerunfailures,传入--reruns,pytest --reruns 3 代表重跑3次失败的用例
