说明:
php安装目录:/usr/local/php
php.ini配置文件路径:/usr/local/php/etc/php.ini
Nginx安装目录:/usr/local/nginx
Nginx网站根目录:/usr/local/nginx/html
1、安装xcache
cd /usr/local/src #进入软件包存放目录
wget http://xcache.lighttpd.net/pub/Releases/3.2.0/xcache-3.2.0.tar.gz #下载
tar zxvf xcache-3.2.0.tar.gz #解压
cd xcache-3.2.0 #进入安装目录
/usr/local/php/bin/phpize #用phpize生成configure配置文件
./configure --enable-xcache--enable-xcache-coverager --enable-xcache-optimizer --with-php-config=/usr/local/php/bin/php-config #配置
make #编译
make install #安装
安装完成之后,出现下面的界面,记住以下路径,后面会用到。
/usr/local/php/lib/php/extensions/no-debug-non-zts-20090626/ #xcache模块路径
2、创建xcache缓存文件
touch /tmp/xcache #创建文件
chmod 777 /tmp/xcache #设置权限
3、创建xcache管理员密码为123456
echo -n "123456" | md5sum #记住类似下面一行代码(md5加密之后的密码),后面会用到
e10adc3949ba59abbe56e057f20f883e
4、拷贝xcache后台管理程序到网站根目录
cp -r /usr/local/src/xcache-3.2.0/htdocs /usr/local/nginx/html/xcache
chown www.www -R /usr/local/nginx/html/xcache #设置xcache目录和网站目录权限相同
系统运维 www.osyunwei.com 温馨提醒:qihang01原创内容©版权所有,转载请注明出处及原文链接
5、配置php支持xcache
vi /usr/local/php/etc/php.ini #编辑配置文件,在最后一行添加以下内容
[xcache-common]
extension = xcache.so
[xcache.admin]
xcache.admin.enable_auth = On
xcache.admin.user = "xcache"
xcache.admin.pass = "e10adc3949ba59abbe56e057f20f883e"
[xcache]
xcache.shm_scheme ="mmap"
xcache.size=60M
xcache.count =1
xcache.slots =8K
xcache.ttl=0
xcache.gc_interval =0
xcache.var_size=64M
xcache.var_count =1
xcache.var_slots =8K
xcache.var_ttl=0
xcache.var_maxttl=0
xcache.var_gc_interval =300
xcache.test =Off
xcache.readonly_protection = On
xcache.mmap_path ="/tmp/xcache"
xcache.coredump_directory =""
xcache.cacher =On
xcache.stat=On
xcache.optimizer =Off
[xcache.coverager]
xcache.coverager =On
xcache.coveragedump_directory =""
:wq! #保存退出
6、测试
service php-fpm restart #重启php-fpm
service nginx restart #重启nginx
浏览器打开网站根目录下面的xcache
输入用户名xcache 密码123456
可以看到如下界面
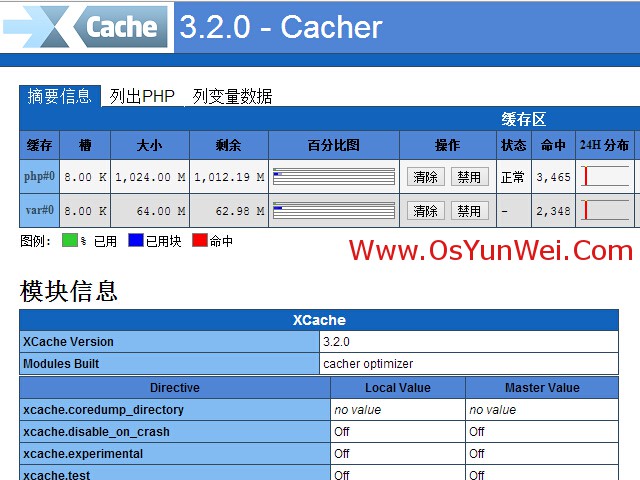
至此,Linux下安装php加速软件Xcache教程完成。