 1 <!DOCTYPE html>
 2 <html lang="en">
 3 <head>
 4     <meta charset="UTF-8">
 5     <title><%= title %></title>
 6     <link rel="stylesheet" href="/css/style.css">
 7     <script src="/js/vue.min.js"></script>
 8     <script src="/js/vue-router.min.js"></script>
 9 </head>
10 <body>
11     <h1>Vue Router</h1>
12     <div id="box">
13         <router-link to="/home">Home</router-link>
14         <router-link to="/news">News</router-link>
15         <div>
16             <router-view></router-view>
17         </div>
18     </div>
19 </body>
20 </html>
 1 <script>
 2
 3     // define component
 4     const Home = {
 5         template: '<h2>I am the homepage</h2>'
 6     }
 7     const News = {
 8         template: '<h2>I am the newspage</h2>'
 9     }
10
11     // define router
12     const routes = [
13         { path: '/home', component: Home },
14         { path: '/news', component: News }
15     ]
16
17     // create router instance & config routes
18     const router = new VueRouter({
19         routes
20         // routes: routes
21     })
22
23     const app = new Vue({
24         router
25     }).$mount('#box')
26 </script>
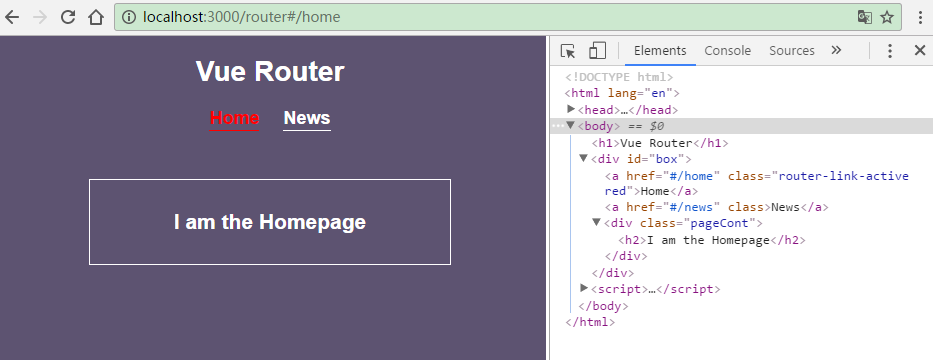
点击 Home 标签
点击 News 标签
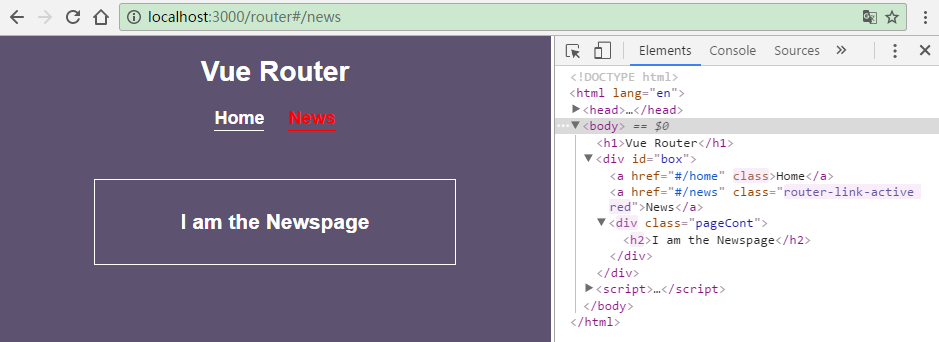
通过开发者工具可以看到,router-link 标签被解析成了a标签, router-view 标签被 组件的模板内容替换。
当 <router-link> 对应的路由匹配成功,将自动设置 class 属性值 .router-link-active。
参考: http://router.vuejs.org/zh-cn/essentials/getting-started.html