一.Nginx简介:
Nginx是一个开源【支持获取源代码】且高性能【支持海量并发】、可靠的【支持宕机时间级别为 9999、99999】轻量【功能模块多,但仅需要保留必要的模块】Http Web服务、代理服务。
二. 安装方式:
Nginx有三种安装方式,epel源安装,官方源安装以及源码安装。
简单来说前两种方式安装简单,源码安装步骤稍复杂,但优势在于可以指定安装路径。使用较多为第二种官方源安装。
1. epel源安装
[root@web01 ~]# yum install -y nginx
2. 官方源安装
第一步:配置官方源
[root@web02 ~]# vim /etc/yum.repos.d/nginx.repo
[nginx-stable]
name=nginx stable repo
baseurl=http://nginx.org/packages/centos/7/$basearch/
gpgcheck=1
enabled=1
gpgkey=https://nginx.org/keys/nginx_signing.key
module_hotfixes=true
第二步:安装依赖
[root@web02 ~]# yum install -y gcc gcc-c++ autoconf pcre pcre-devel make automake wget httpd-tools vim tree
第三步:安装nginx
[root@web02 ~]# yum install -y nginx
第四步:修改启动用户
[root@web02 ~]# vim /etc/nginx/nginx.conf
user www;
....................
第五步:根据修改后的配置创建用户
[root@web02 ~]# groupadd www -g 666
[root@web02 ~]# useradd www -u 666 -g 666
第六步:启动nginx服务
[root@web02 ~]# systemctl start nginx
第七步:检查服务是否启动成功
[root@web02 ~]# ps -ef | grep nginx
3.源码安装
第一步:安装依赖
[root@web03 ~]# yum install -y gcc gcc-c++ autoconf pcre pcre-devel make automake wget httpd-tools vim tree
第二步:从nginx官网下载包
下载地址:nginx.org

上传或者下载包:
[root@web03 ~]# wget http://nginx.org/download/nginx-1.20.0.tar.gz
#或者
[root@web03 ~]# rz nginx-1.20.0.tar.gz
第三步:解压包
[root@web03 ~]# tar xf nginx-1.20.0.tar.gz
第四步:创建启动用户
[root@web03 ~]# groupadd www -g 666
[root@web03 ~]# useradd www -u 666 -g 666
第五步:生成
[root@web03 ~]# cd nginx-1.20.0 #需进入目录后在执行生成
[root@web03 ~/nginx-1.20.0]# ./configure --prefix=/usr/local/nginx-1.20.0 --user=www --group=www --with-http_addition_module --with-http_auth_request_module --without-http_gzip_module
第六步:编译安装
[root@web03 ~/nginx-1.20.0]# make && make install
第七步:配置system管理
[root@web03 ~]# vim /etc/systemd/system/nginx.service
[Unit]
Description=nginx - high performance web server
After=network.target remote-fs.target nss-lookup.target
[Service]
Type=forking
ExecStart=/usr/local/nginx/sbin/nginx -c /usr/local/nginx/conf/nginx.conf
ExecReload=/usr/local/nginx/sbin/nginx -s reload
ExecStop=/usr/local/nginx/sbin/nginx -s stop
[Install]
WantedBy=multi-user.target
第八步:做软连接
[root@web03 ~]# ln -s /usr/local/nginx-1.20.0 /usr/local/nginx
#配置环境变量
[root@web03 ~]# cat /etc/profile.d/nginx.sh
export PATH=/usr/local/nginx/sbin/:$PATH
[root@web03 ~]# source /etc/profile
软连接的作用:
1.配置环境变量可以不加版本号
2.配置system启动可以不加版本号
3.升级直接切换软连接的链接文件即可
第九步:启动nginx
[root@web03 ~]# systemctl daemon-reload
[root@web03 ~]# systemctl start nginx
[root@web03 ~]# systemctl enable nginx #配置开机自启
第十步: 检查服务
[root@web03 ~]# ps -ef |grep nginx
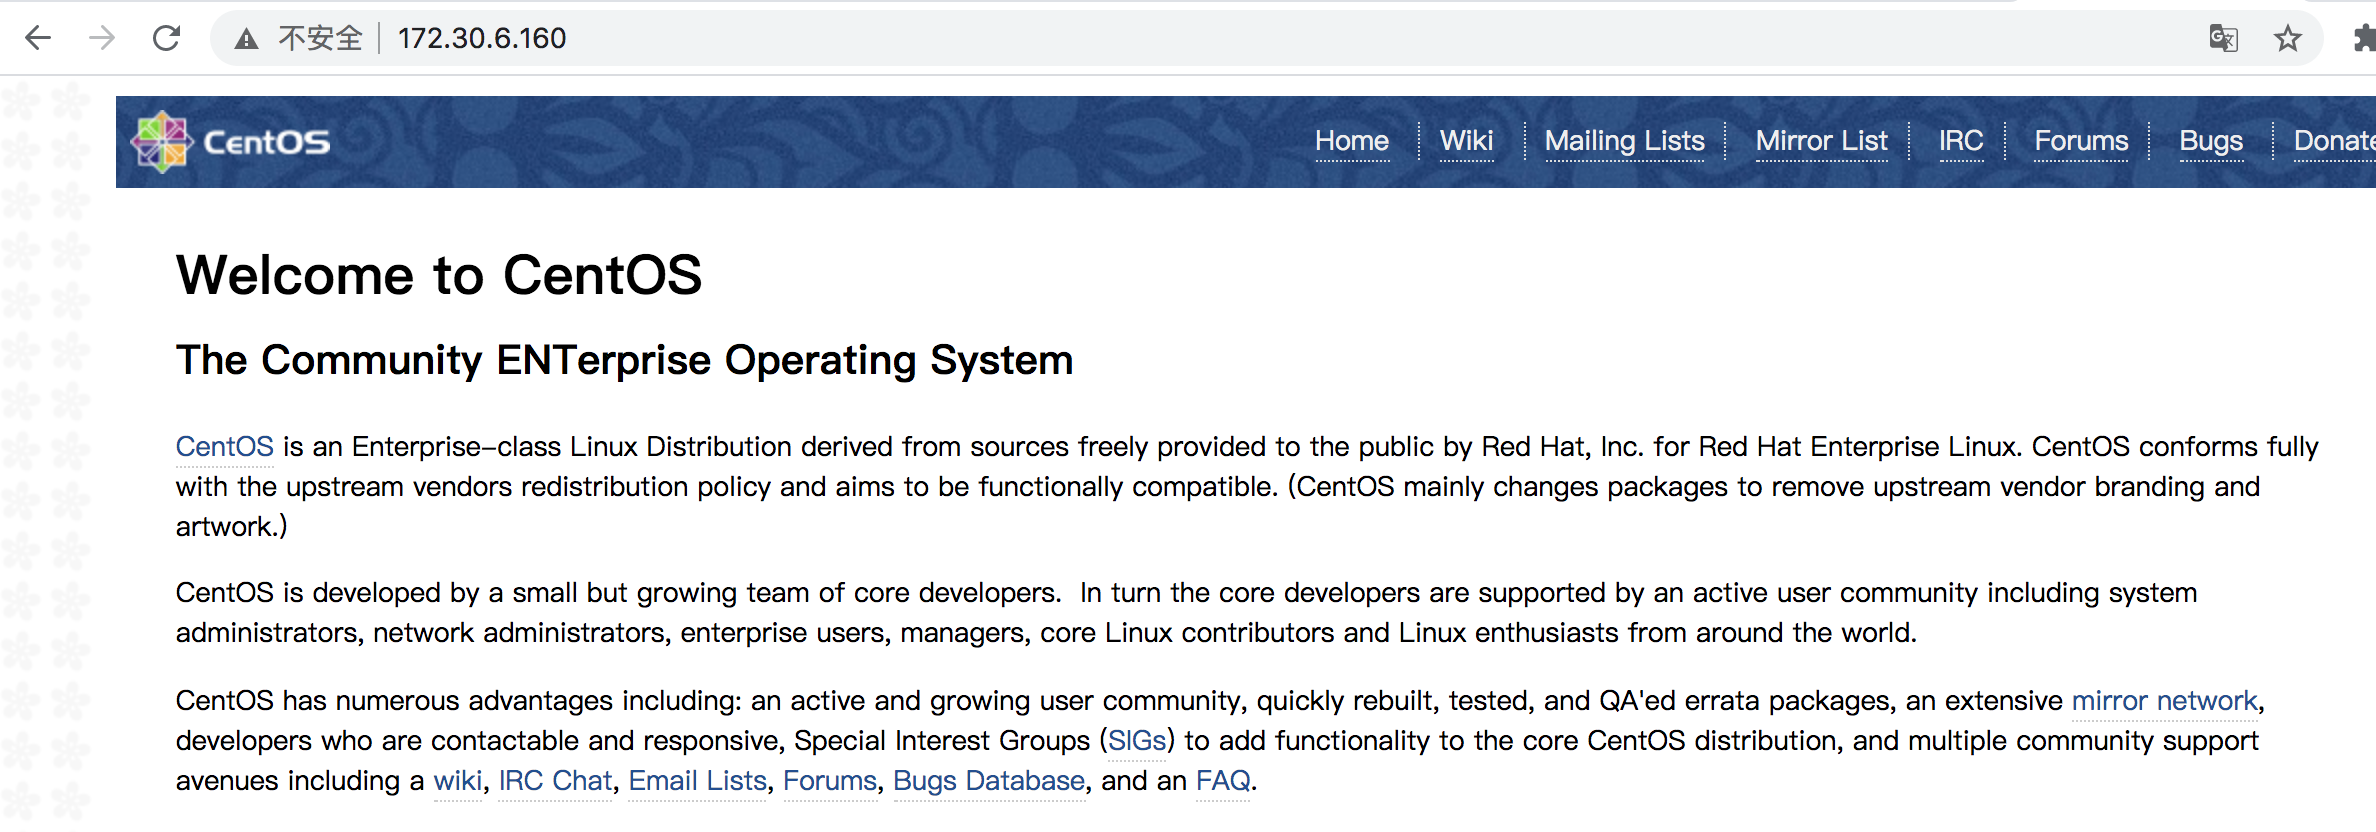
总结:源码方式安装最为复杂,优势在于可以指定存放路径。前两种方式优点在于安装简单不可更改指定路径。需要结合实际使用情况选择适合的安装方式。不同的安装方式nginx的配置文件格式会有一些差别,访问80页面出现的Nginx页面内容也会有所差异。
epel源或官方源安装:
源码安装:
