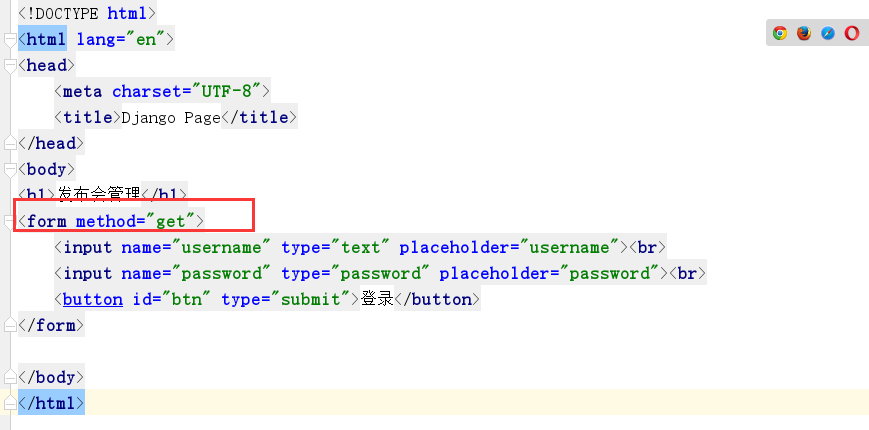
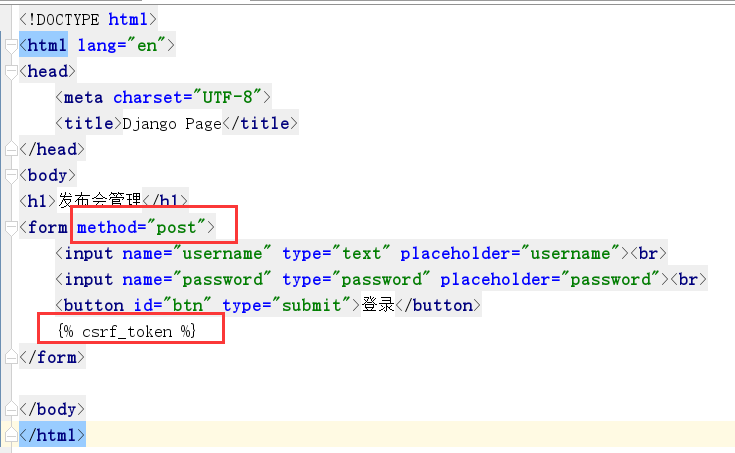
一个完整的表单由四个部分组成:提交地址,请求方式,元素控件,提交按钮
action 提交地址,设置用户提交的数据由哪个url接收和处理
method 请求方式,get或post请求
input 元素控件, 输入文本信息
submit 提交按钮,触发提交动作
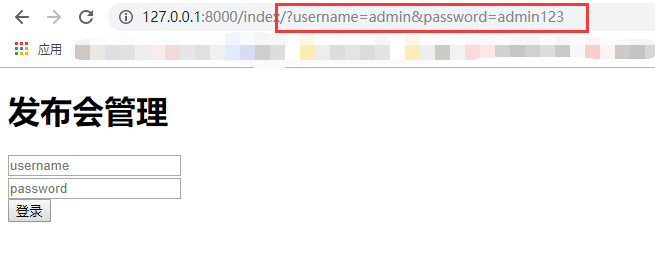
1.get方法和post方法
get方法
post方法
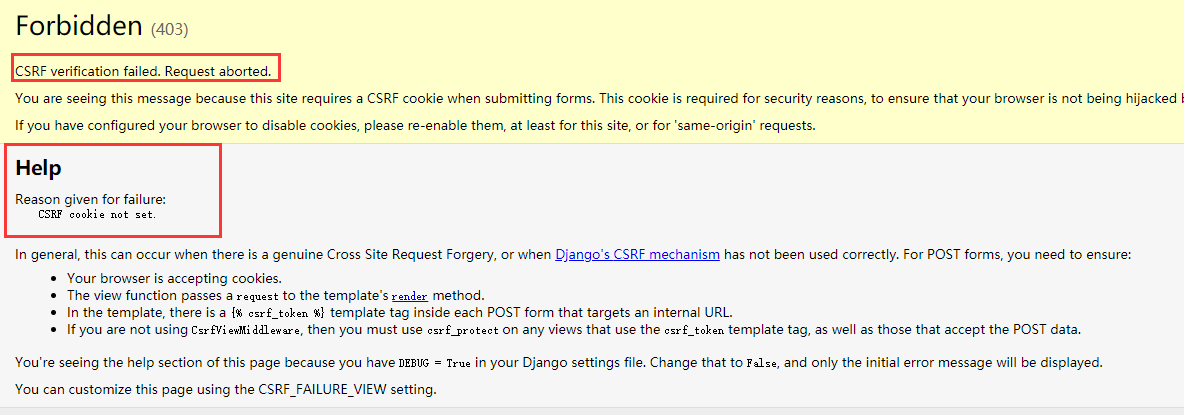
直接把method修改成post,报错如下,Django针对CSRF的保护措施是在生成的每个表单放置一个自动生成的令牌,通过这个令牌判断POST请求是否来自同一个网站。使用模板标签添加CSRF令牌,在from表单中添加{% csrf_token %}。
2.接收数据并处理
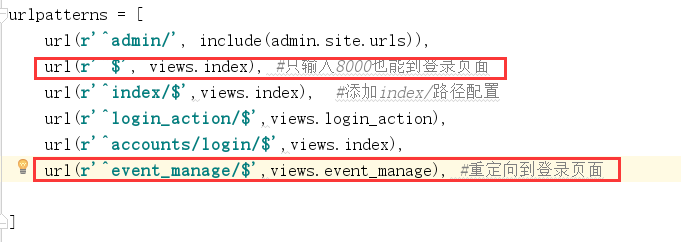
Django怎么接收请求数据并处理的呢,可以通过from表单的action属性来指定提交的路径。接下来需要配置新添加的路由,打开urls.py文件,添加login_action路由。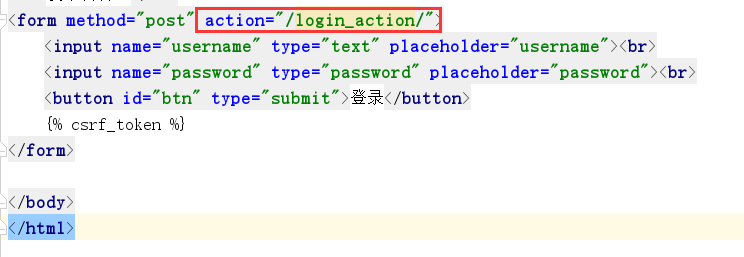
然后要添加对应路由的视图函数,打开views.py文件,创建login_action视图函数。
def login_action(request):
    if request.method == 'POST':
        username = request.POST.get('username','')
        password = request.POST.get('password','')
        if username=='admin' and password=='admin123':
            return HttpResponse('login success')
        else:
            return render(request,'index.html',{'error':'username or password error'})
通过login_action函数来处理登录请求。
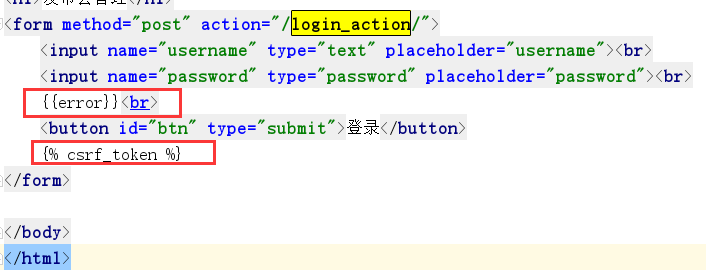
客户端发送的请求信息都包含在request中,通过request.method获取请求方式,并判断是否是POST方式的请求。通过.get()方法获取‘uesrname’和‘password’的用户名和密码(‘uesrname’和‘password’对应的是<input>标签的name属性),如果参数为空,就返回一个空的字符串。如果if语句不成立,就返回带有错误提示的字典。模板中使用模板语言添加{{error}},它对应的是render返回字典中的key。
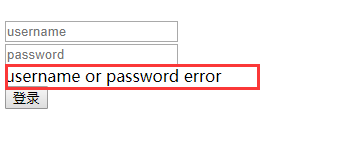
网页输入错误的用户名密码,错误提示如下:
3、HttpResponse、render、HttpResponseRedirect
httpResponse:内部传入一个字符串参数,然后发送给浏览器。
render:重定向。需要三个参数,request参数,html模板文件,保存具有数据的字典参数。 如:{key:value}形式。
HttpResponseRedirect:当一个逻辑处理完成后,不需要向客户端呈现数据,而是转回到其它页面,如添加成功、修改成功、删除成功后显示数据列表,而数据的列表视图已经开发完成,此时不需要重新编写列表的代码,而是转到这个视图就可以,此时就需要模拟一个用户请求的效果,从一个视图转到另外一个视图,就称为重定向。重定向到某个url,再跳转到相应的视图文件。
4、Cookie和Session
登录成功后一般会有欢迎语,比如:XX,你好。可以用cookie和session来实现这个功能。
cookie的使用
登录成功后,在跳转到event_manage函数的过程中,通过set_coookie()方法向浏览器中添加Cookie信息。其中有三个参数,第一个‘user’是写入浏览器的cookie名,第二个参数username是用户在登录页面输入的用户名,第三个参数3600是用于设置cookie信息在浏览器中保持的时间,单位是秒。在event_manage视图中通过request..COOKIES读取cookie名为‘user’的值,并通过render一起返回。
def login_action(request):
    if request.method == 'POST':
        username = request.POST.get('username','')
        password = request.POST.get('password','')
        if username=='admin' and password=='admin123':
            response = HttpResponseRedirect('/event_manage/')
            response.set_cookie('user',username,3600)
            return response
        else:
            return render(request,'index.html',{'error':'username or password error'})

def event_manage(request):
    username = request.COOKIES.get('user','')
    return render(request,'event_manage.html',{'user':username})
<!DOCTYPE html>
<html lang="en">
<head>
    <meta charset="UTF-8">
    <title>发布会管理页面</title>
</head>
<body>
<h1>Login Success!</h1>
<div style="float:right"><a>嘿!{{user}}欢迎</a><hr/></div>
</body>
</html>
重新登录,如下图:

通过开发者工具看到我们在浏览器中添加的cookie

session 的使用
修改views代码
def login_action(request):
    if request.method == 'POST':
        username = request.POST.get('username','')
        password = request.POST.get('password','')
        if username=='admin' and password=='admin123':
            response = HttpResponseRedirect('/event_manage/')
            # response.set_cookie('user',username,3600)
            request.session['user'] = username  # 将session信息记录到浏览器
            return response
        else:
            return render(request,'index.html',{'error':'username or password error'})

def event_manage(request):
    # username = request.COOKIES.get('user','') #读取浏览器中的cookie
    username = request.session.get('user','')  #读取浏览器session
    return render(request,'event_manage.html',{'user':username})
运行之后报错:no such table: django_session
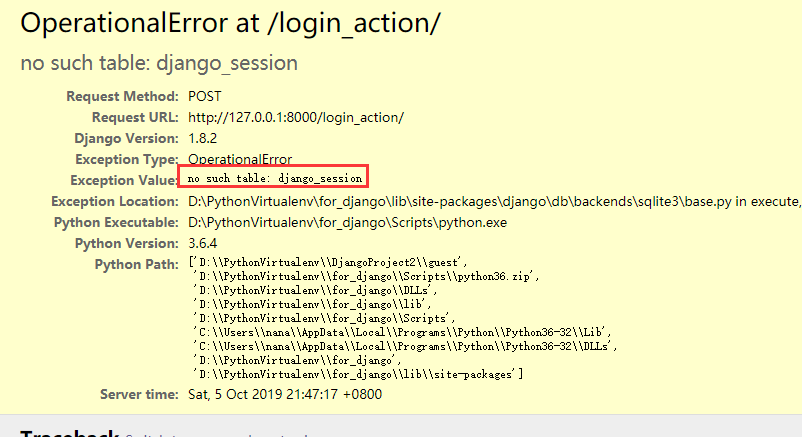
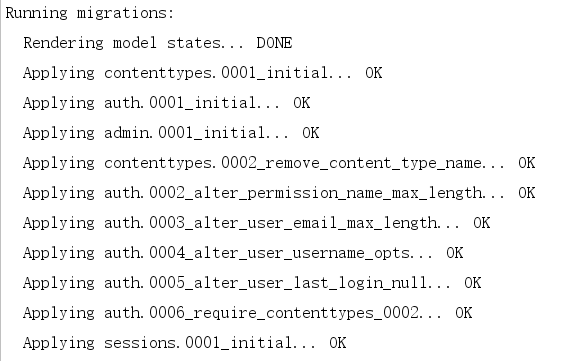
Session 需要在Web服务端来记录用户的信息,所以要有存放session信息的地方,我们需要创建django_session表。Django已经带有这些表,我们只需要将他们生成就好。运行命令:python manage.py migrate
重新运行,查看浏览器。

5、使用Django的用户系统来实现用户信息验证。
之前我们是通过if语句的判断来进行用户验证,下面我们用Django的认证系统来实现真正的用户验证。使用migrate进行数据迁移时,Django也生成了auth_user表,这个表存放的用户信息可以来登录Django自带的Admin管理后台。我们先来出创建登录Admin后台的管理员账号。
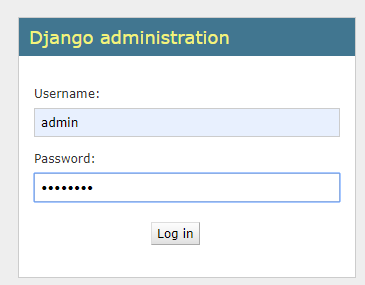
运行:python manage.py createsuperuser 按照提示输入用户名,邮箱,密码。Admin管理后台地址:http://127.0.0.1:8000/admin/
修改views代码。auth.authenticate()返回对象,如果不为None就说明用户验证通过。
from django.shortcuts import render
from django.contrib import auth
from django.http import HttpResponse,HttpResponseRedirect

def login_action(request):
    if request.method == 'POST':
        username = request.POST.get('username','')
        password = request.POST.get('password','')
        user = auth.authenticate(username=username,password=password)
        if user is not None:
            auth.login(request,user)
            # response.set_cookie('user',username,3600)
            request.session['user'] = username  # 将session信息记录到浏览器
            response = HttpResponseRedirect('/event_manage/')
            return response
        else:
            return render(request,'index.html',{'error':'username or password error'})
6、加装饰器通过登录才能访问页面。
直接访问http://127.0.0.1:8000/event_manage/ 发现不用登录也能直接进入页面。

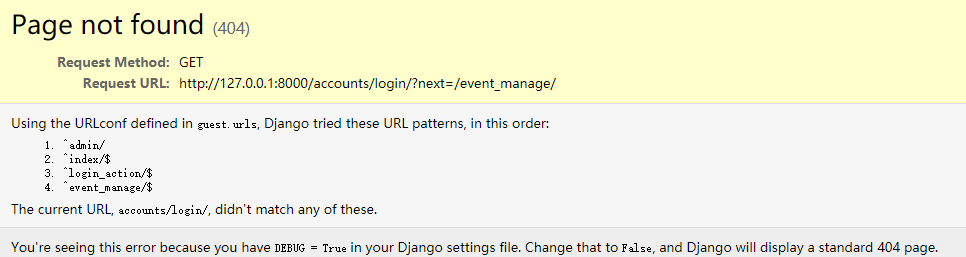
引入模块 from django.contrib.auth.decorators import login_required 在需要登录之后才能访问的视图函数前加上装饰器@login_required。
再次访问,发现页面已经不存在。我们可以将这类的页面重定向到登录页面。修改views.py和urls.py文件。
修改views.py
from django.contrib.auth.decorators import login_required

@login_required
def event_manage(request):
    # username = request.COOKIES.get('user','') #读取浏览器中的cookie
    username = request.session.get('user','')  #读取浏览器session
    return render(request,'event_manage.html',{'user':username})
修改urls.py