好记性不如烂笔头,记录一下。
2016的最后一天,以一篇博客结尾迎接新的一年。
此处用的富文本编辑器是wangEditor,一款开源的轻量级的富文本编辑器,这里着重说一下里面的图片上传功能。
服务器端接收图片用到了两个jar包,分别是commons-fileupload和commons-io。
下载下来之后./test/test-uploadfn.html,打开该文件,找到下面这行代码。
1 editor.config.uploadImgUrl = '/wangEditor/Upload'; //等号后面写上你上传的后台路径,这里是我的路径
接下来是对服务器端的操作,这里用一个Servlet做演示,新建一个Servlet,在Post里面写上对处理前端上传图片请求得代码,如下。
 1 public void doPost(HttpServletRequest request, HttpServletResponse response)
 2             throws ServletException, IOException {
 3         response.setContentType("text/html;charset=utf-8");
 4         request.setCharacterEncoding("utf-8");
 5
 6         DiskFileItemFactory factory = new DiskFileItemFactory();  //解析器的配置信息
 7
 8         ServletFileUpload upload = new ServletFileUpload(factory);    //解析器的实例化对象
 9
10         String fileName = String.valueOf(new Date().getTime() + ".jpg"); //取得一个唯一的图片名称
11
12         //我将fileName写在这个位置,而没有写在下面的for循环当中,是因为当我传图片时,一张图片,从前台会提交两次请求,
13         //如果写在for里面会导致我分成两张图片保存,造成的后果就是图片格式不正确,所以我写在这里。
14         //这个demo在这个地方也就被限定了,只能进行一次上传一张图片的操作
15
16         try {
17             ArrayList<FileItem> files = (ArrayList<FileItem>) upload.parseRequest(request);
18
19             for(FileItem item : files) {
20
21                 InputStream is = item.getInputStream();  //这里得到图片对象的输流,我将在下文中写入文件中
22
23                 ServletContext context = getServletContext();
24
25                 String Path = context.getRealPath("/upload"); //存放图片的目录
26
27                 File pic_file = new File(Path);
28
29                 if(!pic_file.exists() || !pic_file.isDirectory()) { //不存在或者不是目录就创建文件夹
30                     pic_file.mkdir();
31                 }
32
33                 pic_file = new File(Path+"/"+fileName);
34
35                 FileOutputStream out = new FileOutputStream(pic_file);  //准备写入文件的输出流
36
37                 //建立缓冲区数组
38                 byte[] buffer = new byte[1024];
39
40                 //缓冲区数组的长度定义,当IO从流中获取不到数据的时候,返回值为-1
41                 int len = -1;
42
43                 //循环写入文件
44                 while((len = is.read(buffer)) > -1) {
45                     out.write(buffer,0,len);
46                 }
47
48                 is.close();
49
50                 out.close();
51
52                 item.delete();
53
54                 response.getWriter().print("/wangEditor/upload/"+fileName);
55
56             }
57
58         } catch (FileUploadException e) {
59             e.printStackTrace();
60         }
61
62     }
这样一个简单的传图demo就做好了。
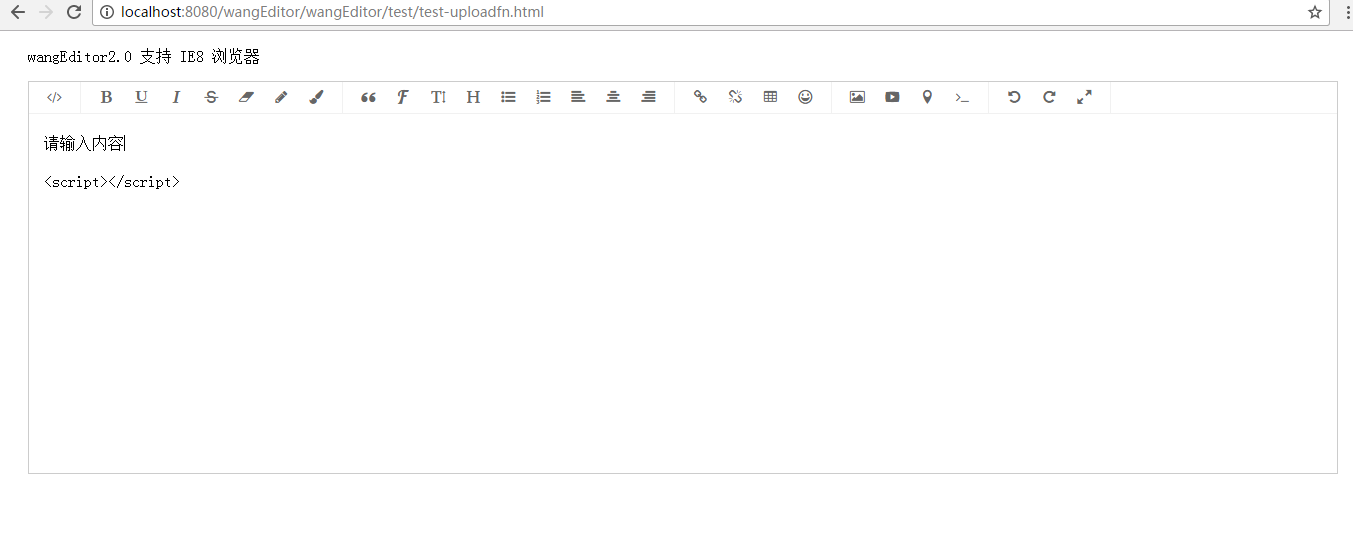
示例图:
打开test-uploadfn.html。
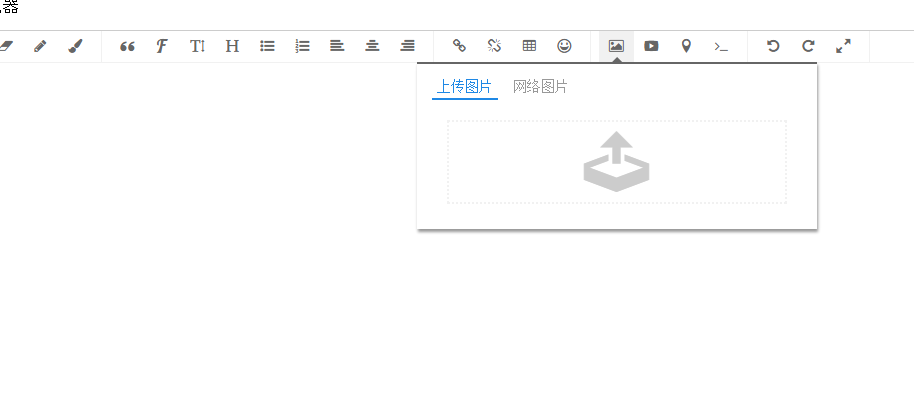
开始点击上传图片到upload文件夹下。
选择图片完成之后,如下图所示。

我传了一张大图。