新手上路,老司机请多多包含!Ocelot 在博园里文章特别多,但是按照其中一篇文章教程,如果经验很少或者小白,是没法将程序跑向博主的结果.
因此总结下 参考多篇文章,终于达到预期效果。
Ocelot 目标是使用.NET运行微服务/面向服务架构,我们需要一个统一的入口进入我们的服务,提供监控、鉴权、负载均衡等机制,也可以通过编写中间件的形式,来扩展Ocelot的功能。 Ocelot是一堆特定顺序的中间件。
Ocelot开源地址:https://github.com/TomPallister/Ocelot
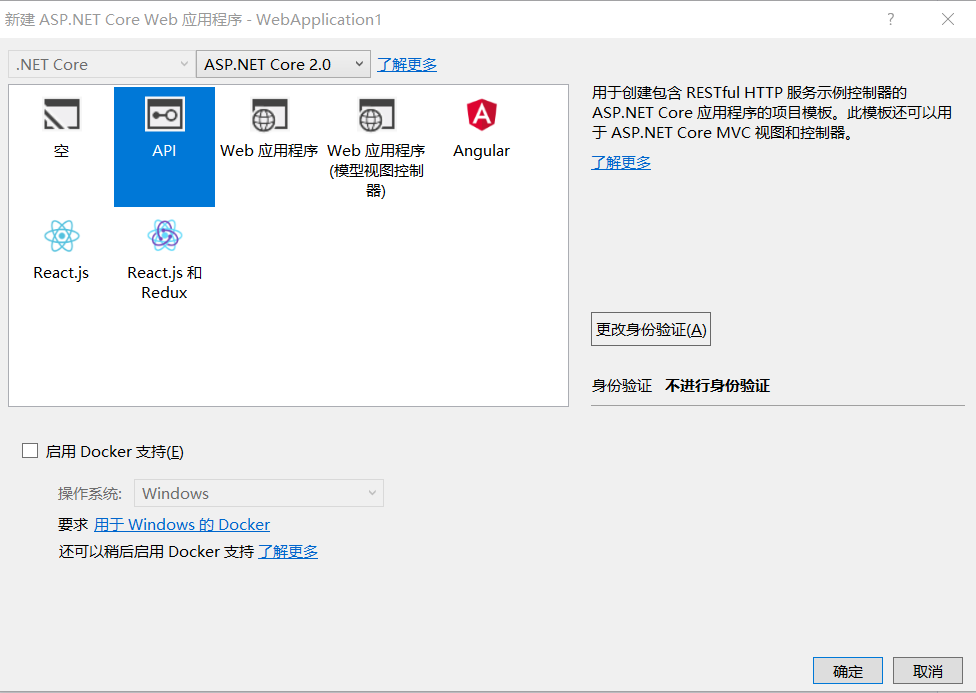
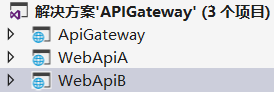
分别创建三个API
1.ApiGateway
2.WebApiA
3.WebApiB
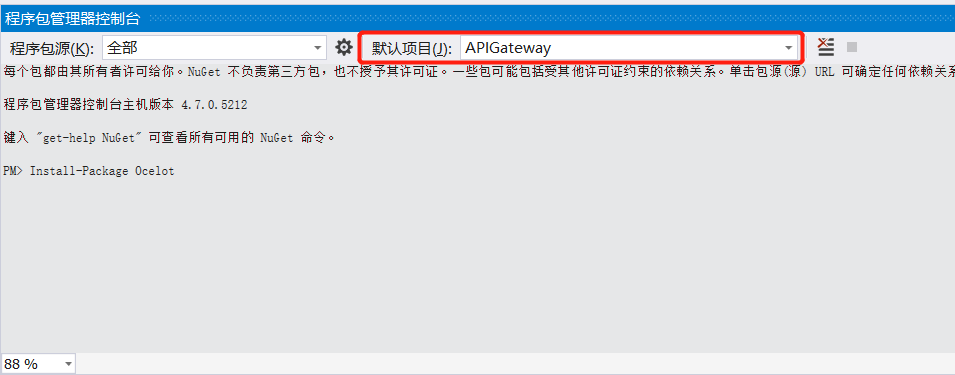
以 APIGateway 项目 Nuget控制台,执行Ocelot安装。
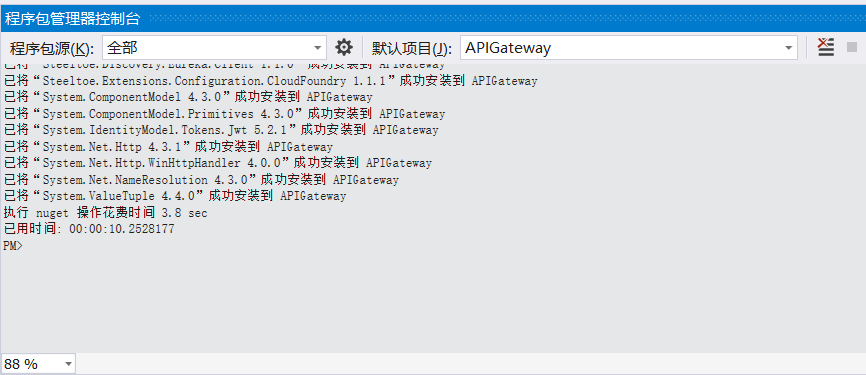
PM>Install-Package Ocelot 按回车等待安装
如果看到这种情况 恭喜你 环境基本就绪 咱们开始走上编码
1、APIGateway修改Startup
public class Startup
{
public Startup(IConfiguration configuration)
{
Configuration = configuration;
}
public IConfiguration Configuration { get; }
// This method gets called by the runtime. Use this method to add services to the container.
public void ConfigureServices(IServiceCollection services)
{
services.AddMvc();
services.AddOcelot(new ConfigurationBuilder()
.AddJsonFile("configuration.json")
.Build());
}
// This method gets called by the runtime. Use this method to configure the HTTP request pipeline.
public async void Configure(IApplicationBuilder app, IHostingEnvironment env)
{
if (env.IsDevelopment())
{
app.UseDeveloperExceptionPage();
}
await app.UseOcelot();
app.UseMvc();
}
}
添加命名空间
using Ocelot.DependencyInjection;
using Ocelot.Middleware;
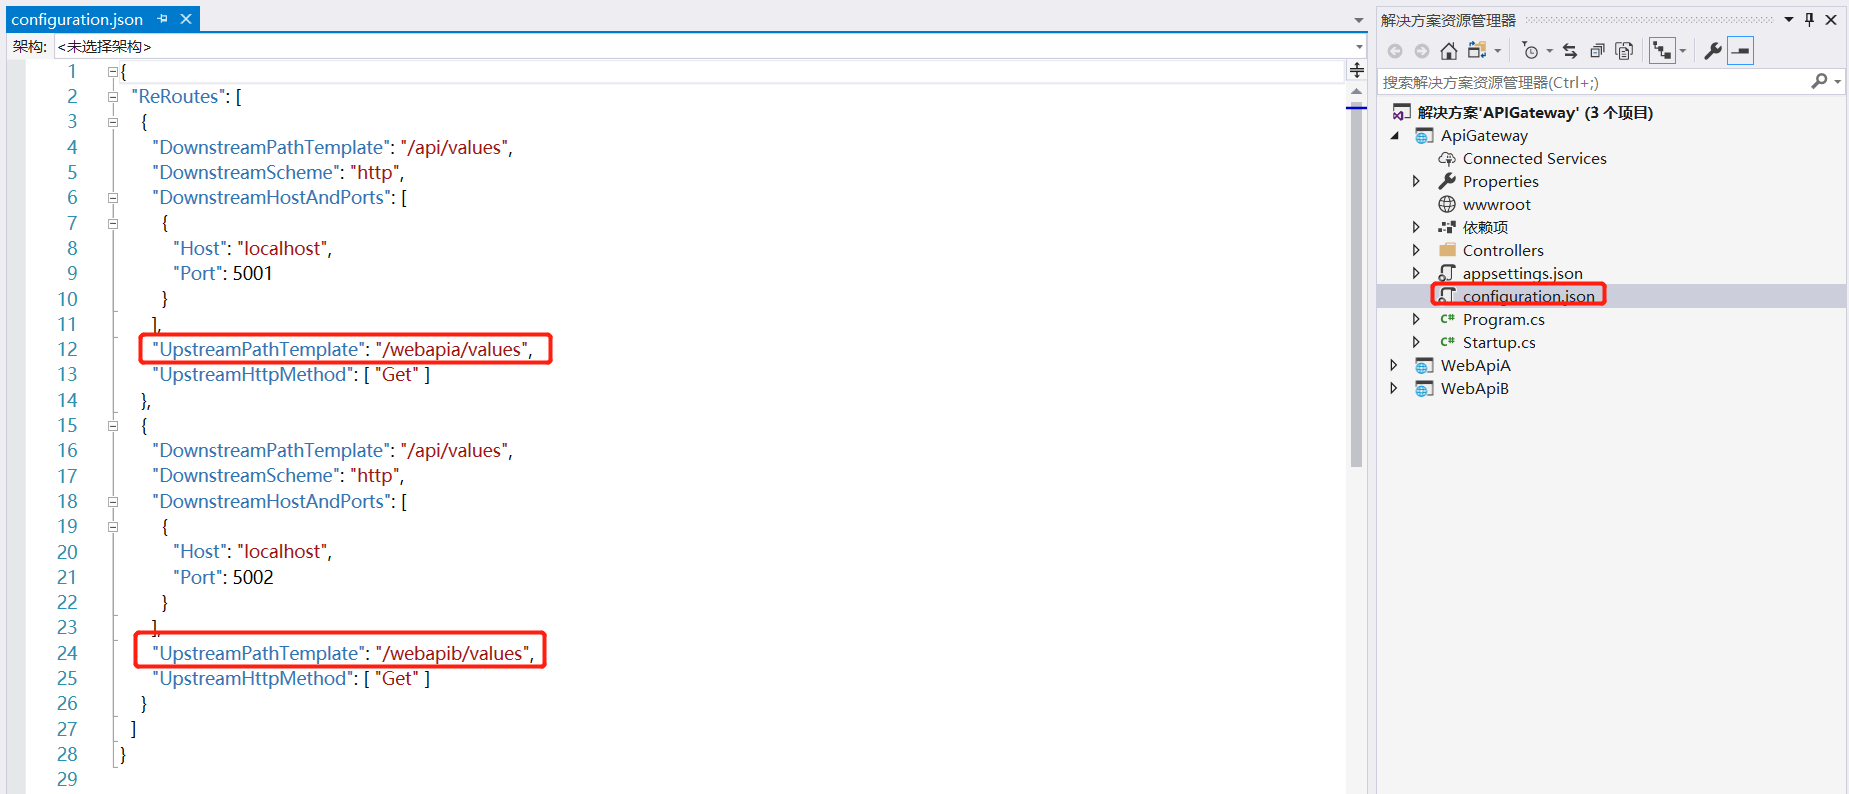
3.ocelot.json 添加json
配置如下:
{
"ReRoutes": [
{
"DownstreamPathTemplate": "/api/values",
"DownstreamScheme": "http",
"DownstreamHostAndPorts": [
{
"Host": "localhost",
"Port": 5001
}
],
"UpstreamPathTemplate": "/webapia/values",
"UpstreamHttpMethod": [ "Get" ]
},
{
"DownstreamPathTemplate": "/api/values",
"DownstreamScheme": "http",
"DownstreamHostAndPorts": [
{
"Host": "localhost",
"Port": 5002
}
],
"UpstreamPathTemplate": "/webapib/values",
"UpstreamHttpMethod": [ "Get" ]
}
]
}
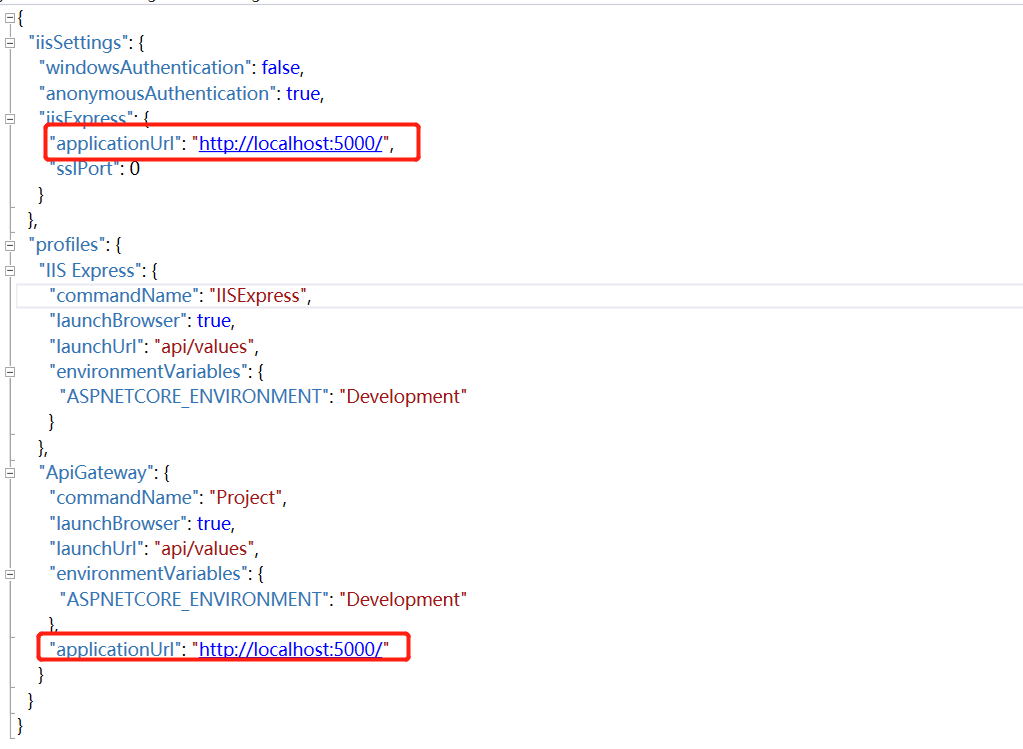
4.分别修改 launchSettings.json
1.ApiGateway 5000
2.WebApiA 5001
3.WebApiB 5002
修改两个地方就好
最后设置启动项 鼠标 选中解决方案 右键 选择设置启动项

配置完成 看看效果F5 跑起来

大家会发现 为什么
http://localhost:5000/api/values 报错了
那是因为我们配置
因此这个地方 访问咱们需要换一个链接
http://localhost:5000/webapib/values
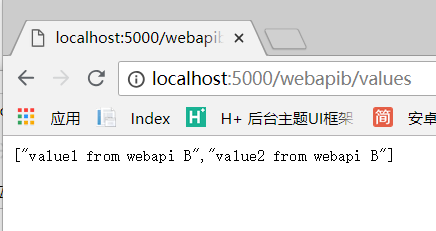
http://localhost:5000/webapia/values
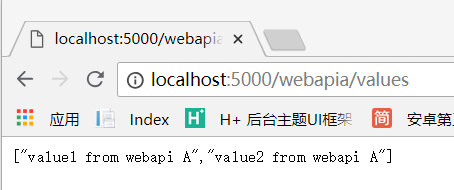
看步骤大家应该就能猜到为什么会这样运行,具体原理 可以看博园中大神们的注解