ActiveMQ这款开源消息服务器提供了多语言支持,除了一般的Java客户端以外,还可以使用C/C++、PHP、Python、JavaScript(Ajax)等语言开发客户端。最近由于项目需要,需要提供PHP和Python的主题订阅客户端。这里作为总结,列出这两种语言客户端的简单安装和使用。
对于PHP和Python,可以通过使用STOMP协议与消息服务器进行通讯。在ActiveMQ的配置文件activemq.xml中,需要添加以下语句,来提供基于STOMP协议的连接器。
- <transportConnectors>
- <transportConnector name="openwire" uri="tcp://0.0.0.0:61616"/>
- <transportConnector name="stomp" uri="stomp://0.0.0.0:61613"/><!--添加stomp连接器-->
- </transportConnectors>
Python
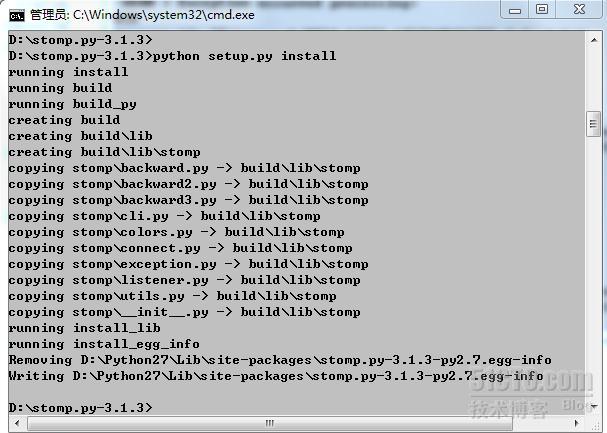
安装Python27,并安装stomppy(http://code.google.com/p/stomppy/)这一客户端库:
基于stomppy访问ActiveMQ的Python代码:
- import time, sys
- import stomp
- #消息侦听器
- class MyListener(object):
- def on_error(self, headers, message):
- print 'received an error %s' % message
- def on_message(self, headers, message):
- print '%s' % message
- #创建连接
- conn = stomp.Connection([('127.0.0.1',61613)])
- #设置消息侦听器
- conn.set_listener('', MyListener())
- #启动连接
- conn.start()
- conn.connect()
- #订阅主题,并采用消息自动确认机制
- conn.subscribe(destination='/topic/all_news', ack='auto')
PHP
安装PHP5,并安装STOMP的客户端库(http://php.net/manual/zh/book.stomp.php):
| tar -zxf stomp-1.0.5.tgz cd stomp-1.0.5/ /usr/local/php/bin/phpize ./configure --enable-stomp --with-php-config=/usr/local/php/bin/php-config make make install |
安装完成后,将生成的stomp.so移入php.ini中指定的extension_dir目录下,并在php.ini中添加该客户端库:
| extension=stomp.so |
访问ActiveMQ的PHP代码:
- <?php
- $topic = '/topic/all_news';
- /* connection */
- try {
- $stomp = new Stomp('tcp://127.0.0.1:61613');
- } catch(StompException $e) {
- die('Connection failed: ' . $e->getMessage());
- }
- /* subscribe to messages from the queue 'foo' */
- $stomp->subscribe($topic);
- /* read a frame */
- while(true) {
- $frame = $stomp->readFrame();
- if ($frame != null) {
- echo $frame->body;
- /* acknowledge that the frame was received */
- $stomp->ack($frame);
- }
- }
- /* close connection */
- unset($stomp);
- ?>
本文出自 “学习文档” 博客,请务必保留此出处http://zephiruswt.blog.51cto.com/5193151/1109606