人脸识别分析
调用
腾讯AI人脸识别接口
测试应用
纯py文件测试照片
# -*- coding: utf-8 -*-
import json

from tencentcloud.common import credential
from tencentcloud.common.exception.tencent_cloud_sdk_exception import TencentCloudSDKException
# 导入对应产品模块的 client models。
from tencentcloud.common.profile.client_profile import ClientProfile
from tencentcloud.iai.v20180301 import iai_client, models
import base64

def get_json(img_dir):
    with open(img_dir, 'rb') as f:
        base64_data = base64.b64encode(f.read())
        base64_code = base64_data.decode()
    try:
        # 实例化一个客户端配置对象,可以指定超时时间等配置
        clientProfile = ClientProfile()
        clientProfile.signMethod = "TC3-HMAC-SHA256"  # 指定签名算法
        # 实例化一个认证对象,入参需要传入腾讯云账户 secretId,secretKey
        cred = credential.Credential(secretId, secretKey)
        client = iai_client.IaiClient(cred, "ap-guangzhou", clientProfile)
        # 实例化一个请求对象
        req = models.DetectFaceRequest()

        # 人脸检测参数
        req.MaxFaceNum = 1
        req.Image = base64_code
        req.NeedFaceAttributes = 1
        req.NeedQualityDetection = 0

        # 通过 client 对象调用想要访问的接口,需要传入请求对象
        resp = client.DetectFace(req)
        # 输出 JSON 格式的字符串回包
        json_data = resp.to_json_string()

        return json_data

    except TencentCloudSDKException as err:
        print(err)
        return None

secretId = '你的id'
secretKey = '你的key'
img_dir = "imgdlrb.jpg"
json_data = get_json(img_dir)
data=json.loads(json_data)

data2=data["FaceInfos"]
data2=str(data2)
data3=data2[1:-1].replace("'", """).replace("False",""False"").replace("True",""True"")

data4=json.loads(data3)

face=data4["FaceAttributesInfo"]
people={}
if face["Gender"]>50:
    people["Gender"]="男性"
else:
    people["Gender"]="女性"
people["Age"]=face["Age"]
if face["Expression"]>50:
    people["smile"]="大笑"
else:
    people["smile"]="微笑"
if face["Glass"]=="False":
    people["Glass"]="未戴眼镜"
else:
    people["Glass"]="戴眼镜"
people["Beauty"]=face["Beauty"]
if face["Hat"]=="False":
    people["Hat"]="未戴帽子"
else:
    people["Hat"]="戴帽子"
if face["Mask"]=="False":
    people["Mask"]="未戴口罩"
else:
    people["Mask"]="戴口罩"
hair=face["Hair"]

str=""


if hair["Bang"]==0:
    str="有刘海"
else:
    str="无刘海"

if hair["Color"]==0:
    str=str+"黑色"
elif hair["Color"]==1:
    str=str+"金色"
elif hair["Color"]==2:
    str=str+"棕色"
elif hair["Color"]==3:
    str=str+"灰白色"

if hair["Length"]==0:
    str=str+"光头"
elif hair["Length"]==1:
    str=str+"短发"
elif hair["Length"]==2:
    str=str+"中发"
elif hair["Length"]==3:
    str=str+"长发"
elif hair["Length"] == 4:
    str=str+"绑发"

people["Hair"]=str

if face["EyeOpen"]=="True":
    people["EyeOpen"]="睁着眼"
else:
    people["EyeOpen"] = "闭着眼"

print(data)
print(people)
输出结果:

实例应用-web界面上传照片后可进行人来你分析
界面展示
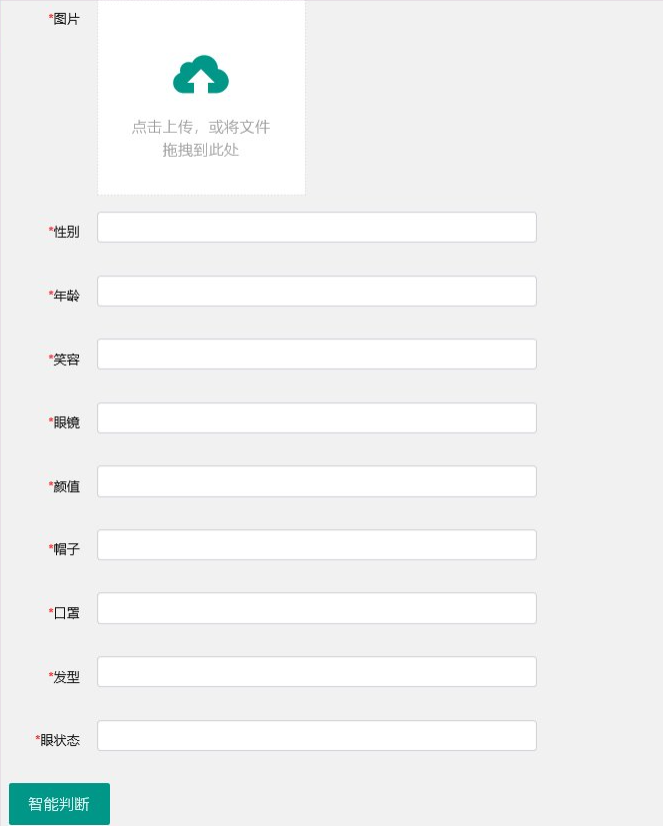
操作步骤
用户上传小于3M的照片后,进行智能判断即可分析人脸的属性
代码流程
①写个界面,包含图片上传以及属性input表格
②进行后端照片的存储,存储到本地,并将图片路径返回到界面,存储在一个hidden标签内
③当用户点击“智能判断”后,将图片路径返回后端,后端通过上面的纯py代码进行分析,将结果返回,然后呈现到界面上
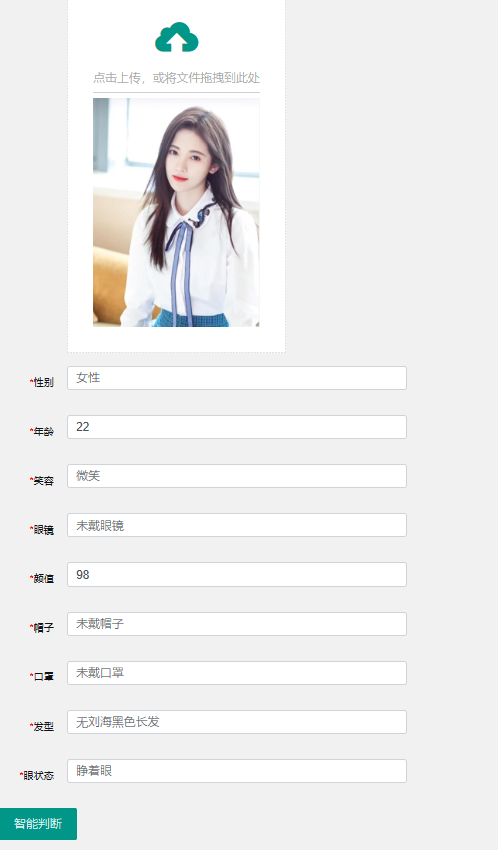
实际测试
找了几个舍友和张一凡还有鞠婧祎进行测试
鞠婧祎:
张一凡:
