管道和中间件
看下面一张图,http请求进入管道,然后会通过一个个中间件,然后返回时也会继续通过一个个中间件,假如在某个中间件短路了,那么会回到它的上一个中间件,直到第一个中间件,然后返回htt响应。

中间件和过滤器很像,比如它们都可以实现权限验证或者日志记录,它们都是AOP(面向切面编程的产物),两者的定位不同。
过滤器关注的是实现某类非业务功能。
中间件是asp.net core管道模型中的重要组成部分,担负着从请求到响应的整个处理流程,过滤器实现的功能只是它顺带表现出来的特性。
自定义中间件
我们通过一个例子来简单展示下中间件
        // 构建管道
        public void Configure(IApplicationBuilder app, IWebHostEnvironment env)
        {
            app.Use(async (context, next) =>
            {
                await context.Response.WriteAsync("start
");
                await next();
                await context.Response.WriteAsync("end
");
            });

            // 没有next,用来添加终端中间件,放在最后面,来短路请求管道
            app.Run(async context =>
            {
                await context.Response.WriteAsync("hello
");
            });
}
如图所示,我们通过在startup里面的Configure方法里面添加app.Use来实现中间件,app.Run来实现终端中间件。
最终的执行结果如下
start
hello
end
下面通过自定义一个记录日志的log中间件
using Microsoft.AspNetCore.Http;
using Microsoft.Extensions.Logging;
using System;
using System.Collections.Generic;
using System.Diagnostics;
using System.IO;
using System.Linq;
using System.Threading.Tasks;

namespace InitiativeTeamZone.Api
{
    public class LoggerMiddleware
    {
        private readonly RequestDelegate _next;
        private readonly ILogger<LoggerMiddleware> _logger;
        public LoggerMiddleware(RequestDelegate next, ILogger<LoggerMiddleware> logger)
        {
            _next = next;
            _logger = logger;
        }

        public async Task InvokeAsync(HttpContext context)
        {
            context.Request.EnableBuffering();
            var requestReader = new StreamReader(context.Request.Body);

            var requestContent = await requestReader.ReadToEndAsync();
            _logger.LogInformation($"Request Body: {requestContent}");
            context.Request.Body.Position = 0;


            Stream originalBody = context.Response.Body;
            try
            {
                using (var ms = new MemoryStream())
                {
                    context.Response.Body = ms;
                    var fWatch = new Stopwatch();
                    fWatch.Start();
                    await _next(context);
                    fWatch.Stop();
                    ms.Position = 0;
                    string responseBody = new StreamReader(ms).ReadToEnd();
                    _logger.LogInformation($"Response Body: {responseBody}");
                    ms.Position = 0;
                    await ms.CopyToAsync(originalBody);
                }
            }
            finally
            {
                context.Response.Body = originalBody;
            }
        }
    }
}
在startup里面使用
app.UseMiddleware<LoggerMiddleware>(); // log中间件输出body
定义一个中间件有2个标准
1. 选择是否将请求(也就是HttpContext,这里面包含了所有http请求的信息)传递到下一个中间件
2. 在管道中下一个中间件前后执行工作。这句话的意思是我们把一个请求经过中间件分为2个步骤,第一次经过中间件,然后向下一个中间件前进。第二次返回中间件,然后向上一个中间件前进。图中的RequestDelegate就代表一个中间件。也就是说在next执行的前后完成所需要做的工作。
源码分析
我们暴力点,不看源码了,直接按源码原理实现一个管道,所有的逻辑和方法名跟源码一样
using System;
using System.Threading.Tasks;

namespace PipelineDemo
{
    public delegate Task RequestDelegate(HttpContext context);

    class Program
    {
        static void Main(string[] args)
        {
            var app = new ApplicationBuilder();

            app.Use(async (context, next) =>
            {
                Console.WriteLine("中间件1号 Begin");
                await next();
                Console.WriteLine("中间件1号 End");
            });

            app.Use(async (context, next) =>
            {
                Console.WriteLine("中间件2号 Begin");
                await next();
                Console.WriteLine("中间件2号 End");
            });

            // 这时候管道已经形成,执行第一个中间件,就会依次调用下一个
            // 主机创建以后运行的
            var firstMiddleware = app.Build();

            // 当请求进来的时候,就会执行第一个中间件
            // 主机给的
            firstMiddleware(new HttpContext());
        }
    }
}
using System;
using System.Collections.Generic;
using System.Linq;
using System.Text;
using System.Threading.Tasks;

namespace PipelineDemo
{
    public class ApplicationBuilder
    {
        // 中间件,独立的!互相没有关联的,只有一个顺序
        private static readonly IList<Func<RequestDelegate, RequestDelegate>> _components =
            new List<Func<RequestDelegate, RequestDelegate>>();

        // 扩展Use
        public ApplicationBuilder Use(Func<HttpContext, Func<Task>, Task> middleware)
        {
            return Use(next =>
            {
                return context =>
                {
                    Task SimpleNext() => next(context);
                    return middleware(context, SimpleNext );
                };
            });
        }

        // 原始Use
        public ApplicationBuilder Use(Func<RequestDelegate, RequestDelegate> middleware)
        {
            // 添加中间件
            _components.Add(middleware);
            return this;
        }

        public RequestDelegate Build()
        {
            RequestDelegate app = context =>
            {
                Console.WriteLine("默认中间件");
                return Task.CompletedTask;
            };

            // 上面的代码是一个默认的中间件
            // 重要的是下面几句,这里对Func<RequestDelegate, RequestDelegate>集合进行反转,
            // 逐一执行添加中间件的委托,最后返回第一个中间件委托
            // 这里的作用就是把list里独立的中间件委托给串起来,然后返回反转后的最后一个中间件(实际上的第一个)

            // 管道才真正的建立起来,每一个中间件都首尾相连
            foreach (var component in _components.Reverse())
            {
                app = component(app);
            }

            return app;
        }
    }
}
using System;
using System.Collections.Generic;
using System.Text;

namespace PipelineDemo
{
    public class HttpContext
    {
    }
}
让我们分析下
首先通过app.Use()方法添加2个中间件,添加完成后2个中间件变成了Func<RequestDelegate, RequestDelegate>类型,并且依次被添加进了_components数组中。
middleware1  通过use 变成
var requestDelegate1 = async context=>
{
    Console.WriteLine("中间件1号 Begin");
    await next(context),
    Console.WriteLine("中间件1号 End");
}

middleware2  通过use 变成
var requestDelegate2 = async context=>
{
    Console.WriteLine("中间件2号 Begin");
    await next(context);
    Console.WriteLine("中间件2号 End");
}
接着通过app.Build()将数组中的元素反转,将所有的中间件首尾相连,并且返回第一个中间件也就是下面的requestDelegate1
var requestDelegate2 = async context=>
{
    Console.WriteLine("中间件2号 Begin");
    await defaultMiddleware(context);
    Console.WriteLine("中间件2号 End");
}

var requestDelegate1 = async context=>
{
    Console.WriteLine("中间件1号 Begin");
    await requestDelegate2 (context),
    Console.WriteLine("中间件1号 End");
}
假如有2个以上中间件,那么继续往下迭代
最后当有请求进来时,执行firstMiddleware(new HttpContext());
因为HttpContext没有用到,所以直接定义为空的。然后我们可以看下执行过程
首先执行Console.WriteLine("中间件1号 Begin");

然后执行await requestDelegate2(context)跳转到requestDelegate2中

接着执行Console.WriteLine("中间件2号 Begin");

然后执行await defaultRequestDelegate(context)跳转到defaultRequestDelegate中

执行Console.WriteLine("默认中间件");

然后回到requestDelegate2,执行Console.WriteLine("中间件2号 End");

然后回到requestDelegate1,执行Console.WriteLine("中间件1号 End");
我们看下输出结果

如果不明白原理,可以进行调试
有很重要的一点是,当执行IHost.Run的时候会执行Configure方法,然后把所有的中间件添加到管道中。只有当http请求到达的时候,才会执行第一个中间件。
阅读源码流程
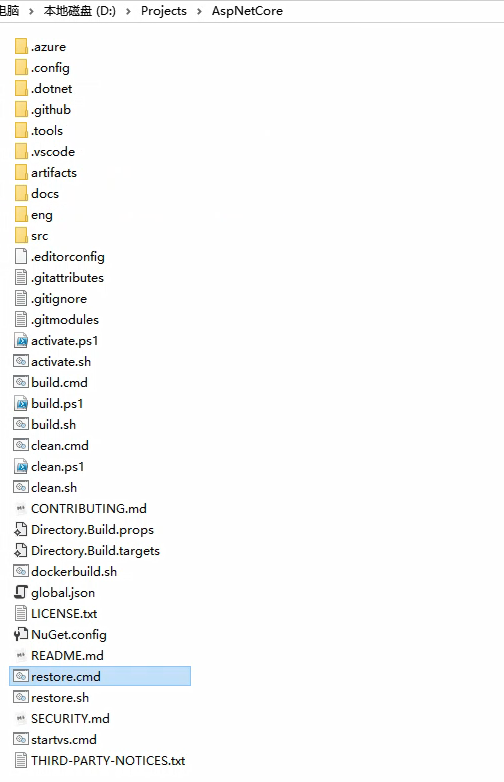
1. 通过git clone下载源码,源码路径:https://github.com/dotnet/aspnetcore
2. 克隆下来之后,不能直接用visual studio打开,需要执行下文件夹里面的restore.cmd脚本,因为asp.net core使用的dotnet的SDK跟我们的版本是不一样的,通过这个命令可以生成专用的dotnet。
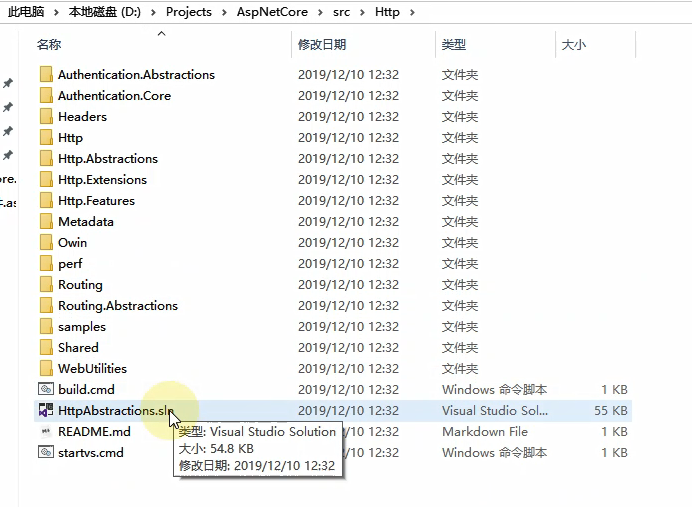
而且源码不提供sln文件来打开整个项目,因为项目实在太复杂,vs处理不了,所以官方将其拆分成一个个项目,每个项目里面都有一个.sln文件,但是这个.sln还是不能直接打开,需要运行startvs.cmd脚本,理由是该项目使用的环境变量跟我们的是不一样的,需要通过这个脚本单独设置环境变量。