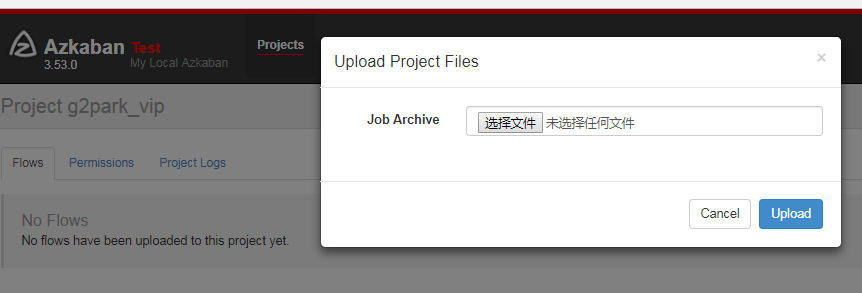
新建一个text文件,a.job,打包成zip包传到azkaban即可

方式1:job流
1. a.job内容范例:
type=command
command=hive shell
command=hive -e 'set hive.execution.engine=tez;'
command=hive -e 'select * from hivedb.t_user limit 5;'
2.写法2:
zip包里放job和sql文件,如图

vip_ods.job:
type=command
command=hive -f vip_ods.sql
vip_ods.sql:
use hivedb;
insert overwrite table hive_tb1 SELECT id,name from user;
insert overwrite table hive_tb2 SELECT id,name from food;
以下是依赖关系阐述: 第二个job:bar.job依赖foo.job
# bar.job
type=command
dependencies=foo
command=echo bar
方式2:flow流
以下摘自官网
Creating Flows
This section covers how to create your Azkaban flows using Azkaban Flow 2.0. Flow 1.0 will be deprecated in the future.
Flow 2.0 Basics
Step 1:
Create a simple file called flow20.project. Add azkaban-flow-version to indicate this is a Flow 2.0 Azkaban project:
azkaban-flow-version: 2.0
Step 2:
Create another file called basic.flow. Add a section called nodes, which will contain all the jobs you want to run. You need to specify name and type for all the jobs. Most jobs will require the config section as well. We will talk more about it later. Below is a simple example of a command job.
nodes:
  - name: jobA
    type: command
    config:
      command: echo "This is an echoed text."
Step 3:
Select the two files you’ve already created and right click to compress them into a zip file called Archive.zip. You can also create a new directory with these two files and then cd into the new directory and compress: zip -r Archive.zip . Please do not zip the new directory directly.
Make sure you have already created a project on Azkaban ( See Create Projects ). You can then upload Archive.zip to your project through Web UI ( See Upload Projects ).
Now you can click Execute Flow to test your first Flow 2.0 Azkaban project!
Job Dependencies
Jobs can have dependencies on each other. You can use dependsOn section to list all the parent jobs. In the below example, after jobA and jobB run successfully, jobC will start to run.
nodes:
  - name: jobC
    type: noop
    # jobC depends on jobA and jobB
    dependsOn:
      - jobA
      - jobB

  - name: jobA
    type: command
    config:
      command: echo "This is an echoed text."

  - name: jobB
    type: command
    config:
      command: pwd
You can zip the new basic.flow and flow20.project again and then upload to Azkaban. Try to execute the flow and see the difference.
Job Config
Azkaban supports many job types. You just need to specify it in type, and other job-related info goes to config section in the format of key: value pairs. Here is an example for a Pig job:
nodes:
  - name: pigJob
    type: pig
    config:
      pig.script: sql/pig/script.pig
You need to write your own pig script and put it in your project zip and then specify the path for the pig.script in the config section.
Flow Config
Not only can you configure individual jobs, you can also config the flow parameters for the entire flow. Simply add a config section at the beginning of the basic.flow file. For example:
---
config:
  user.to.proxy: foo
  failure.emails: noreply@foo.com

nodes:
  - name: jobA
    type: command
    config:
      command: echo "This is an echoed text."
When you execute the flow, the user.to.proxy and failure.emails flow parameters will apply to all jobs inside the flow.
Embedded Flows
Flows can have subflows inside the flow just like job nodes. To create embedded flows, specify the type of the node as flow. For example:
nodes:
  - name: embedded_flow
    type: flow
    config:
      prop: value
    nodes:
      - name: jobB
        type: noop
        dependsOn:
          - jobA

      - name: jobA
        type: command
        config:
          command: pwd