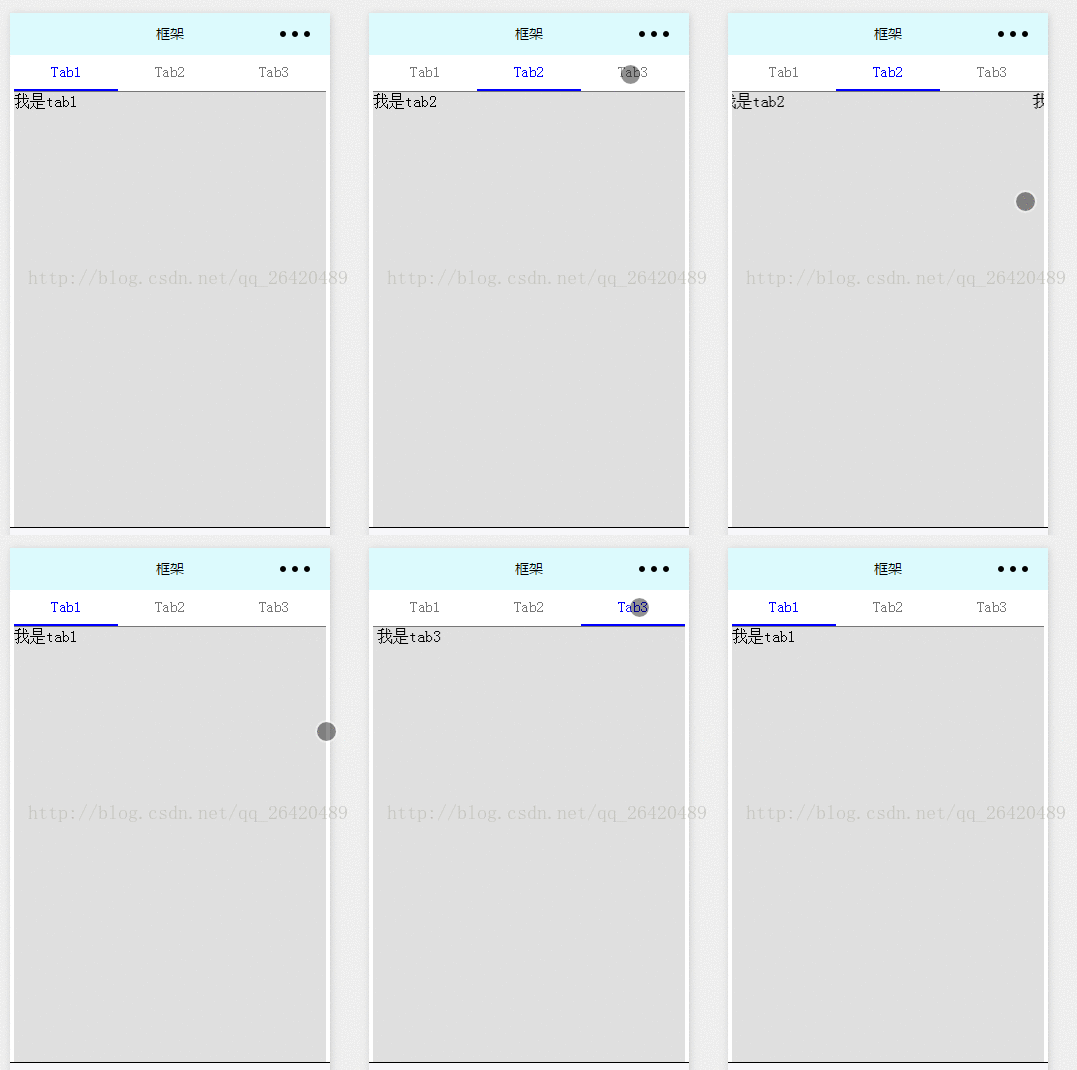
本篇文章给大家带来的内容是关于微信小程序实例:实现顶部tab切换以及滑动切换时导航栏会随着移动的效果(代码),有一定的参考价值,有需要的朋友可以参考一下,希望对你有所帮助。
实现的效果:

js:
|
1
2
3
4
5
6
7
8
9
10
11
12
13
14
15
16
17
18
19
20
21
22
23
24
25
26
27
28
29
30
31
32
33
34
35
36
37
38
39
40
41
42
43
44
45
46
47
48
49
50
51
52
53
|
Page({
data: {
currentTab: 0,
},
swichNav: function (e) {
console.log(e);
var that = this;
if (this.data.currentTab === e.target.dataset.current) {
return false;
} else {
that.setData({
currentTab: e.target.dataset.current,
})
}
},
swiperChange: function (e) {
console.log(e);
this.setData({
currentTab: e.detail.current,
})
},
onLoad: function (options) {
},
onReady: function () {
},
onShow: function () {
},
onHide: function () {
},
onUnload: function () {
},
onPullDownRefresh: function () {
},
onReachBottom: function () {
},
onShareAppMessage: function () {
return {
title: 'title',
desc: 'desc',
path: 'path'
}
}
})
|
wxml:
|
1
2
3
4
5
6
7
8
9
10
11
12
13
14
15
16
17
18
19
20
21
22
|
<view class="page">
<view class="swiper-tab">
<view class="tab-item {{currentTab==0 ? 'on' : ''}}" data-current="0" bindtap="swichNav">Tab1</view>
<view class="tab-item {{currentTab==1 ? 'on' : ''}}" data-current="1" bindtap="swichNav">Tab2</view>
<view class="tab-item {{currentTab==2 ? 'on' : ''}}" data-current="2" bindtap="swichNav">Tab3</view>
</view>
<swiper class="swiper" current="{{currentTab}}" duration="200" bindchange="swiperChange">
<swiper-item>
<view>我是tab1</view>
</swiper-item>
<swiper-item>
<view>我是tab2</view>
</swiper-item>
<swiper-item>
<view>我是tab3</view>
</swiper-item>
</swiper>
</view>
|
wxss:
|
1
2
3
4
5
6
7
8
9
10
11
12
13
14
15
16
17
18
19
20
21
22
23
24
25
26
27
28
|
.page {
margin-left: 10rpx;
margin-right: 10rpx;
}
.swiper-tab {
display: flex;
flex-direction: row;
line-height: 80rpx;
border-bottom: 2rpx solid #777;
}
.tab-item {
width: 33.3%;
text-align: center;
font-size: 15px;
color: #777;
}
.swiper {
height: 1100px;
background: #dfdfdf;
}
.on {
color: blue;
border-bottom: 5rpx solid blue;
}
|
