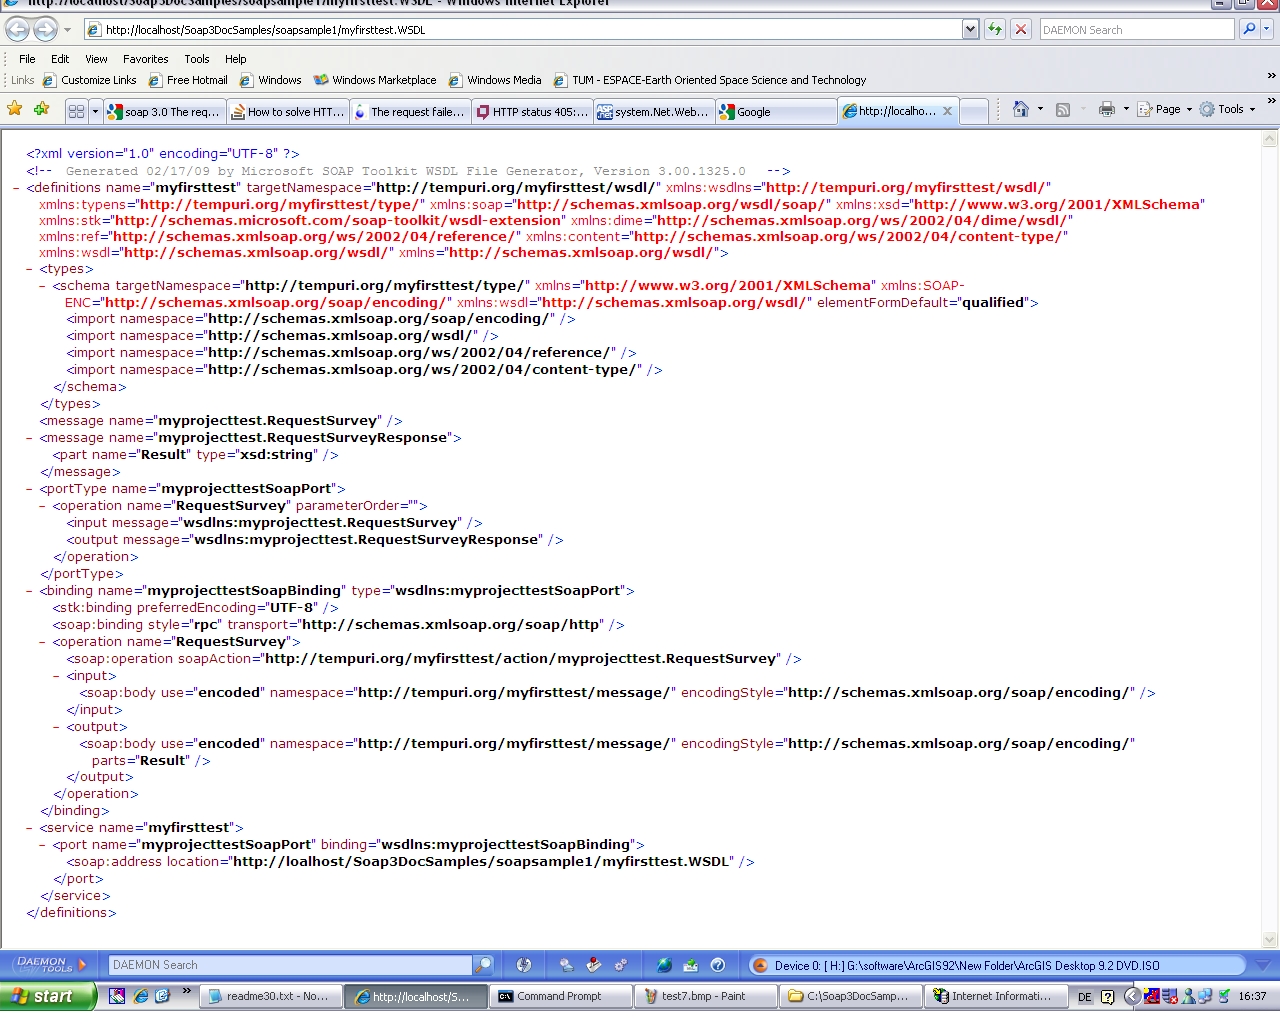
利用soap toolkit version3 发布 vb6.0 DLL 步骤:
Step - 1: Create a COM Component
Step - 2:Setting Up the Sample Application Environment
All the sample applications in the SOAP Toolkit use one virtual root directory, Soap3DocSamples, to store the folders and files associated with these samples. The following procedure describes how to set up this Soap3DocSamples virtual directory on a server running Microsoft? Internet Information Services (IIS).
Note You must set up the Soap3DocSamples virtual directory on a server running IIS.
To create a virtual directory for all documentation samples
On the server, create a folder and name it Soap3DocSamples. Although this folder can be anywhere, the samples provided assume that the folder is created at the root level (C:"Soap3DocSamples).
Open IIS, right-click on a Web site, point to New, and click Virtual Directory.
On the Welcome to the Virtual Directory Creation Wizard page, click Next.
In the Alias box, enter Soap3DocSamples and click Next.
In the Directory box, enter the location of the folder that you created in step 1 and then click Next. Click Next again.
Click Finish to complete the wizard.
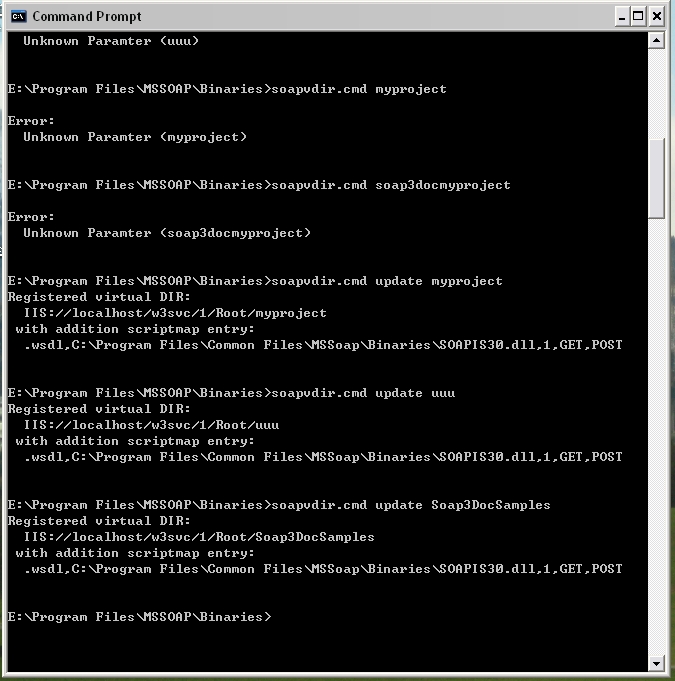
Open a command prompt window. Change directory to the C:"Program Files"MSSOAP"Binaries directory, and enter the following statement:
soapvdir.cmd UPDATE Soap3DocSamples
Running this script configures the newly created Soap3DocSamples virtual directory to use the Internet Server API (ISAPI) handler that comes with this toolkit. For more information about the SOAPVDIR.CMD script and the ISAPI handler, see Configuring IIS Virtual Directories.
Step - 3: Generate WSDL/WSML File
To generate the necessary web service files for the COM component created in the earlier step, open the WSDL generator that comes with the SOAP Toolkit (this step assumes that you have installed the toolkit). You are now presented with the following UI.

Click [Next] followed by [Next] (2 times). You will then see the following interface:
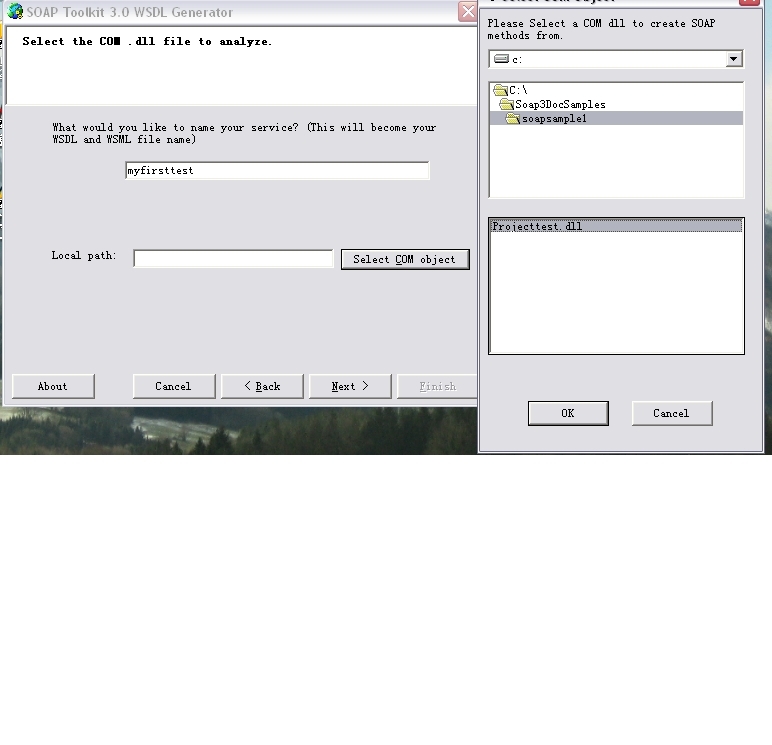
Here, type a name to identify your service (I've called it MyService) and use the [Select COM Object] button to locate the DLL created in the earlier step. Your interface will now look like this:
Click [Next]. In the next screen, you will see all the Public Functions exposed by the COM component. Here, you can select what functions will have to be exposed for clients to consume. Since we users to access both the operations, click on the check-box next to the MyService node and all the interfaces will be selected. Your interface will now look like this:
Click [Next]. In the next interface, you are presented with the following options:
- Listener URI. Here type in a virtual folder path that you want clients to use to access the web site (e.g., MyService). Note that we have not yet created the virtual folder in IIS, but you can specify the name here.
- Listener Type. There are two options (ASP or ISAPI). Select ISAPI. This will ensure that any request coming to the URL with a WSDL extension will be routed to the SOAP Toolkit and processed. If you select ASP, the toolkit will auto-generate an ASP file which makes calls to the web service. Your interface will now look like this:
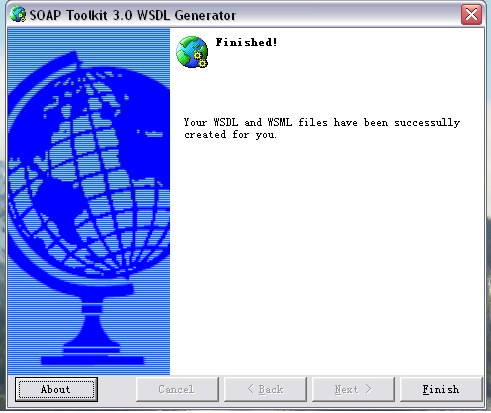
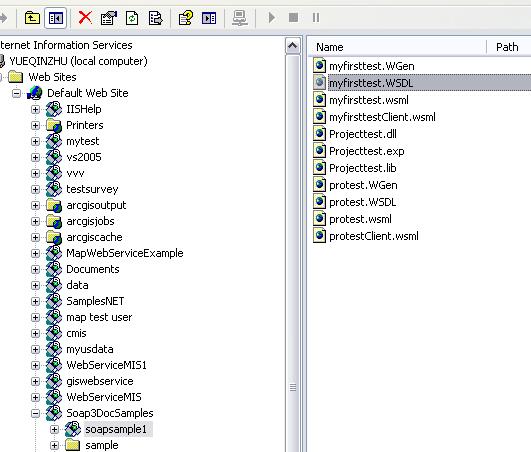
Click [Next]. The toolkit will generate the necessary files into the folder specified above. Click [Finish]. The directory will now contain the following files:
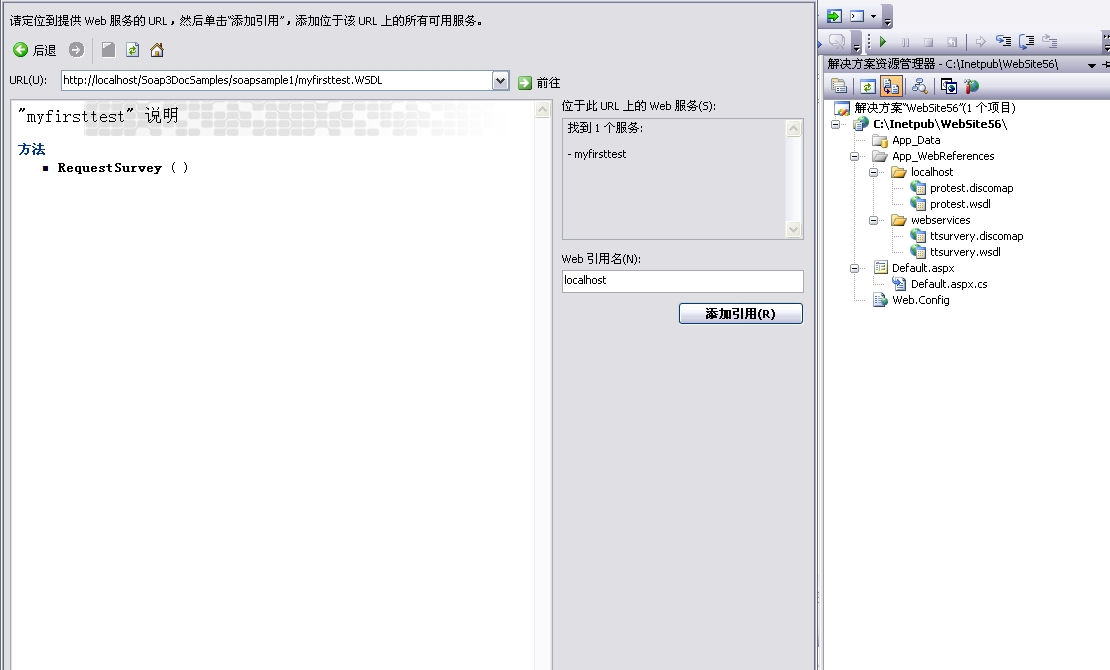
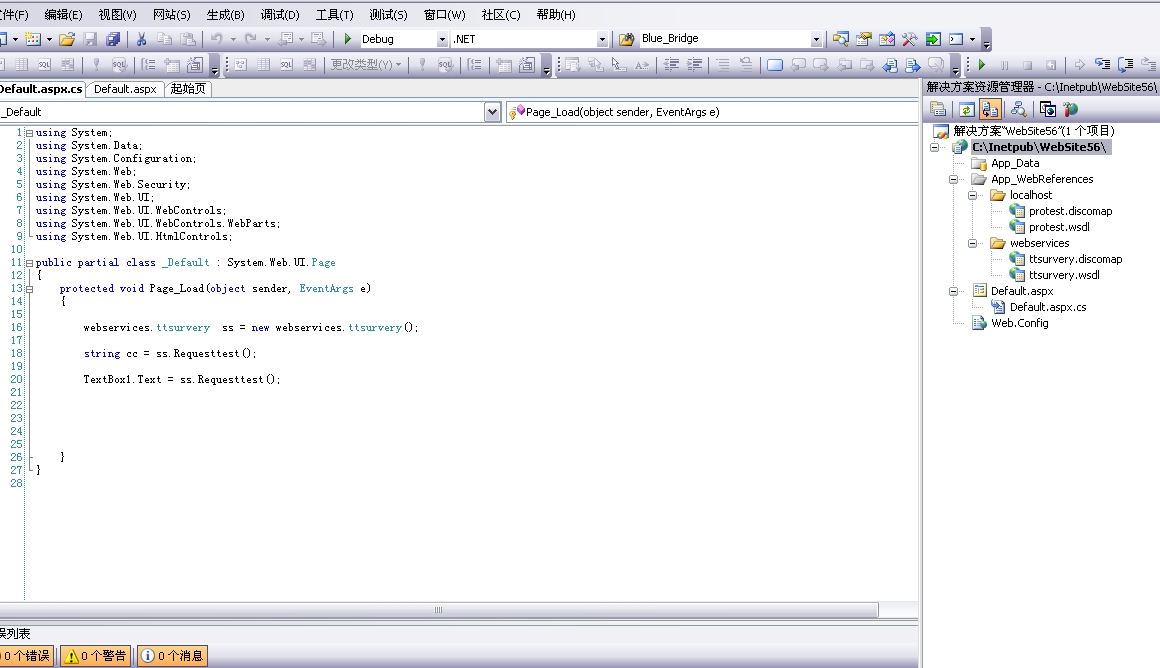
Step - 4:应用
按照一般程序在 iis下配置 soapsample1 ,其中 wsdl:
应用:
