1. freemarker引擎的使用
如果你使用的是idea或者eclipse中安装了sts插件,那么在新建项目时就可以直接指定试图模板
如图:
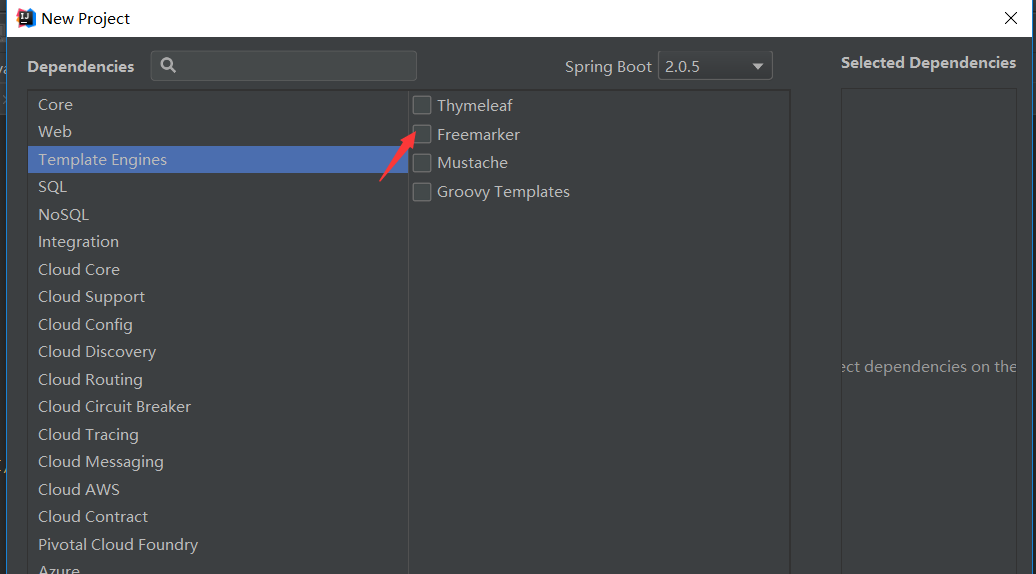
勾选freeMarker,此时springboot项目中就会自动引入freemarker的依赖如下:
 <dependency>
            <groupId>org.springframework.boot</groupId>
            <artifactId>spring-boot-starter-freemarker</artifactId>
        </dependency>
如果不是idea且eclipse也没有插件,那么就需要手动添加这个依赖到pom文件中。
springboot存放模板和静态文件目录结构如下:

templates中存放模板文件,static中存放一些静态文件,如图片,css,js等
templates在springboot中默认为模板根目录,static默认为静态文件根目录,所以我们在写路径的时候不用将这两个目录路径写到访问目录中。
不需要任何配置,只需要一个controller接口,就可以直接使用controller和模板直接进行交互,直接上代码
IndexController接口:
package com.wangx.boot.controller;

import org.springframework.stereotype.Controller;
import org.springframework.web.bind.annotation.RequestMapping;

import java.util.Map;

@Controller
@RequestMapping("/index")
public class IndexController {

    @RequestMapping("/index")
        public String hello(Map<String,Object> map){
            //传递数据到freemaker模板中
            map.put("name", "[Angel -- 守护天使]");
            return "index";

    }
}
freemarker模板文件的默认后缀名为ftl.
index.ftl
<!DOCTYPE html>

<html xmlns="http://www.w3.org/1999/xhtml" xmlns:th="http://www.thymeleaf.org"

      xmlns:sec="http://www.thymeleaf.org/thymeleaf-extras-springsecurity3">

<head>

    <title>Hello World!</title>

</head>

<body>

<p>
    <!--获取后台传过来的数据-->
    <p>${name}</p>
</p>
</body>
</html>
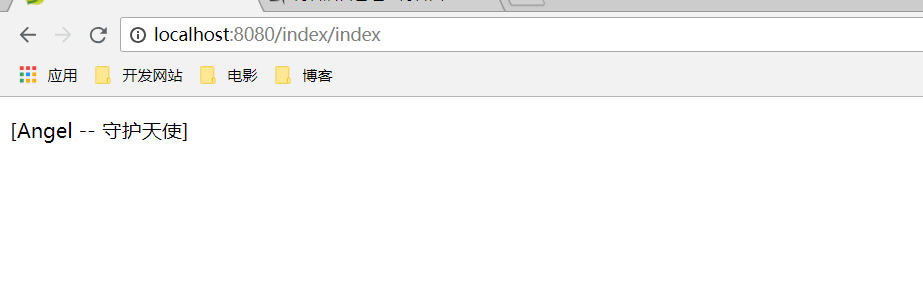
当请求返回index时,springboot会根据这个路径到templates目录下自动匹配这个模板引擎,这样就完成了后台到模板的整合和数据交互。
结果如下:
如果想要访问静态资源时,如图片,直接写上绝对路径<img src="/1.jpg">即可(注意在Controller方法返回值中尽量写相对路径,即不要带/,否则在linux环境下中可能会出错)。
2. thymeleaf
thymeleaf的使用与freemarker很相似,简单的使用只需要将示例1中的ftl改为html文件,取值方式改为thymeleaf即可,这里只展示thymeleaf的html代码,其他的代码跟freemarker一样,只是在创建项目时选择thymeleaf或在pom文件中添加thymeleaf依赖即可。
index.html:
<!DOCTYPE html>

<html xmlns:th="http://www.thymeleaf.org">

<head>

    <title>Hello World!</title>

</head>

<body>
<p th:text="${name}">
<img src="1.jpg">
</p>
</body>

</html>
启动项目,访问http://localhost:8080/index/index,结果与1相同。
这里只是简单的展示怎么整合springboot和模板引擎的整合,模板引擎的具体使用方式请参照官网。
freemarker官方文档:https://freemarker.apache.org/docs/
thymeleaf:官方文档:https://www.thymeleaf.org/
在springboot官方推荐使用的是thymeleaf模板,因为现在的趋势都是前后端分离的架构,所以使用thymeleaf耦合性会更低。