AI概览:
1、人工智能概述思维导图
2、Fizz_Buzz实践练习
3、奇异值分解后,重建;只保留一个奇异值,重建原矩阵
4、最小二乘法曲线拟合:用两种不同的随机噪声,分别绘图,数据点和拟合的模型。
一、Windows环境搭建(创建一个新的环境)
conda create --name tensorflow python=3.5
activate TensorFlow   激活环境

deactivate  TensorFlow  退出环境
conda env list   查看有哪些环境
conda  install nb_conda    ---安装nb_conda用于notebook自动关联nb_conda的环境
在dos窗口输入jupyter notebook--点击new--就可以使用TensorFlow这个刚刚创建的环境了

conda install numpy pandas scikit-learn
conda install tensorflow==1.8
安装OpenCv   首先在https://pypi.org/project/opencv-python/3.3.0.10/#files这个网站下载对应的whl包
python35的下载如下这个包:

进入到C:Anaconda3envs ensorflowScripts 把whl文件放入这个目录下
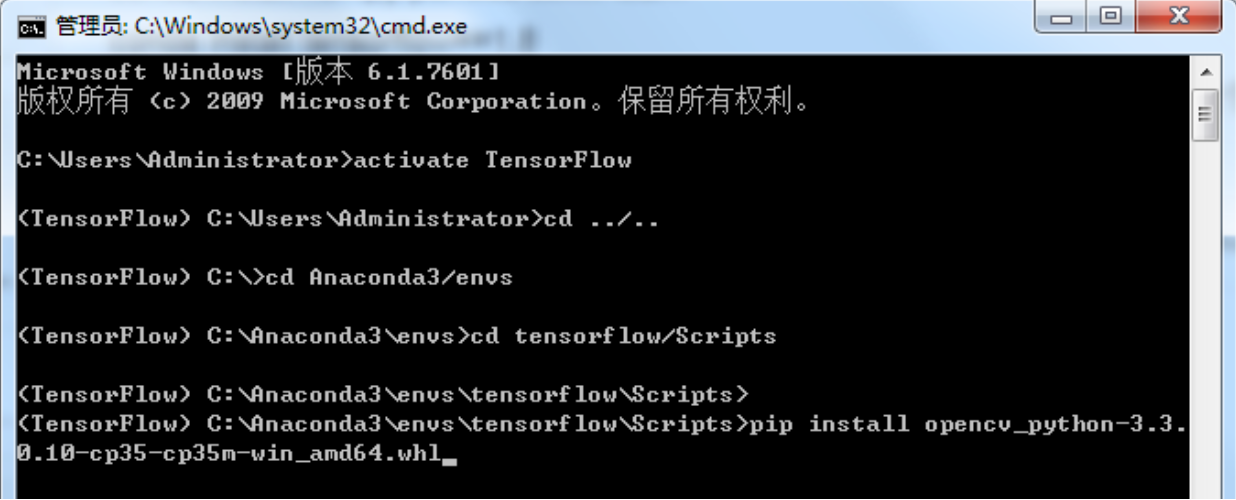
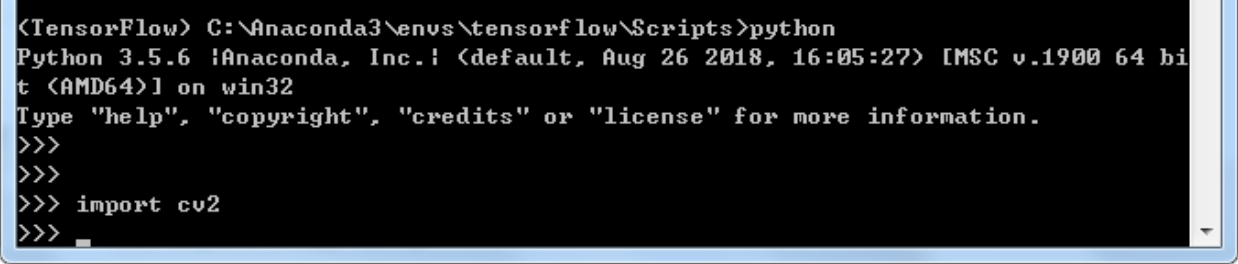
进入到python、输入import cv2无报错说明导入模块成功
# coding:utf-8
# 作者:多测师_王sir
# 网址:www.duoceshi.cn
# fizz_buzz实战
import numpy as np
from sklearn import linear_model
from sklearn.metrics import mean_squared_error

# 分类,回归(有监督)和聚类(无监督)
# 1 数据预处理理/特征工程
# 样本 train test
# 单样本 x(特征),y(标签,回归分类才有)
# 2 模型训练
# 模型
# 损失函数
# 评测指标 train metric
# 3 模型预测
# test metric
# 特征⼯工程构造特征⽅方法:将数字1,2,3 ... 等构造特征(重要影响因素,对预测number, "fizz", "buzz", "fizzbuzz"有帮助的因素),构造为三个维度。
# 将每个输入的数,表示为⼀一个特征数组(向量),这个特征数组有三个维度。

def feature_engineer(i):
    return np.array([i % 3, i % 5, i % 15])
    #return np.array([i % 3, i % 5])
# 将需要预测的指标转换为数字方法:将数据的真实值(预测结果)number, "fizz", "buzz", "fizzbuzz"
# 分别对应转换为数字 3, 2, 1, 0,这样后续能被计算机处理

def construct_sample_label(i):
    if   i % 15 == 0: return np.array([3])
    elif i % 5  == 0: return np.array([2])
    elif i % 3  == 0: return np.array([1])
    else:             return np.array([0])

#[1, 1] [2, 2] [3, fizz]
# 生成训练集和测试集数据:我们的⾯面试题目标是预测 1 到 100的fizz buzz情况. 所以为了了 # 更更加公平的预测,不不让分类预测器器较早的知道
要预测的数据的情况,
# 我们选取101到200这个范围的数作为我们的训练集和测试集。

# Note: 语法说明。 for i in range(101, 200)代表Python中从for循环中遍历取值为i,并 # 赋值将i值输入到feature_engineer函数

#训练集真题
# [[0,1,2], [2,3,1],[1,2,3]]
x_train = np.array([feature_engineer(i) for i in range(181, 281)])
#print(x_train)
# [[1],[2],[4]]
y_train = np.array([construct_sample_label(i) for i in range(181, 281)])
#print(y_train)

#测试集期末考试试卷
x_test = np.array([feature_engineer(i) for i in range(51, 181)])
y_test = np.array([construct_sample_label(i) for i in range(51, 181)])

logistic = linear_model.LogisticRegression()
logistic.fit(x_train, y_train)

# Returns the mean accuracy on the given test data and labels # 代表模型精准程度
print('LogisticRegression score: %f'% logistic.score(x_test, y_test))
# print(logistic.predict([feature_engineer(231)))

# 运行结果:LogisticRegression score: 1.000000
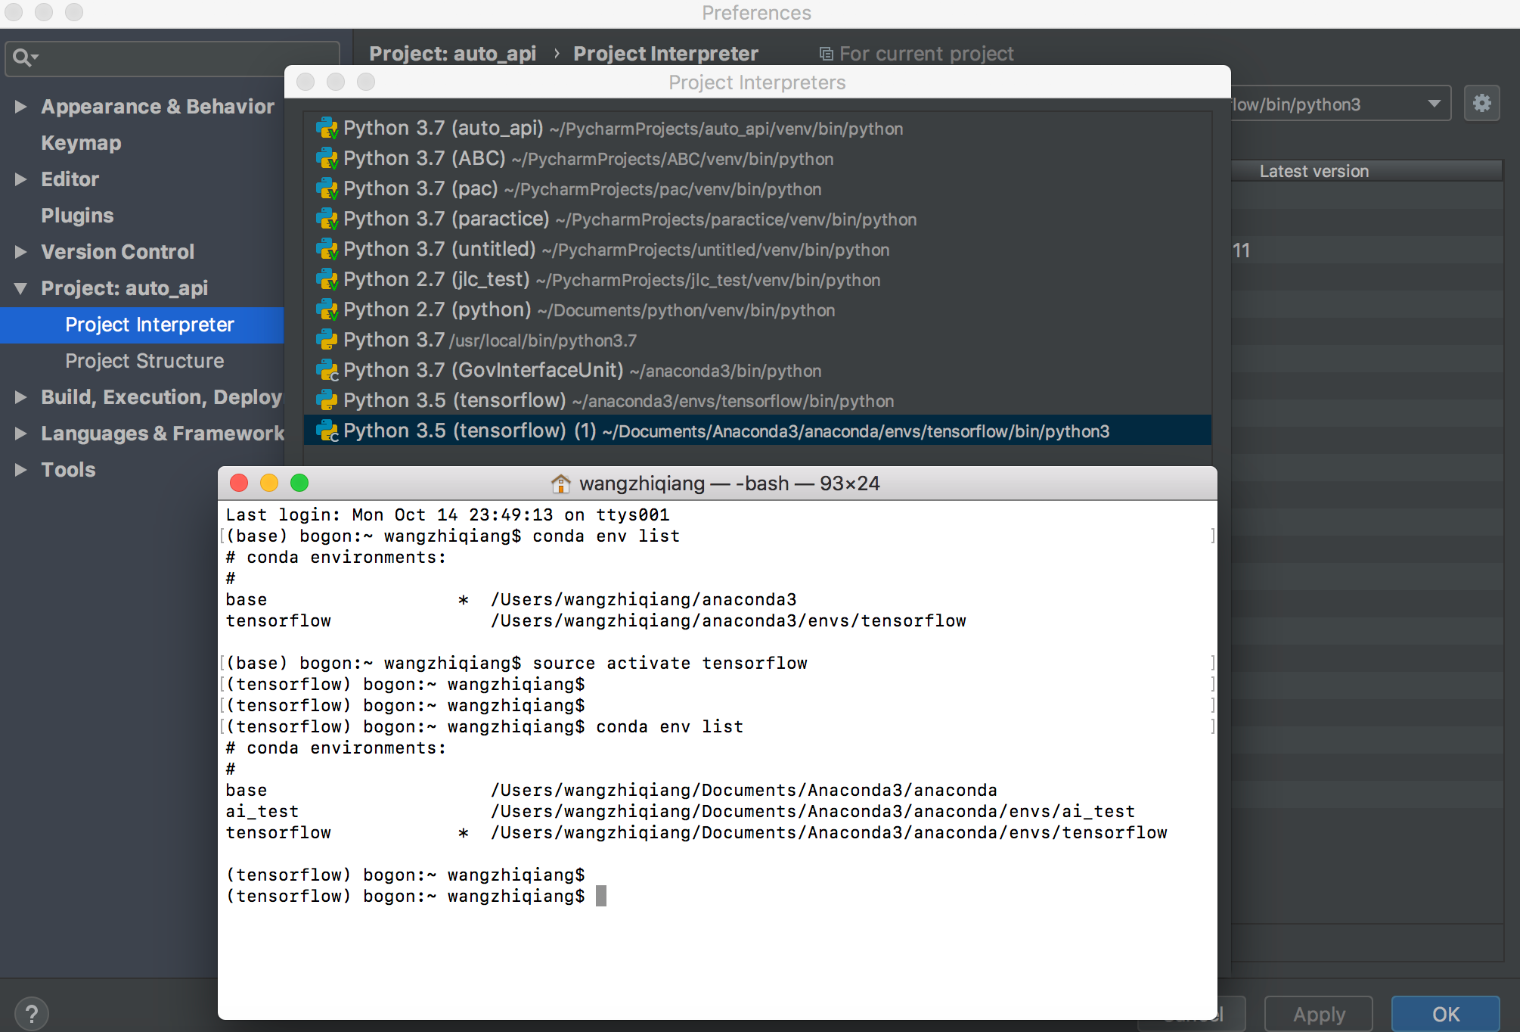
二、Mac环境搭建
1.mac 下载anaconda3-4.2.0  对应的是Python3.5
因为TensorFlow1.8只支持Python3.5
https://mirrors.tuna.tsinghua.edu.cn/anaconda/archive/
2.安装TensorFlow1.8前面需要加个sudo

3.搭建TensorFlow的虚拟运行环境
https://blog.csdn.net/gxuphf123/article/details/81121937
